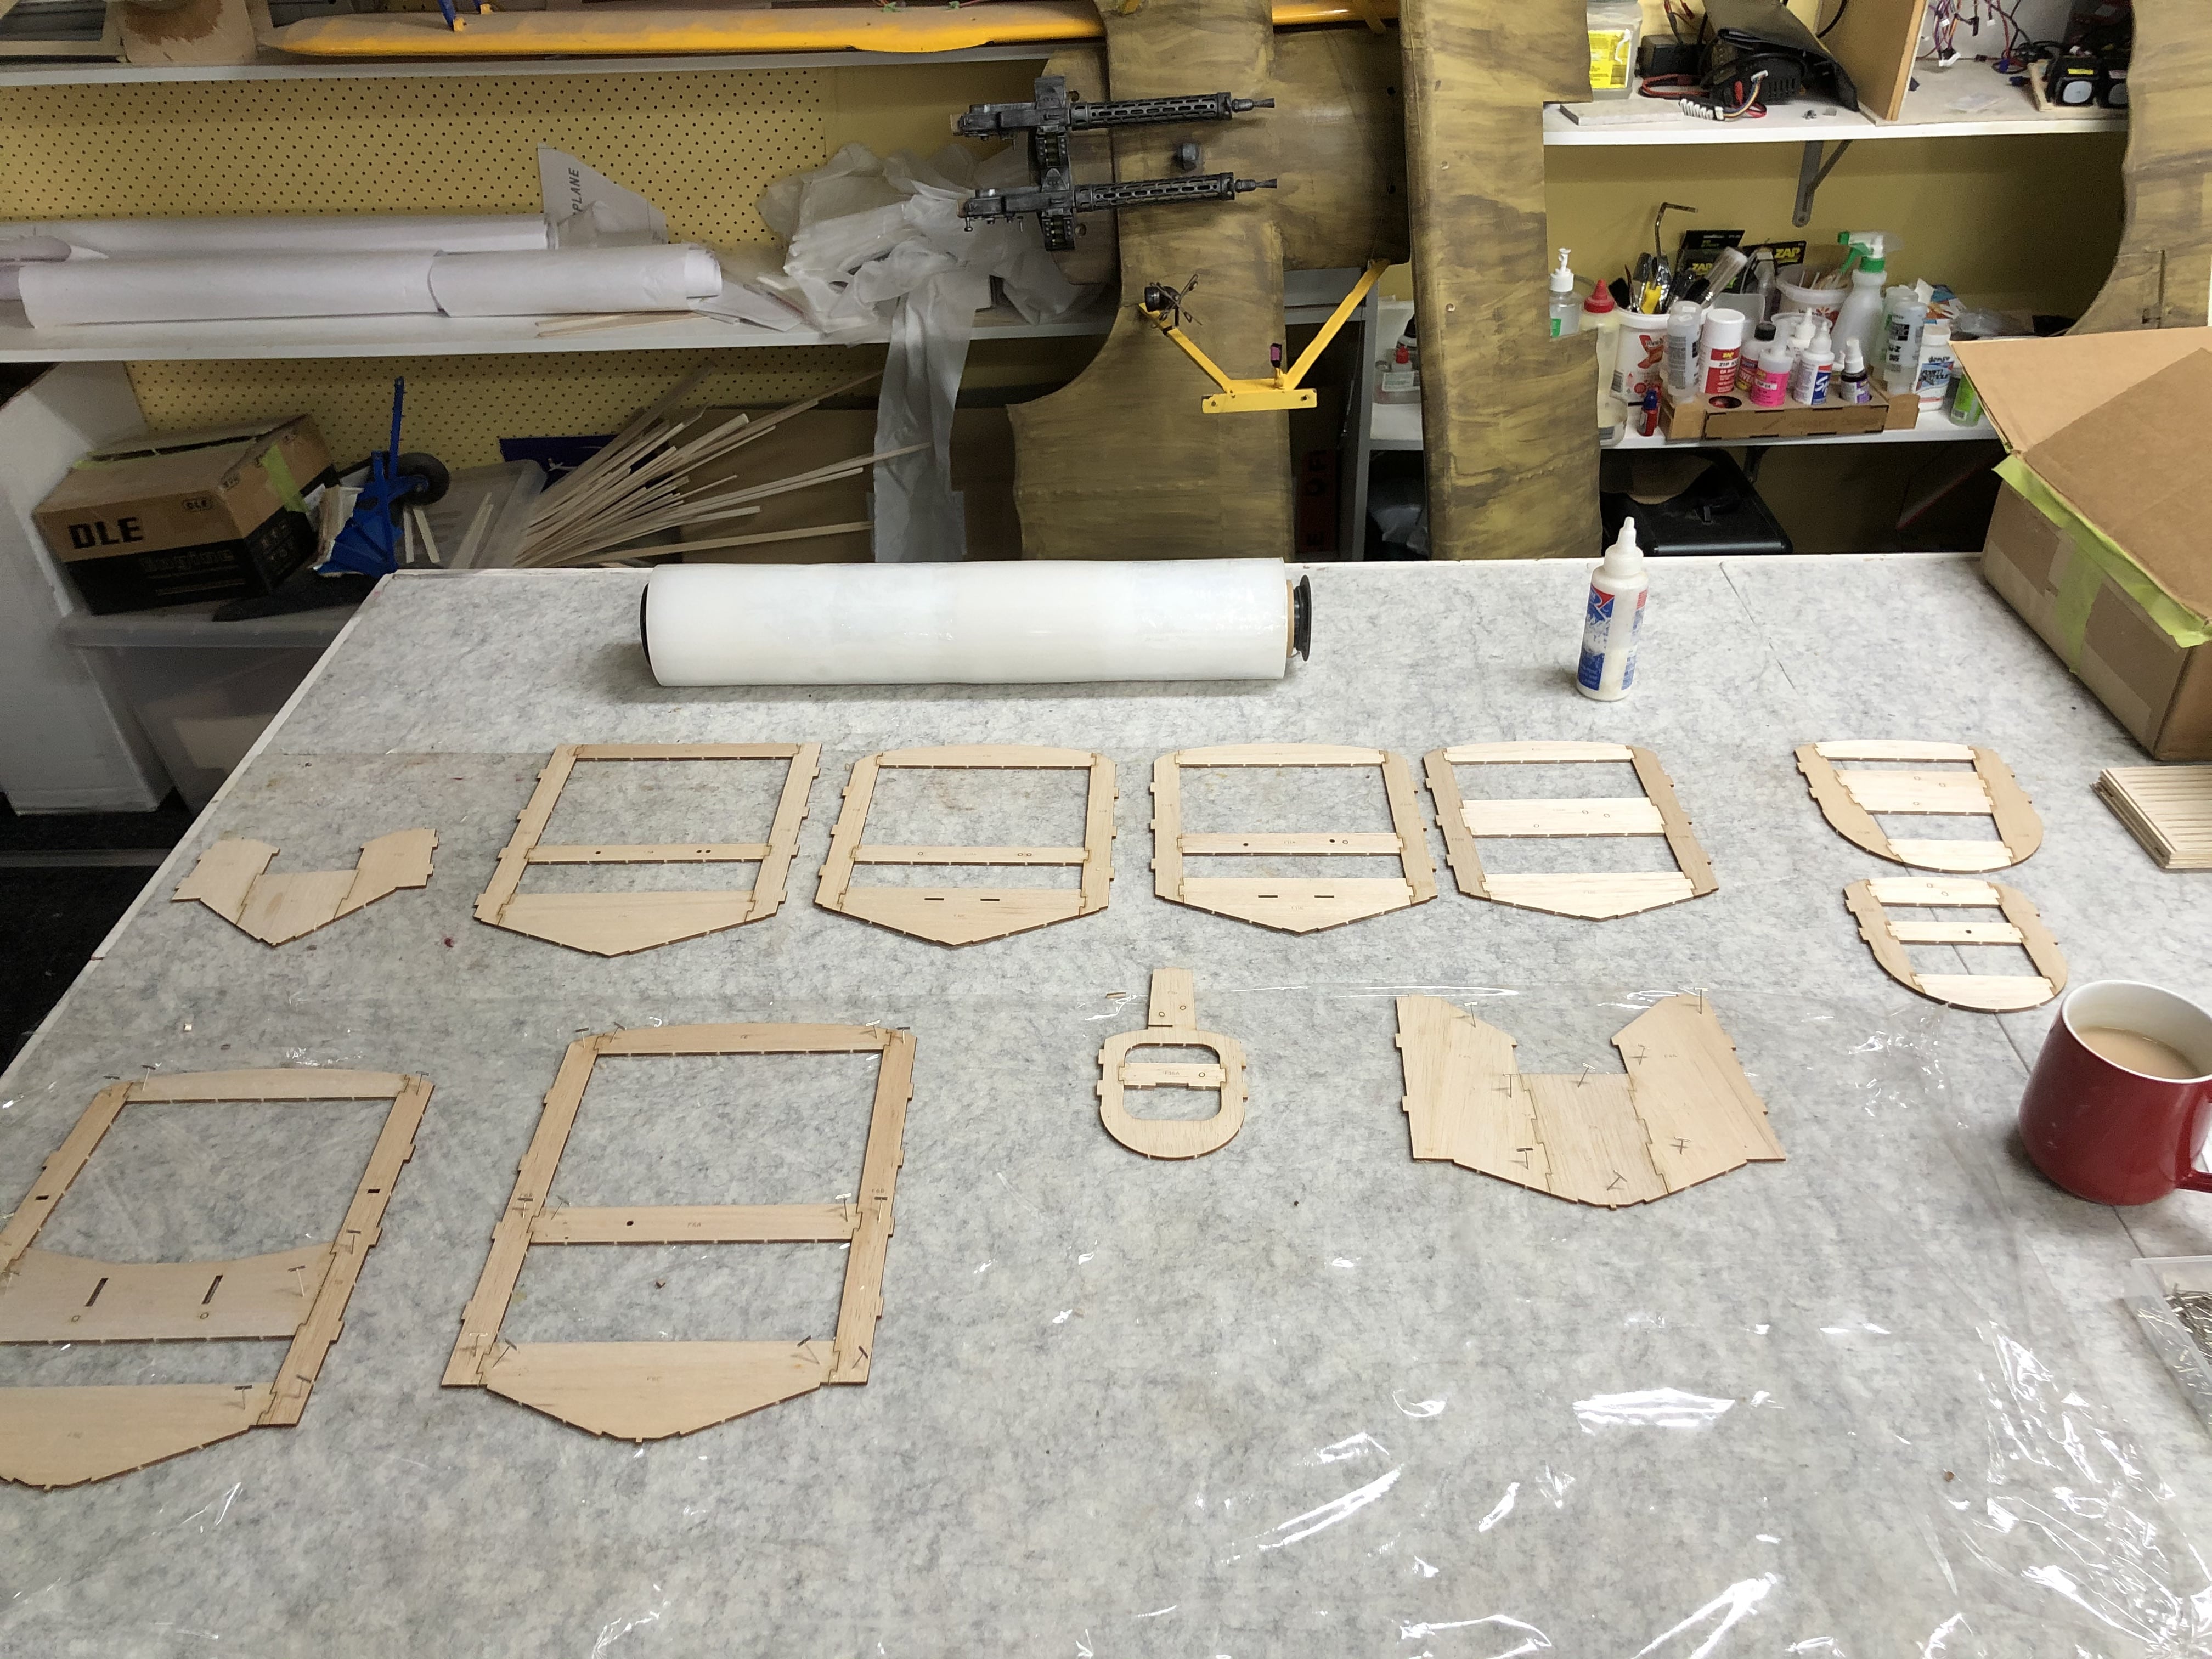
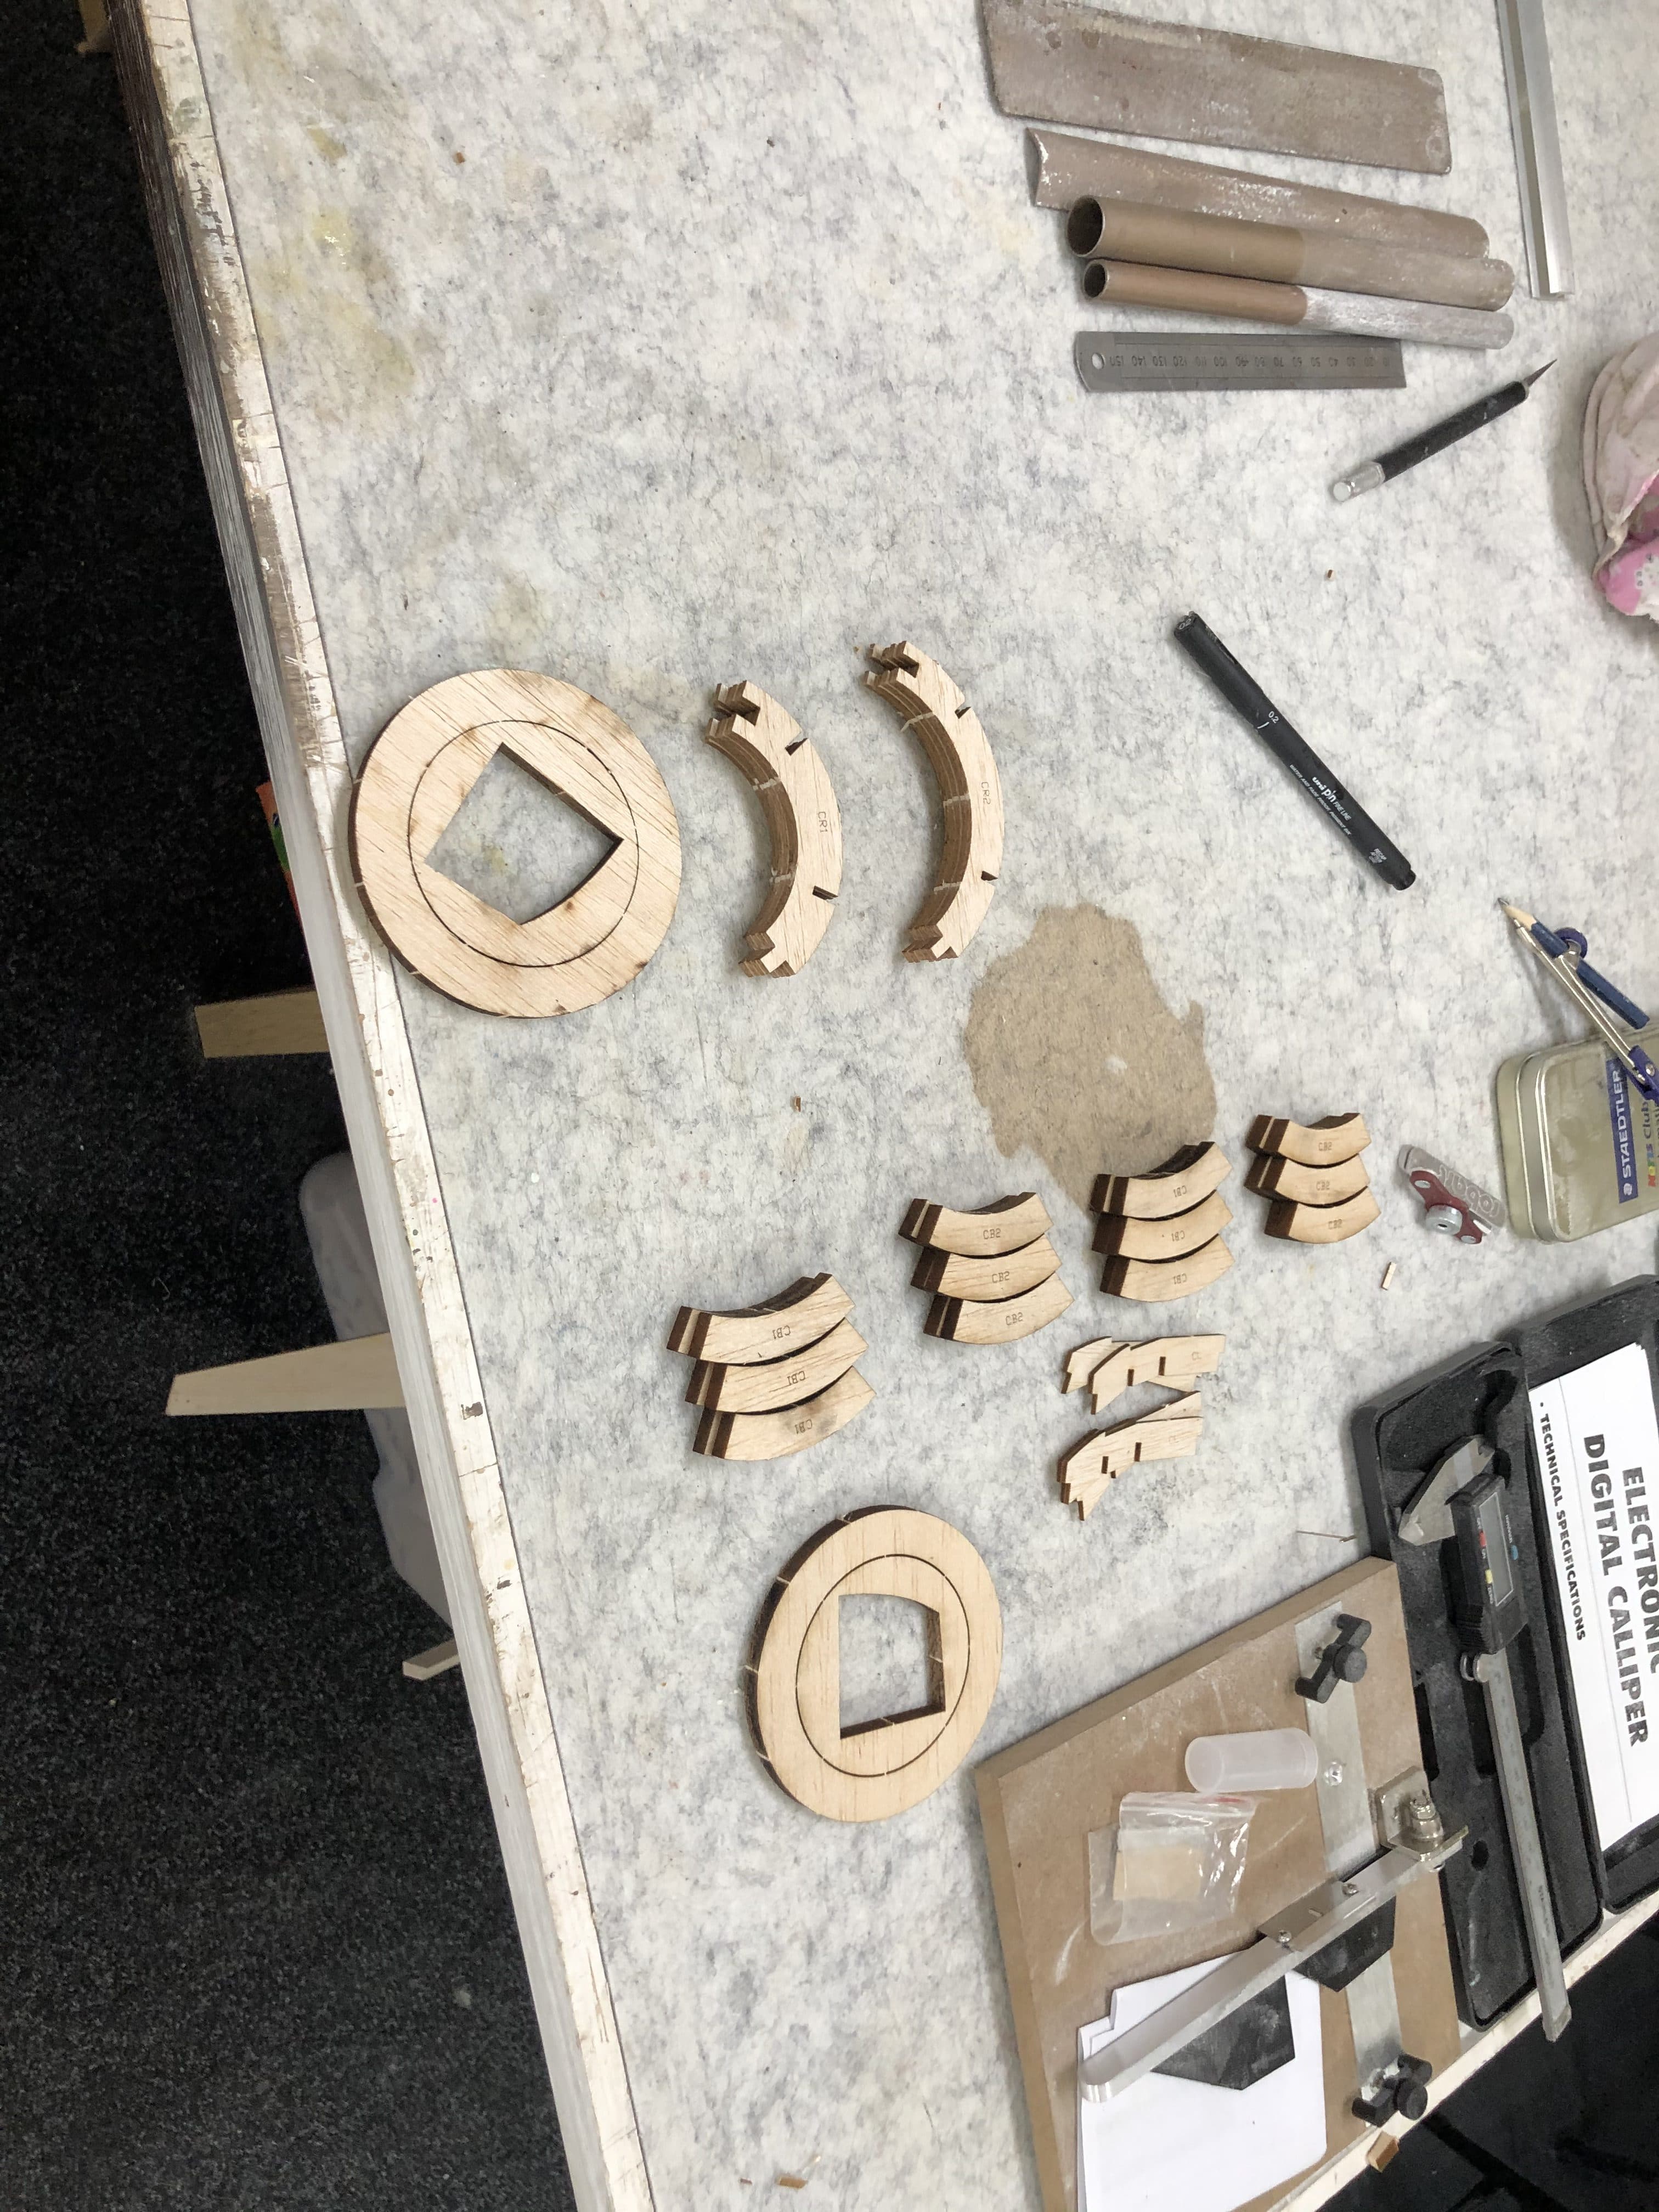
The kit is from Park Scale out of the USA and is very good in quality balsa and the laser cutting is excellent.
No plans are provided however a great build instruction is available online to download and this works quite well although it took me a little while to get my head around not building over a plan.
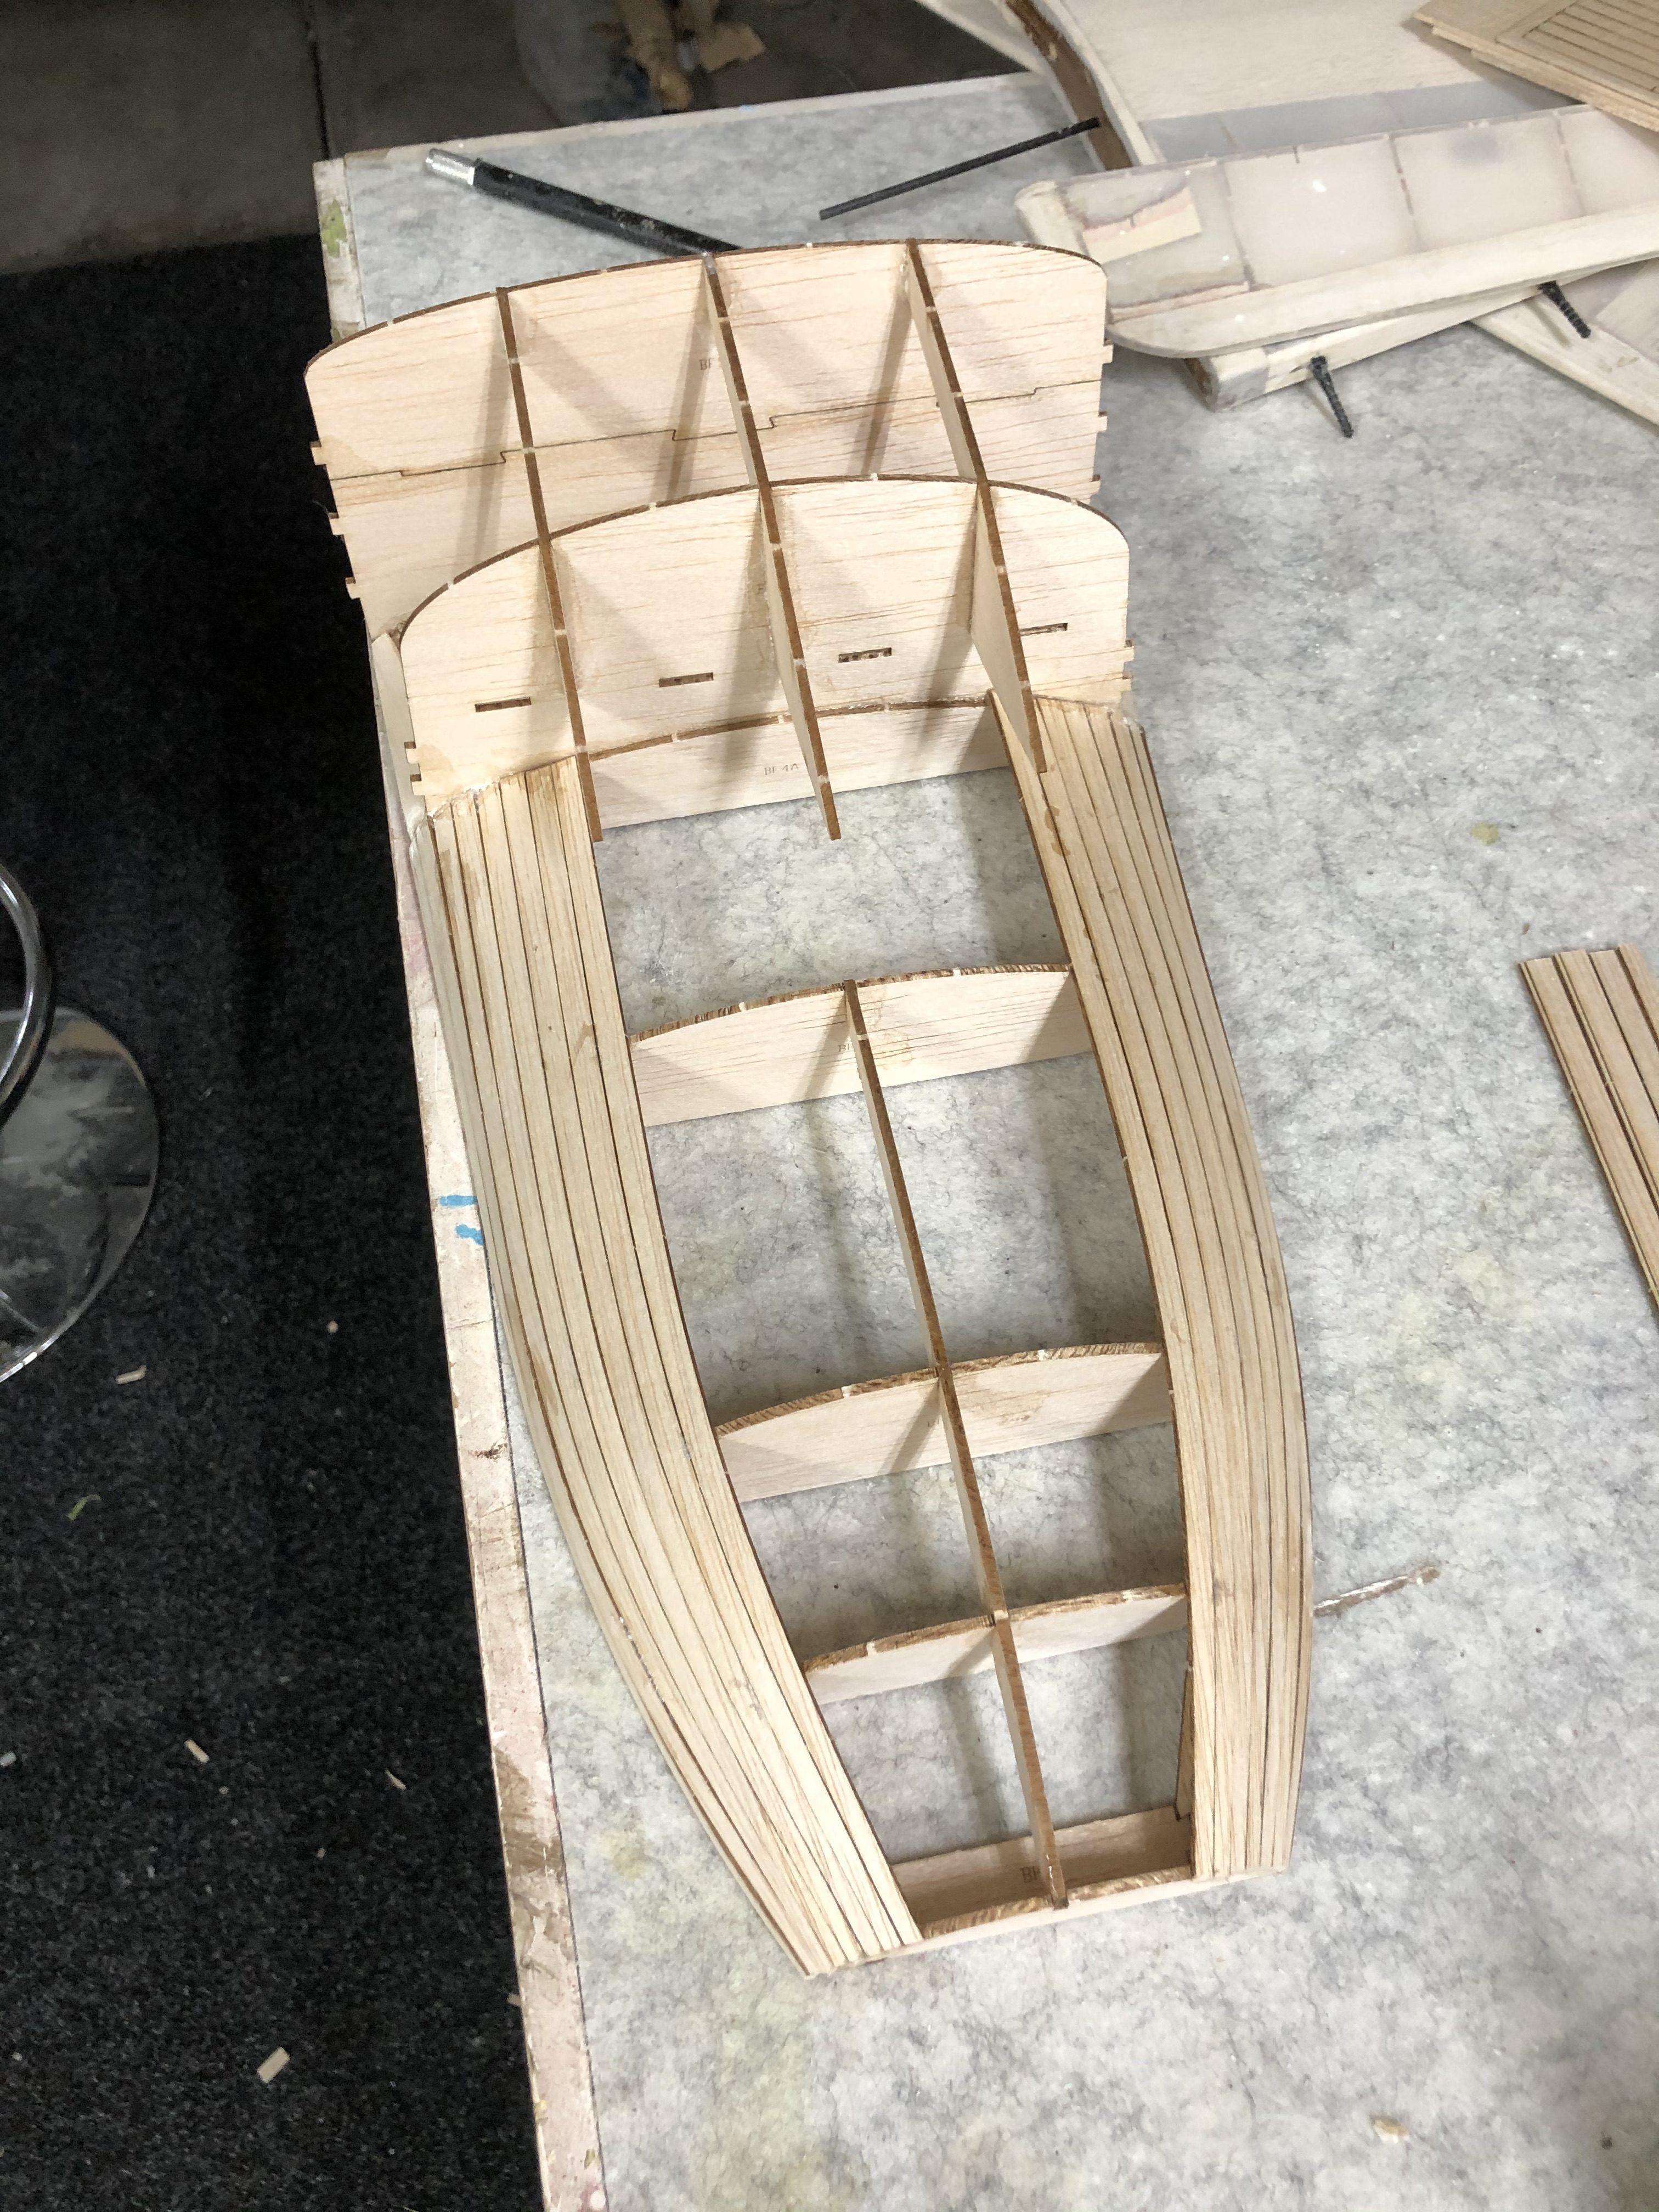
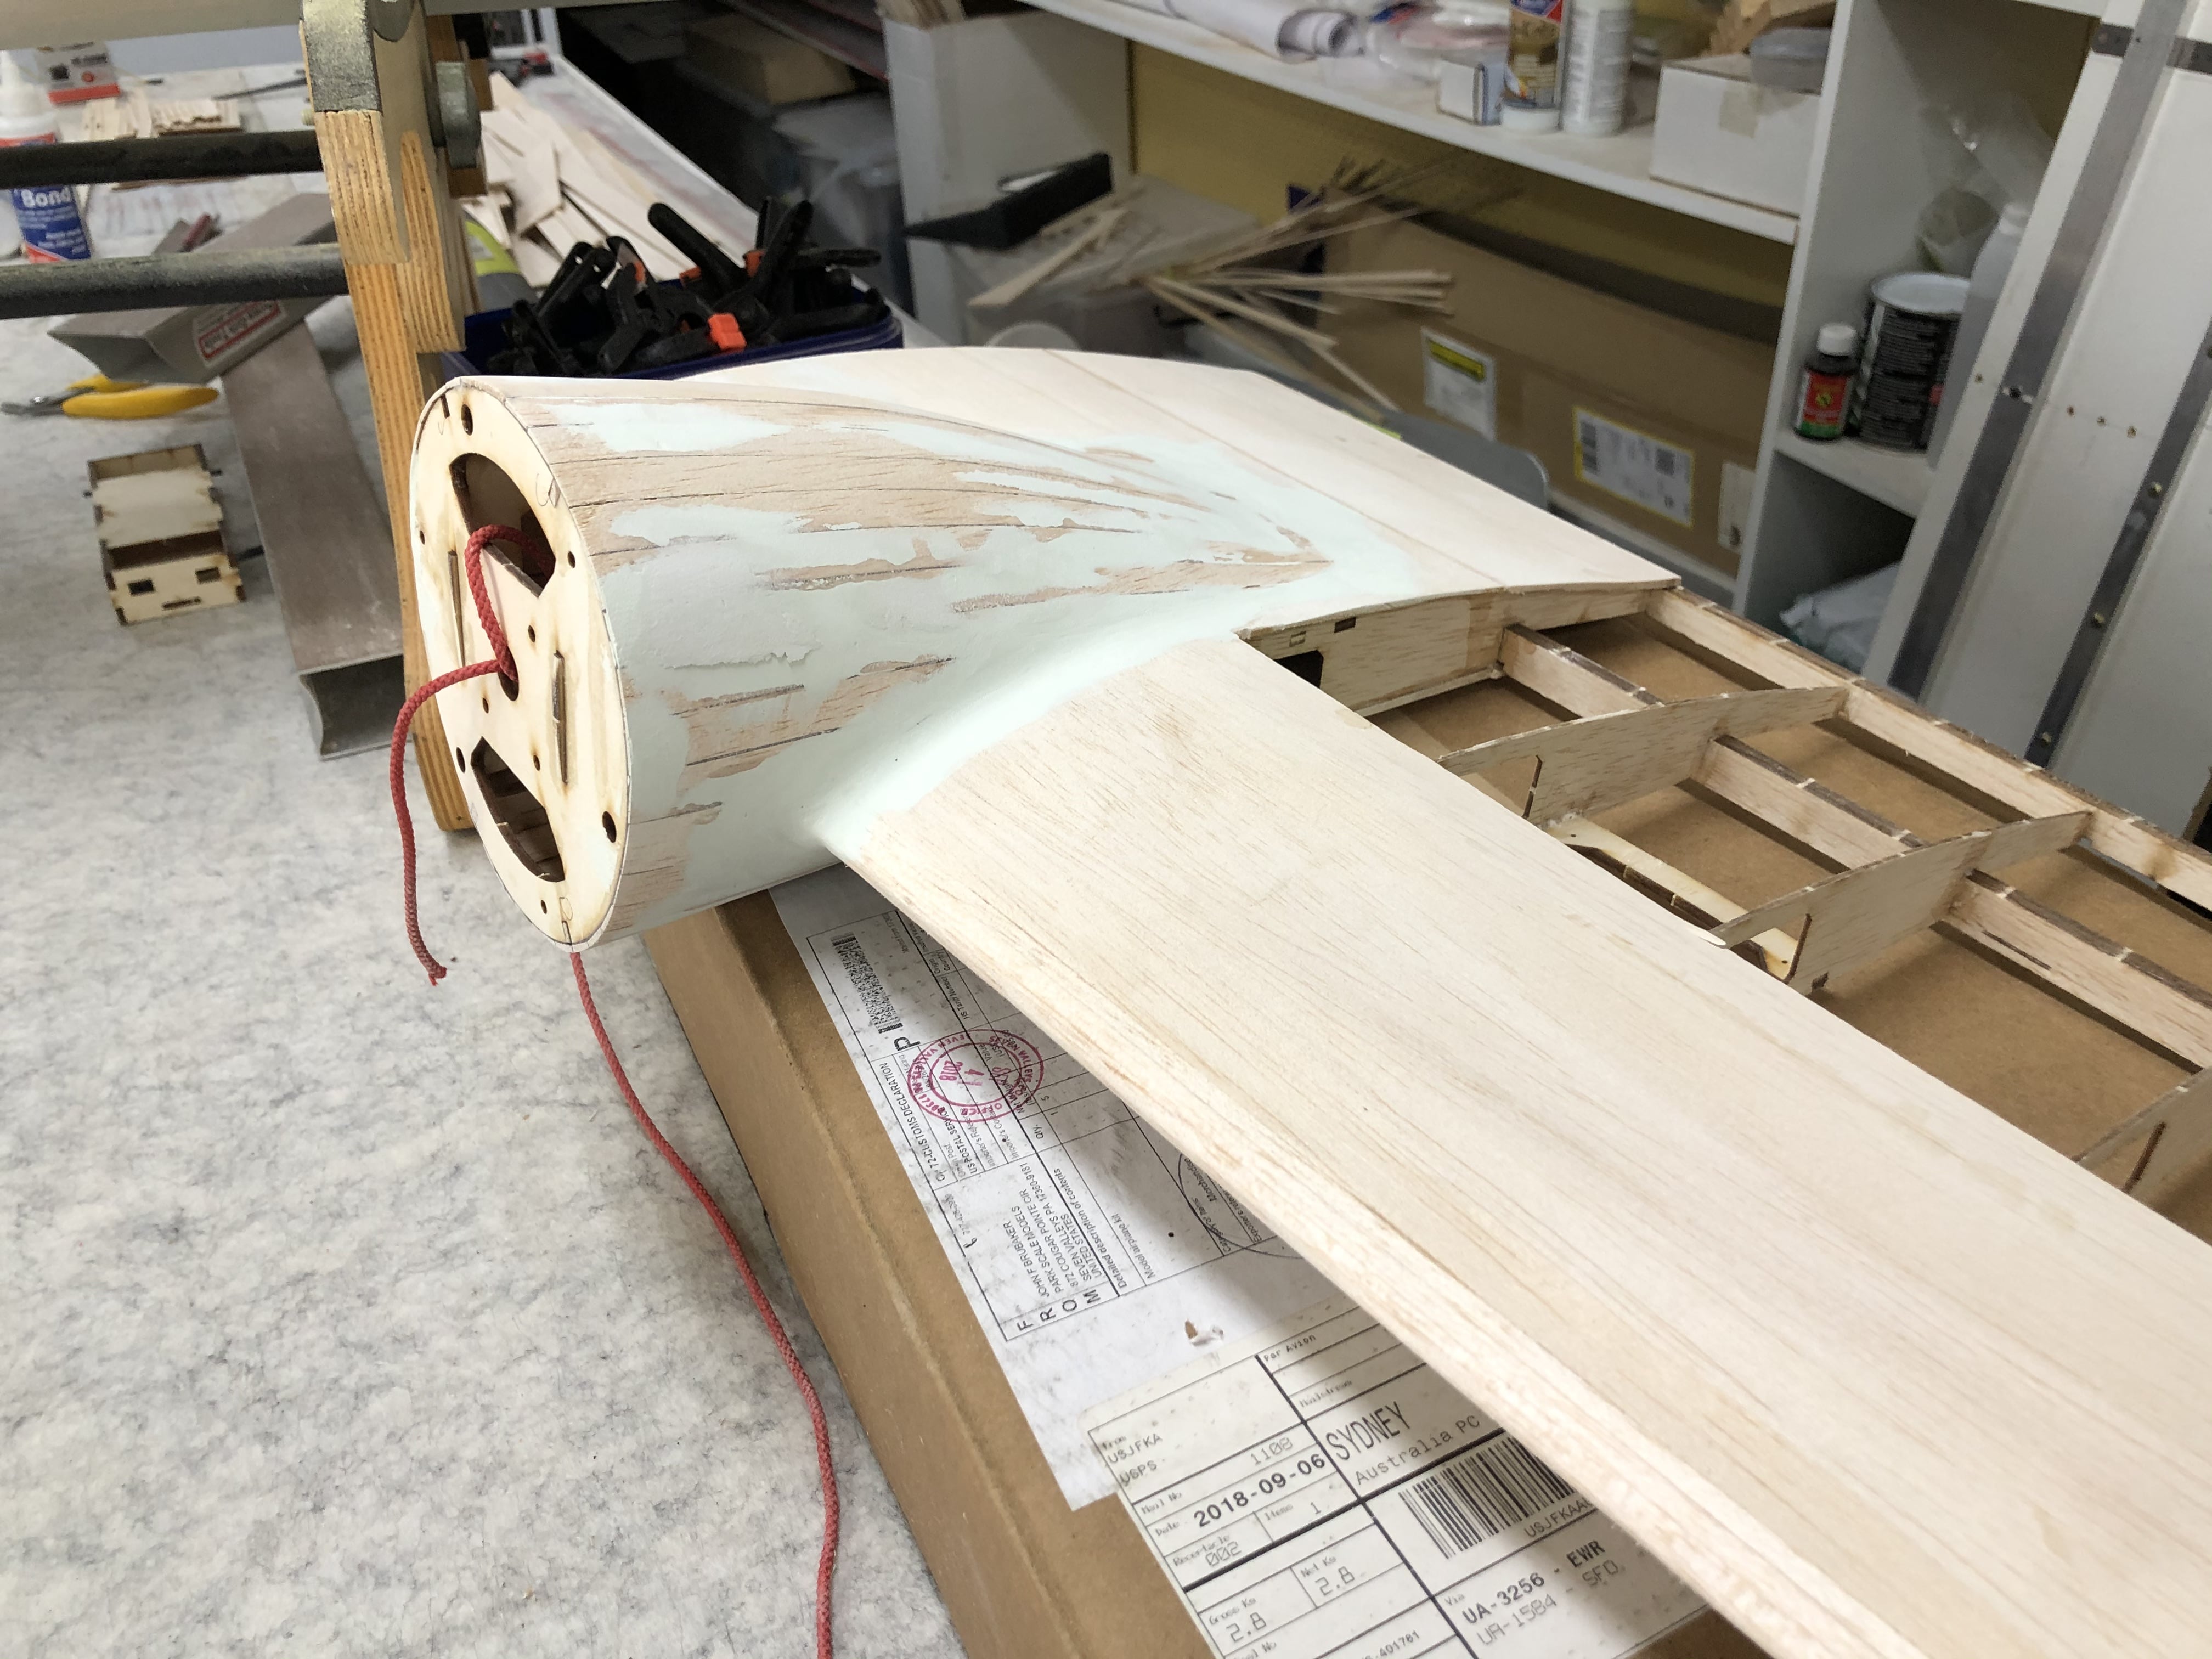
I purchased the optional planking kit, and am very glad I did, as cutting out all the required planking for the hull and engine nacelles would had added an extreme amount of work.
Oh and also, I have decided that this will be a dedicated water bird and as such, I am not installing the optional undercarraige.

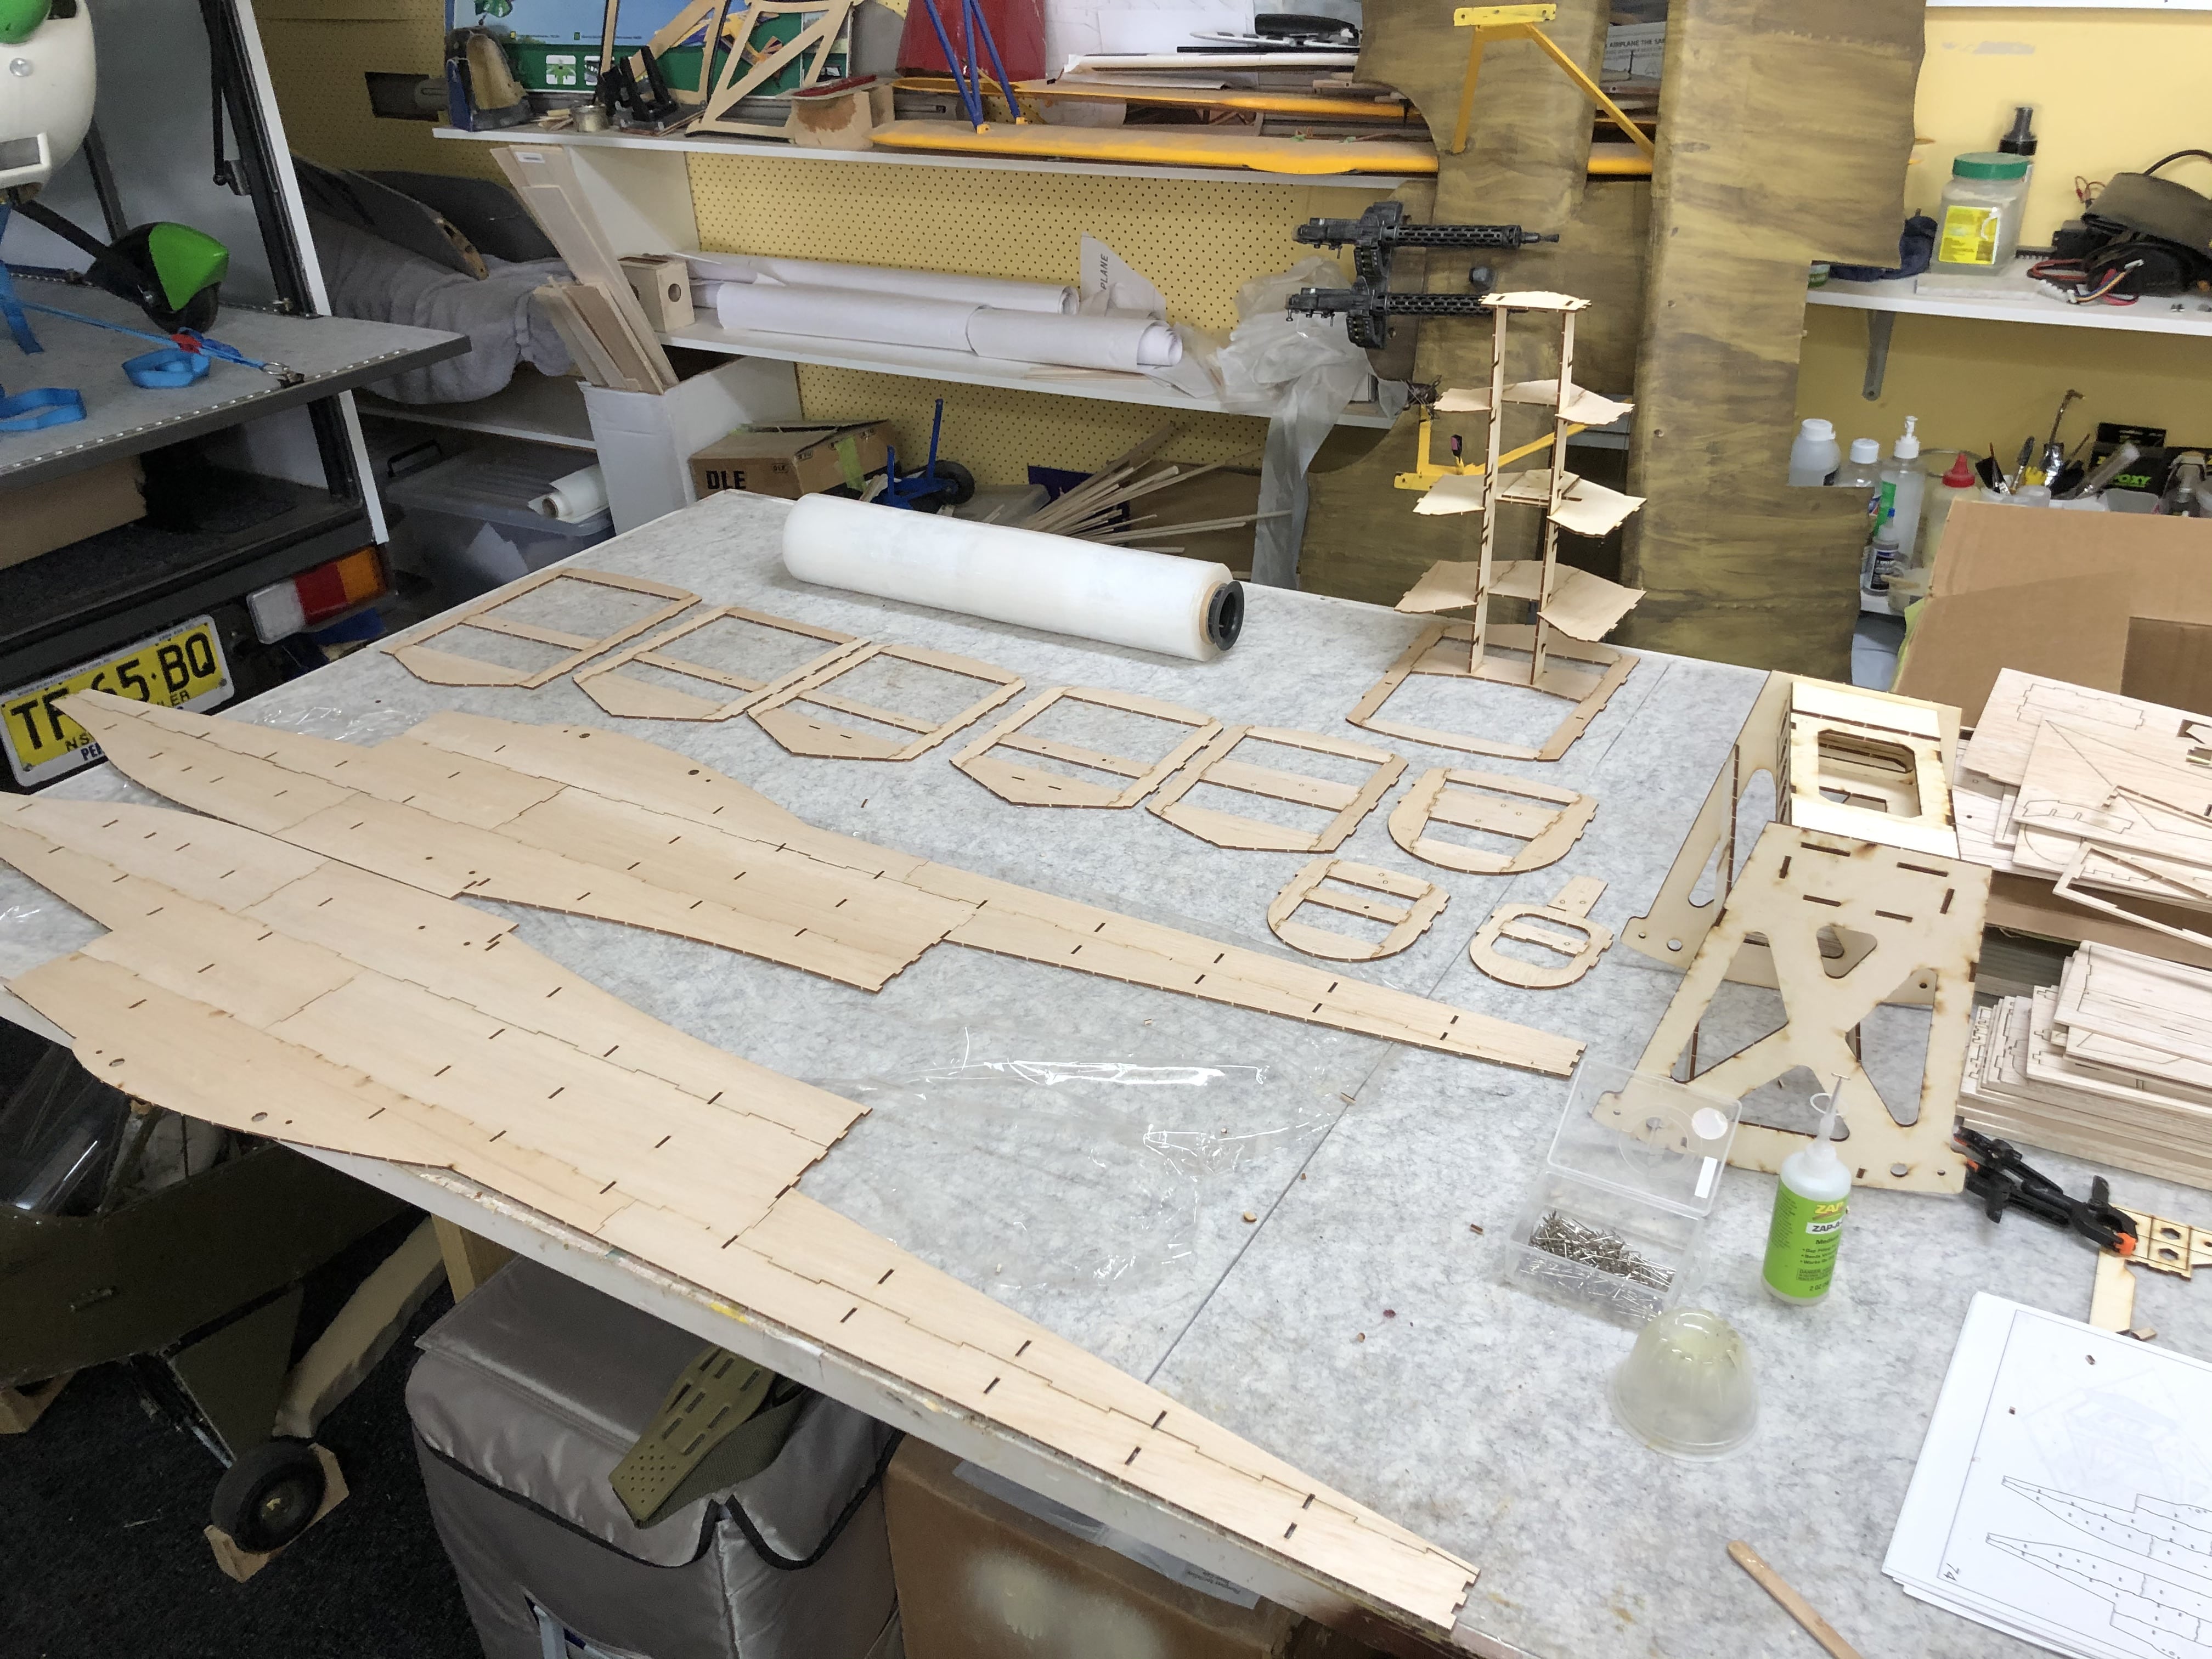
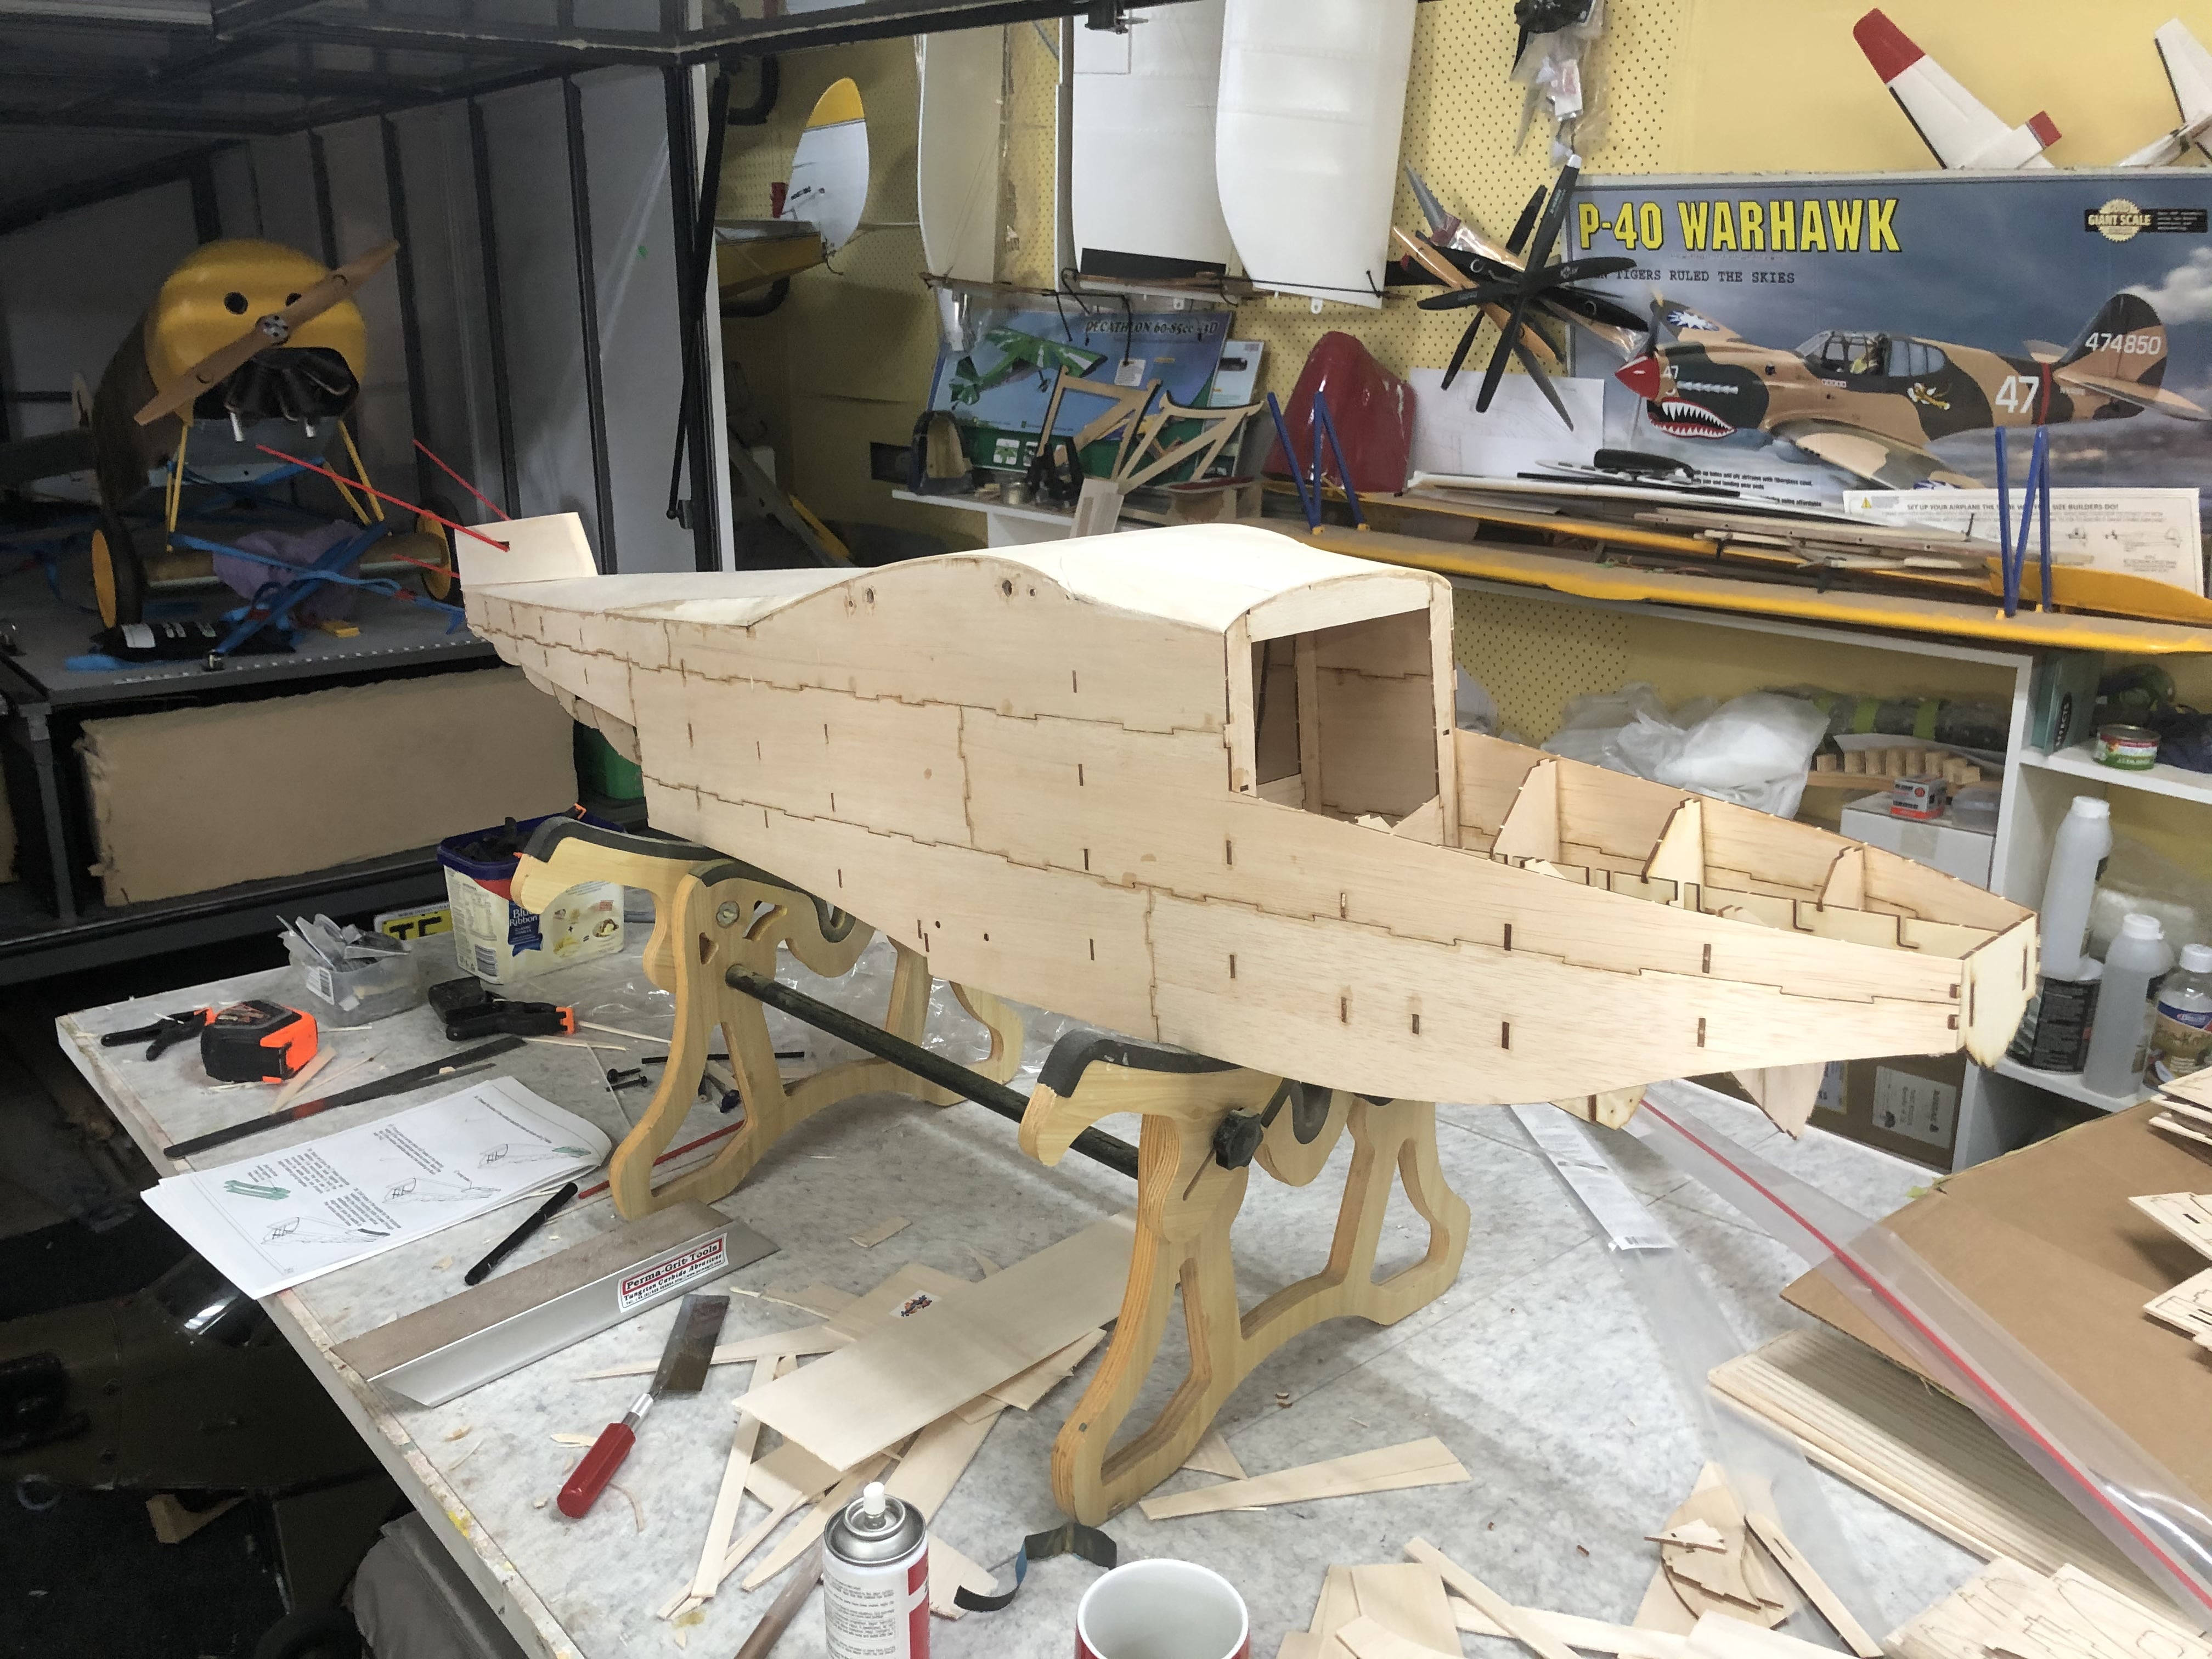
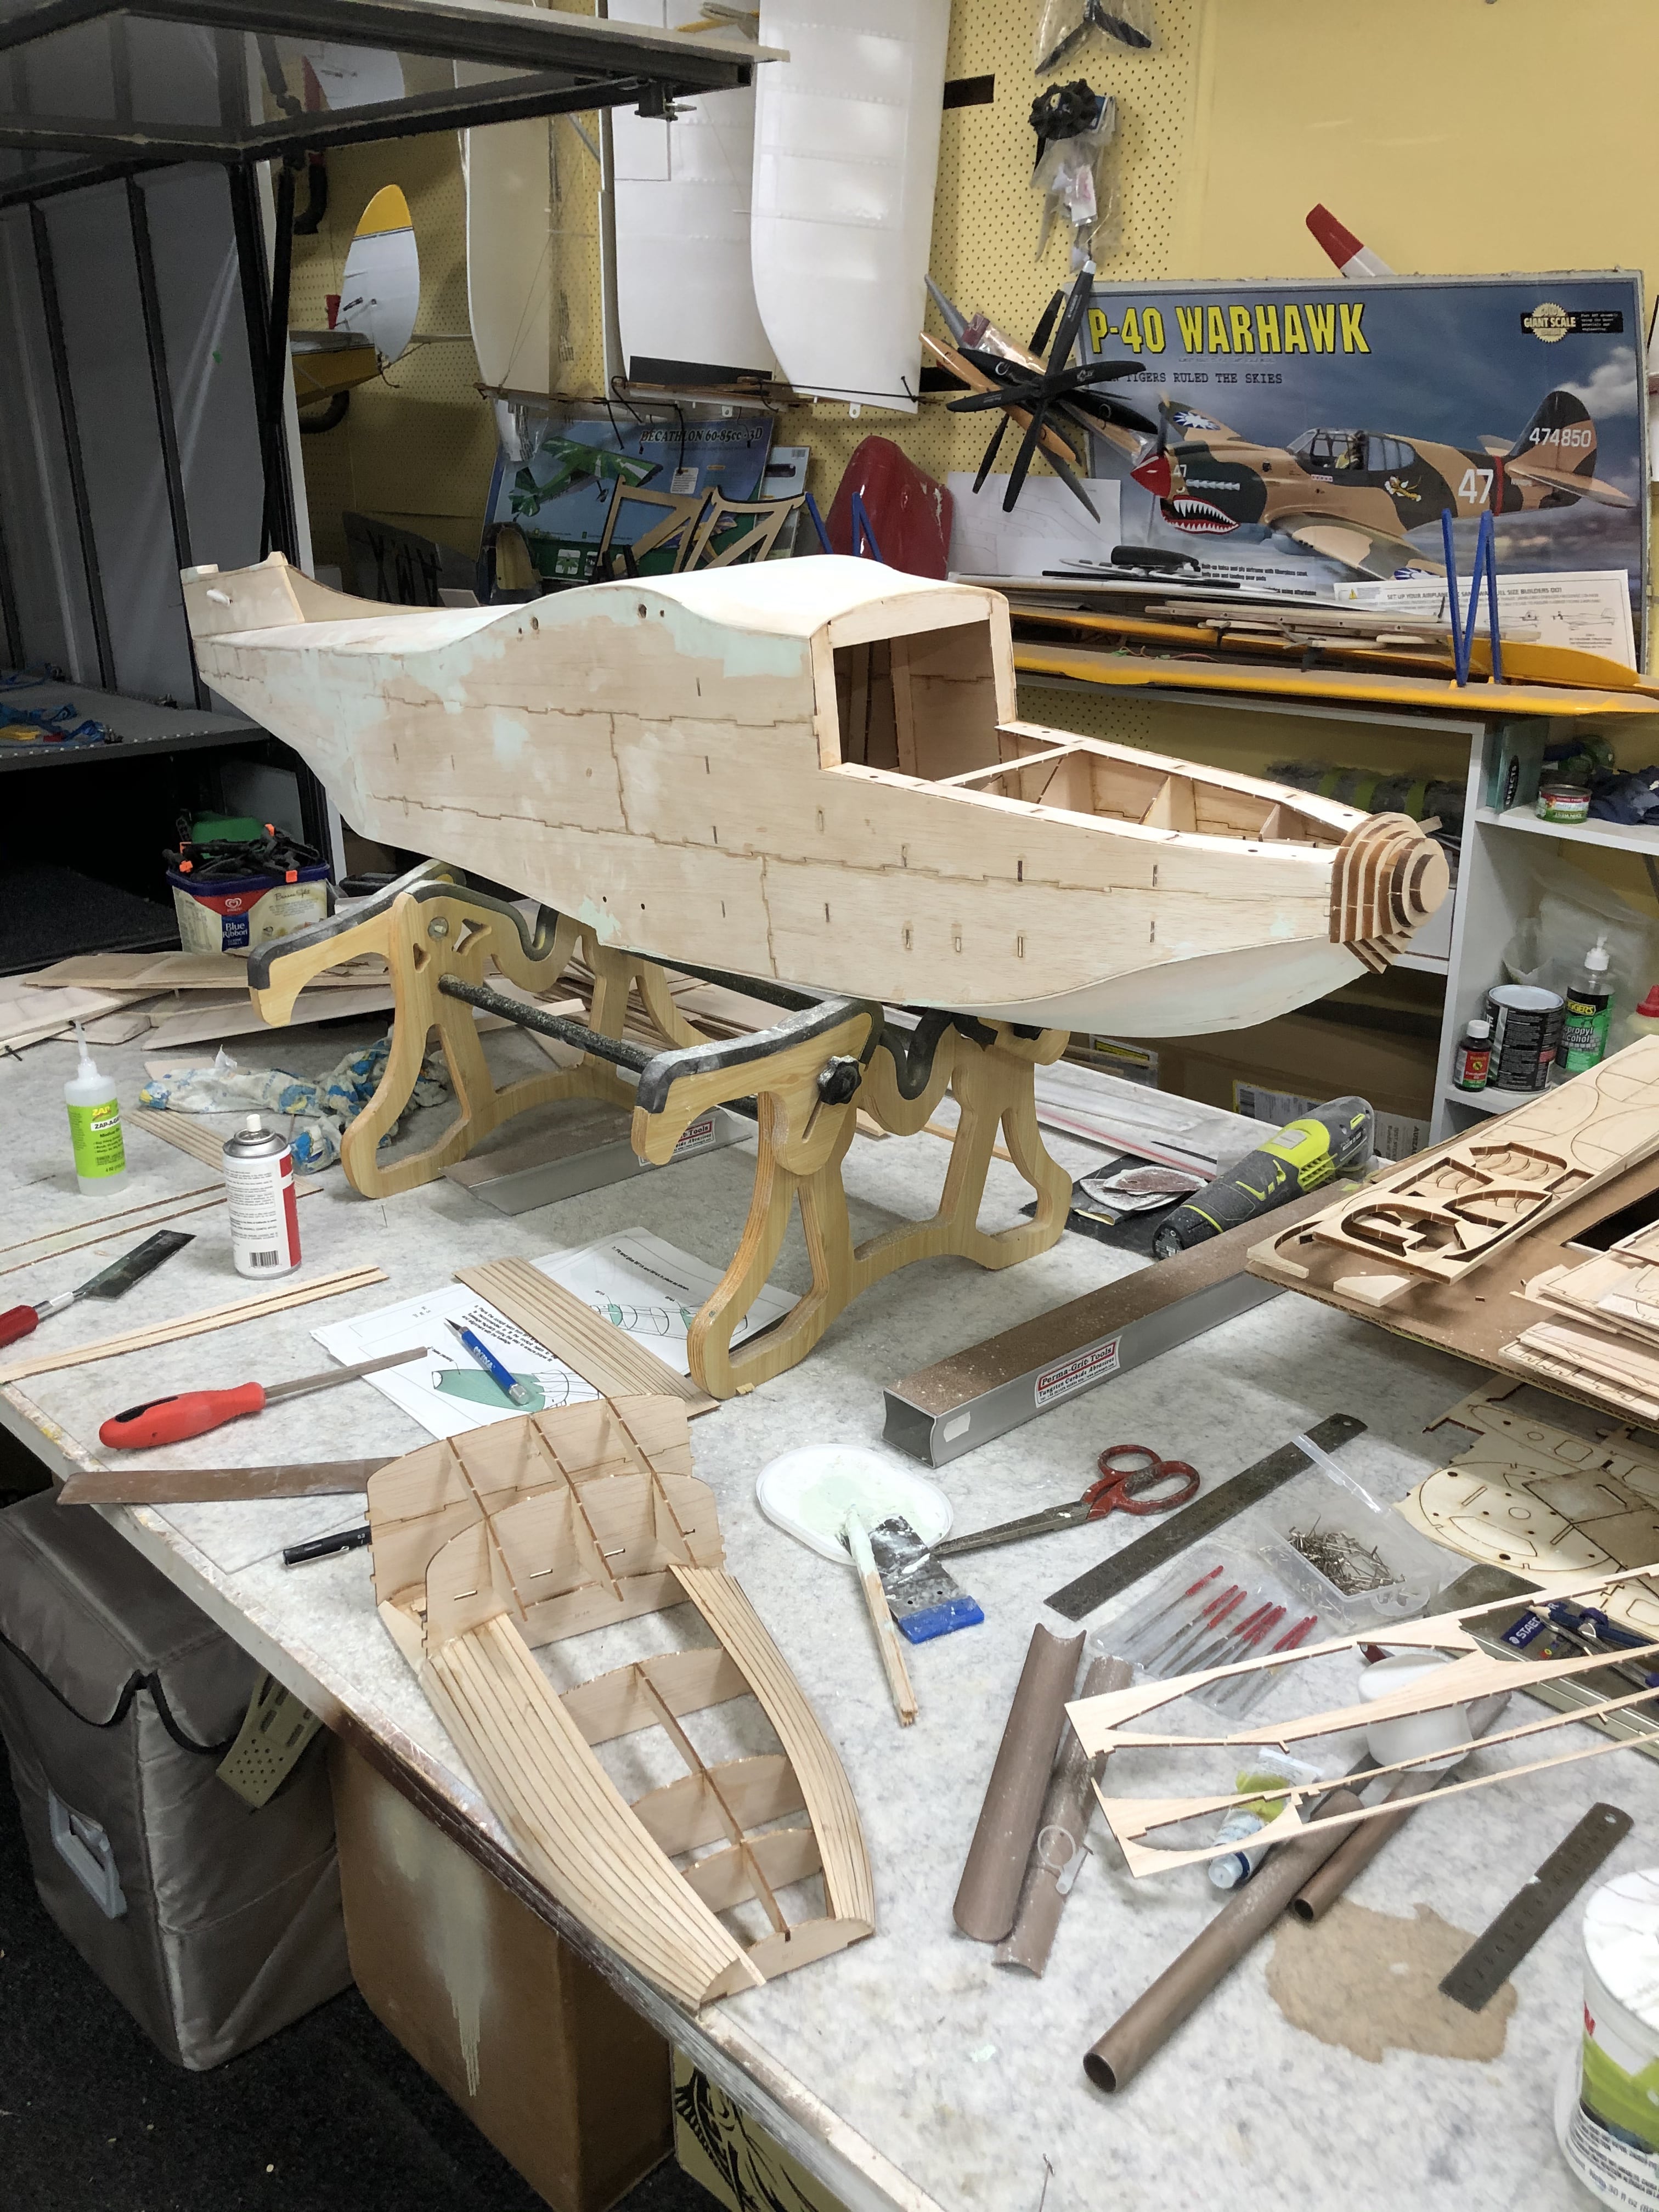
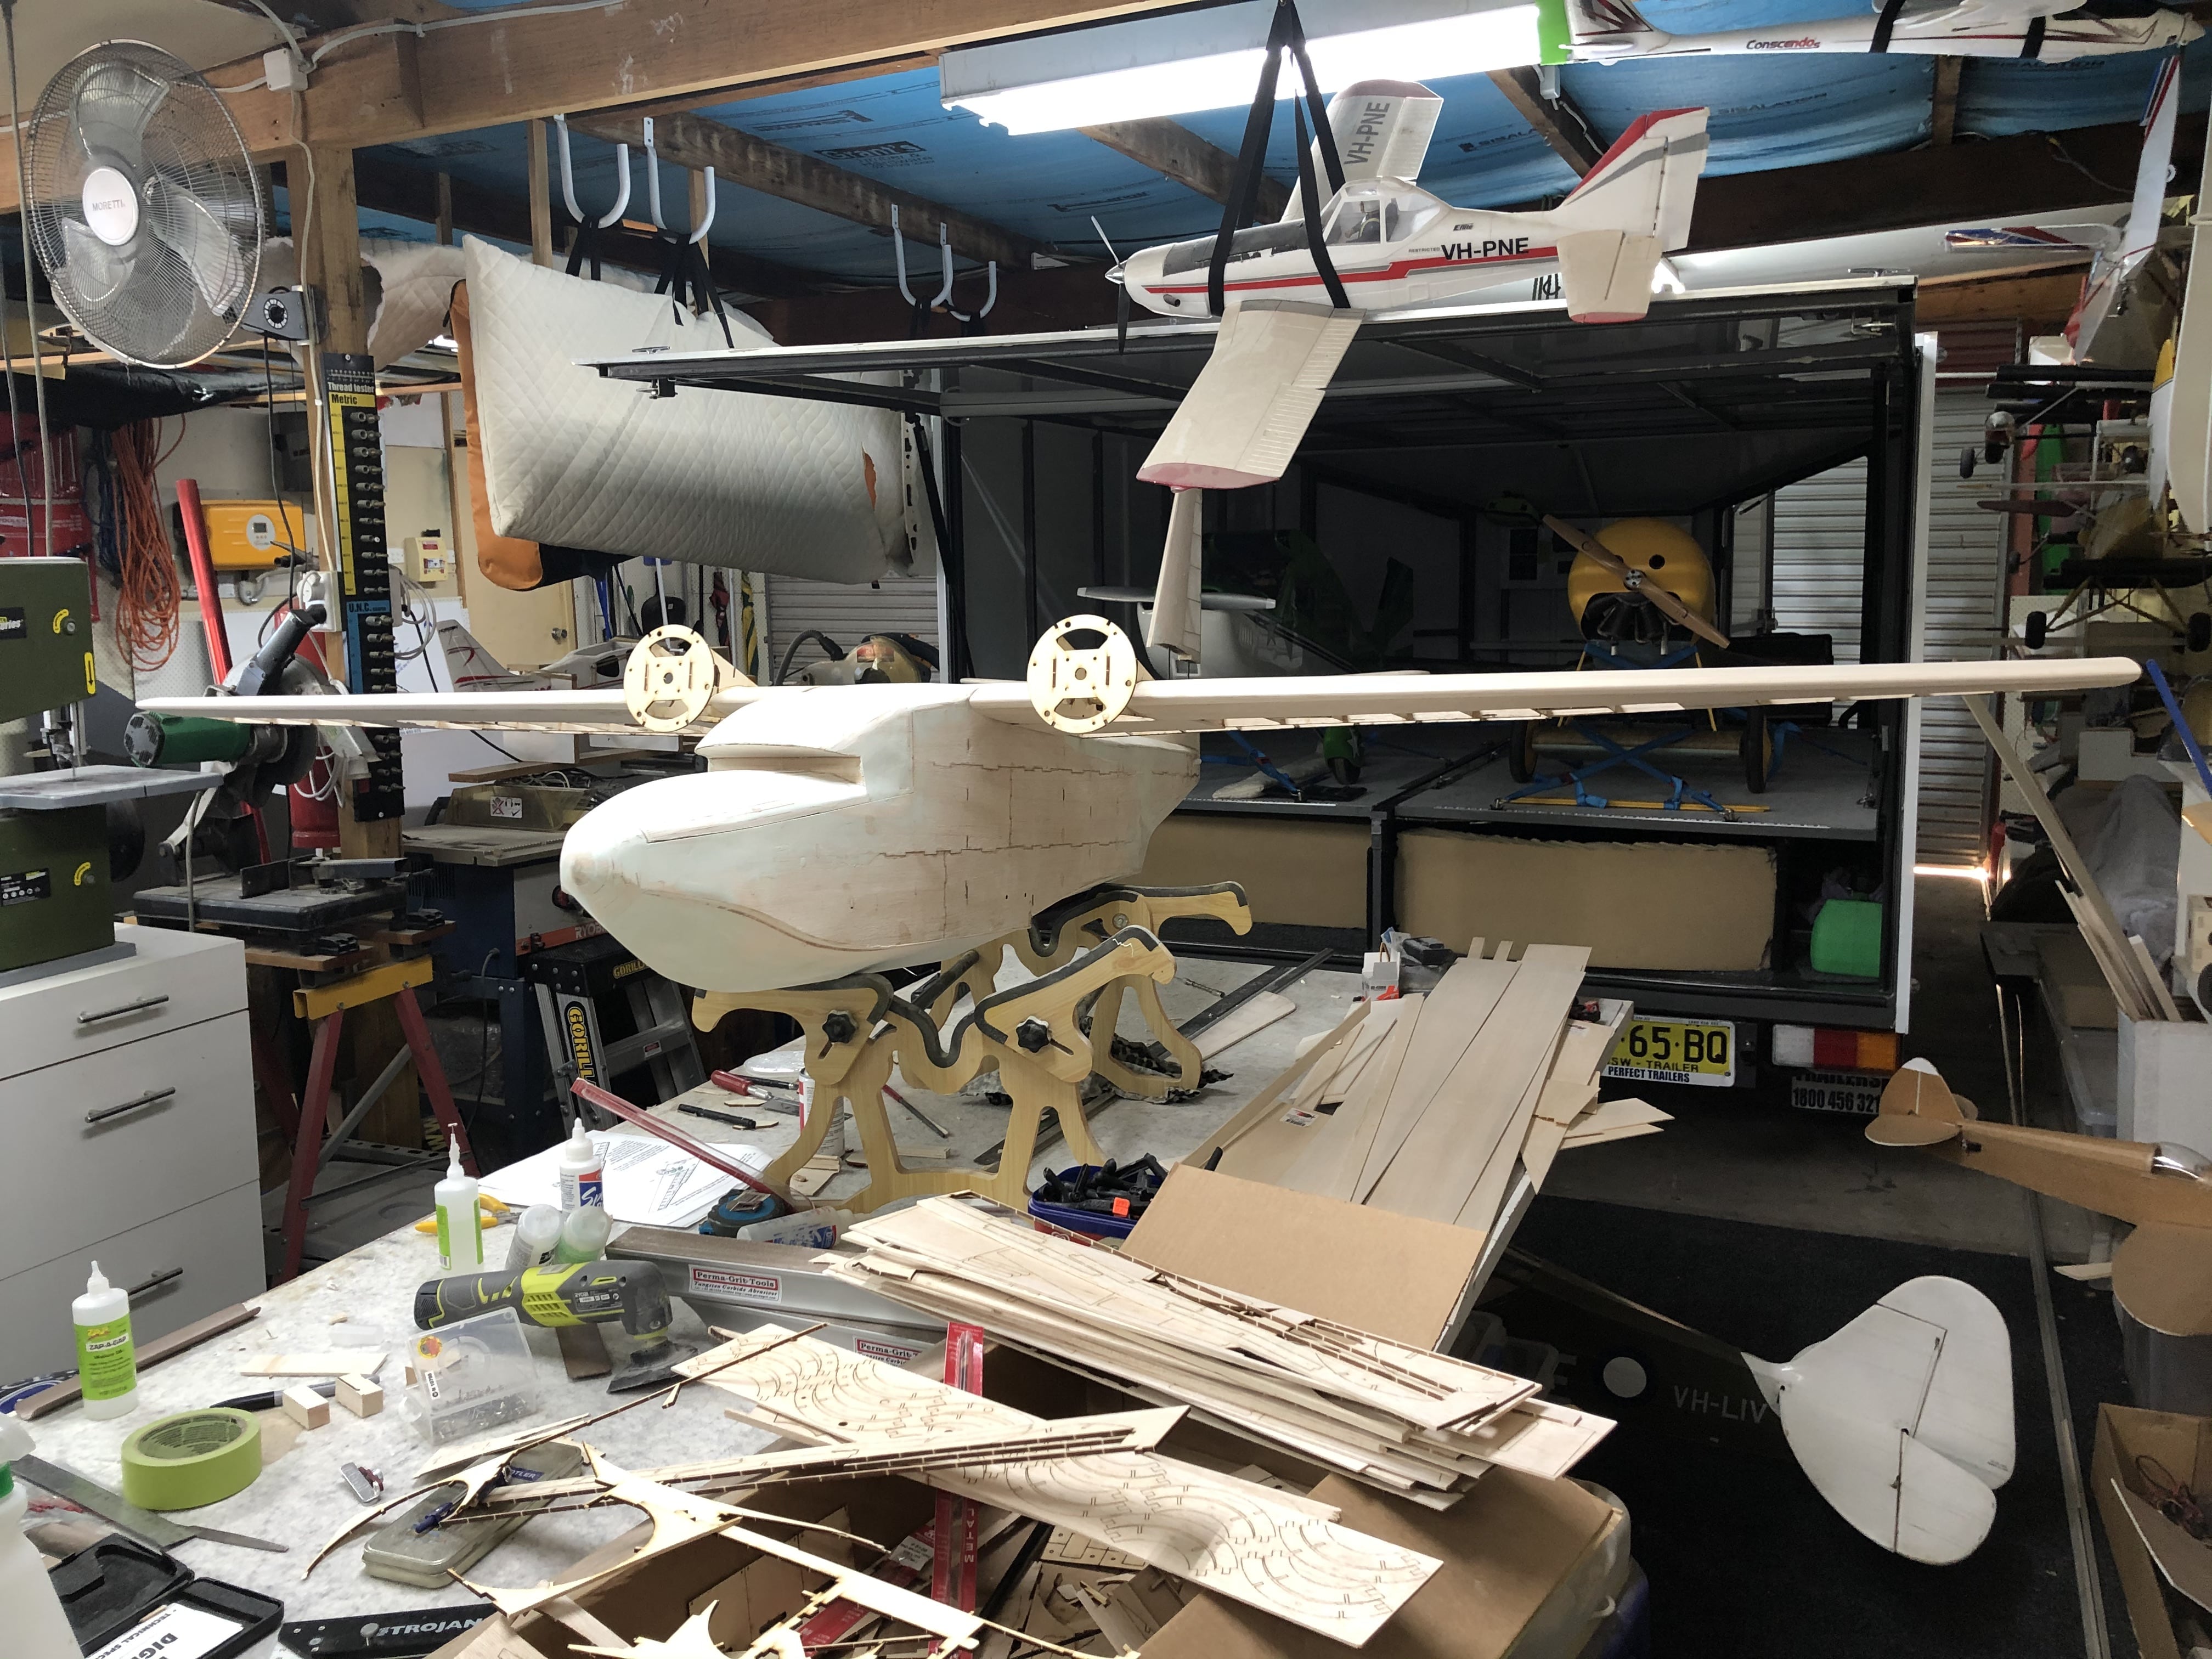
As the pictures show, it is coming along rather quickly and I hope to have it in the water/sky in time for the next Float Fly.
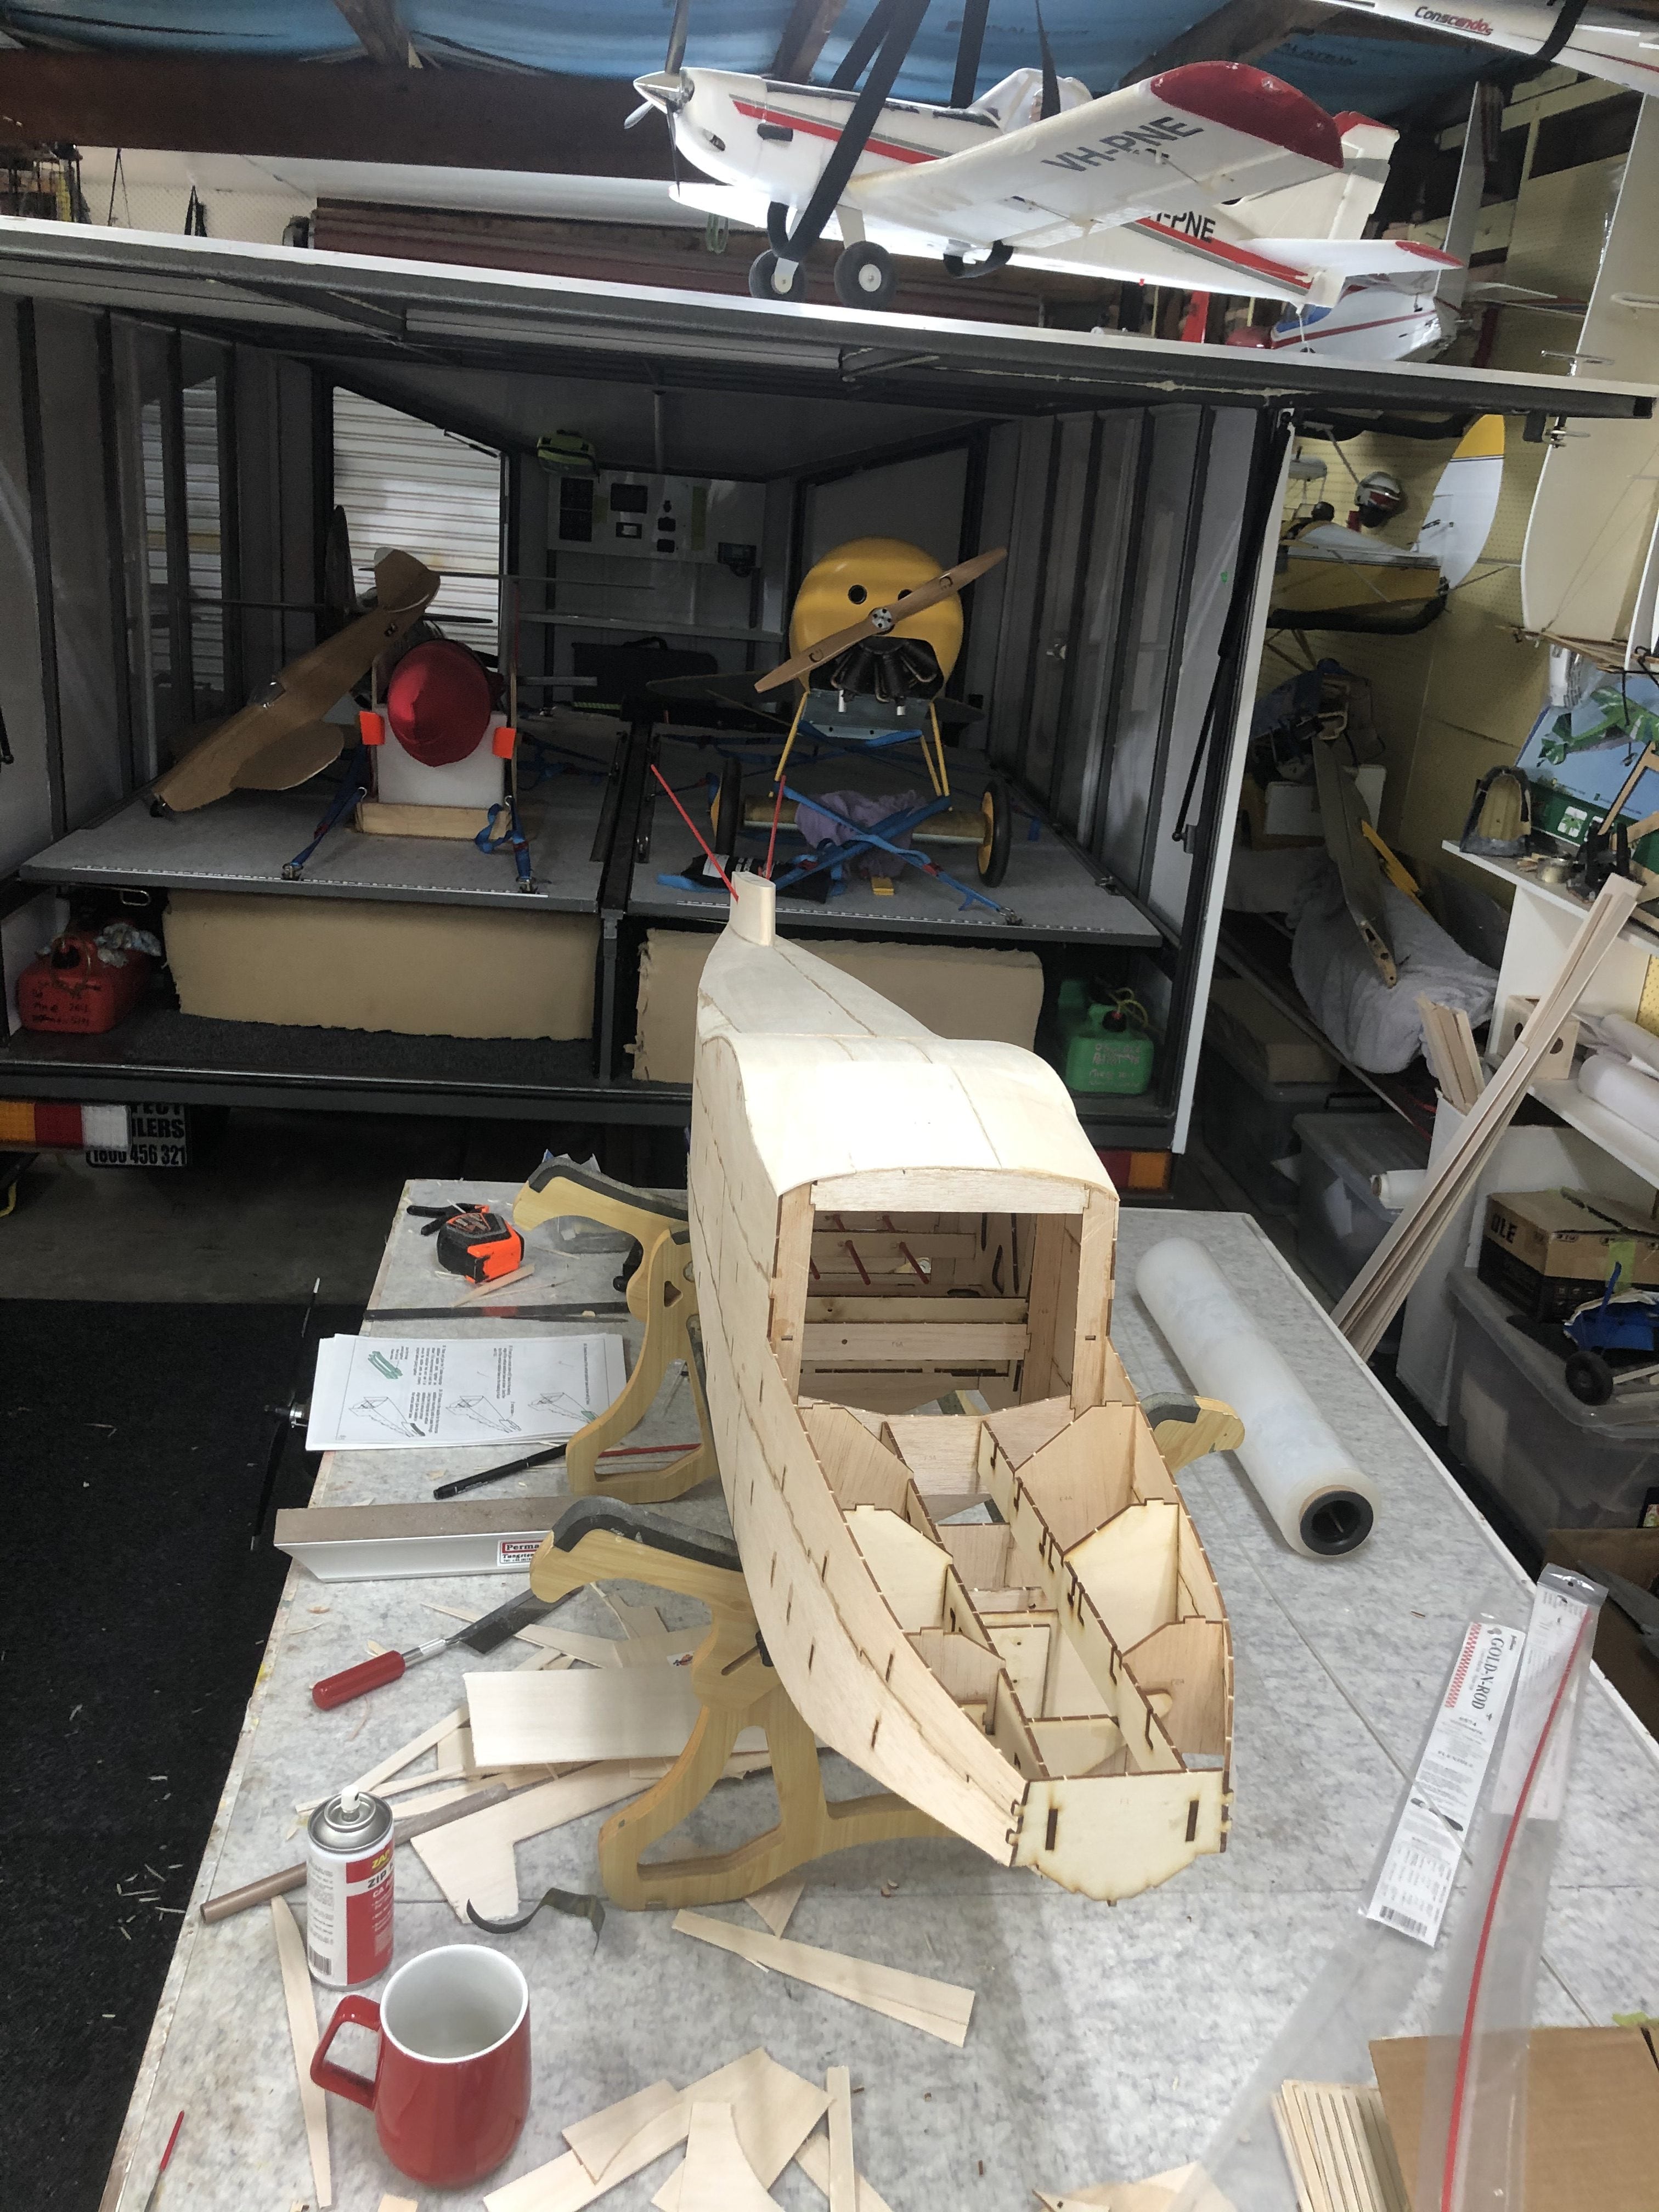
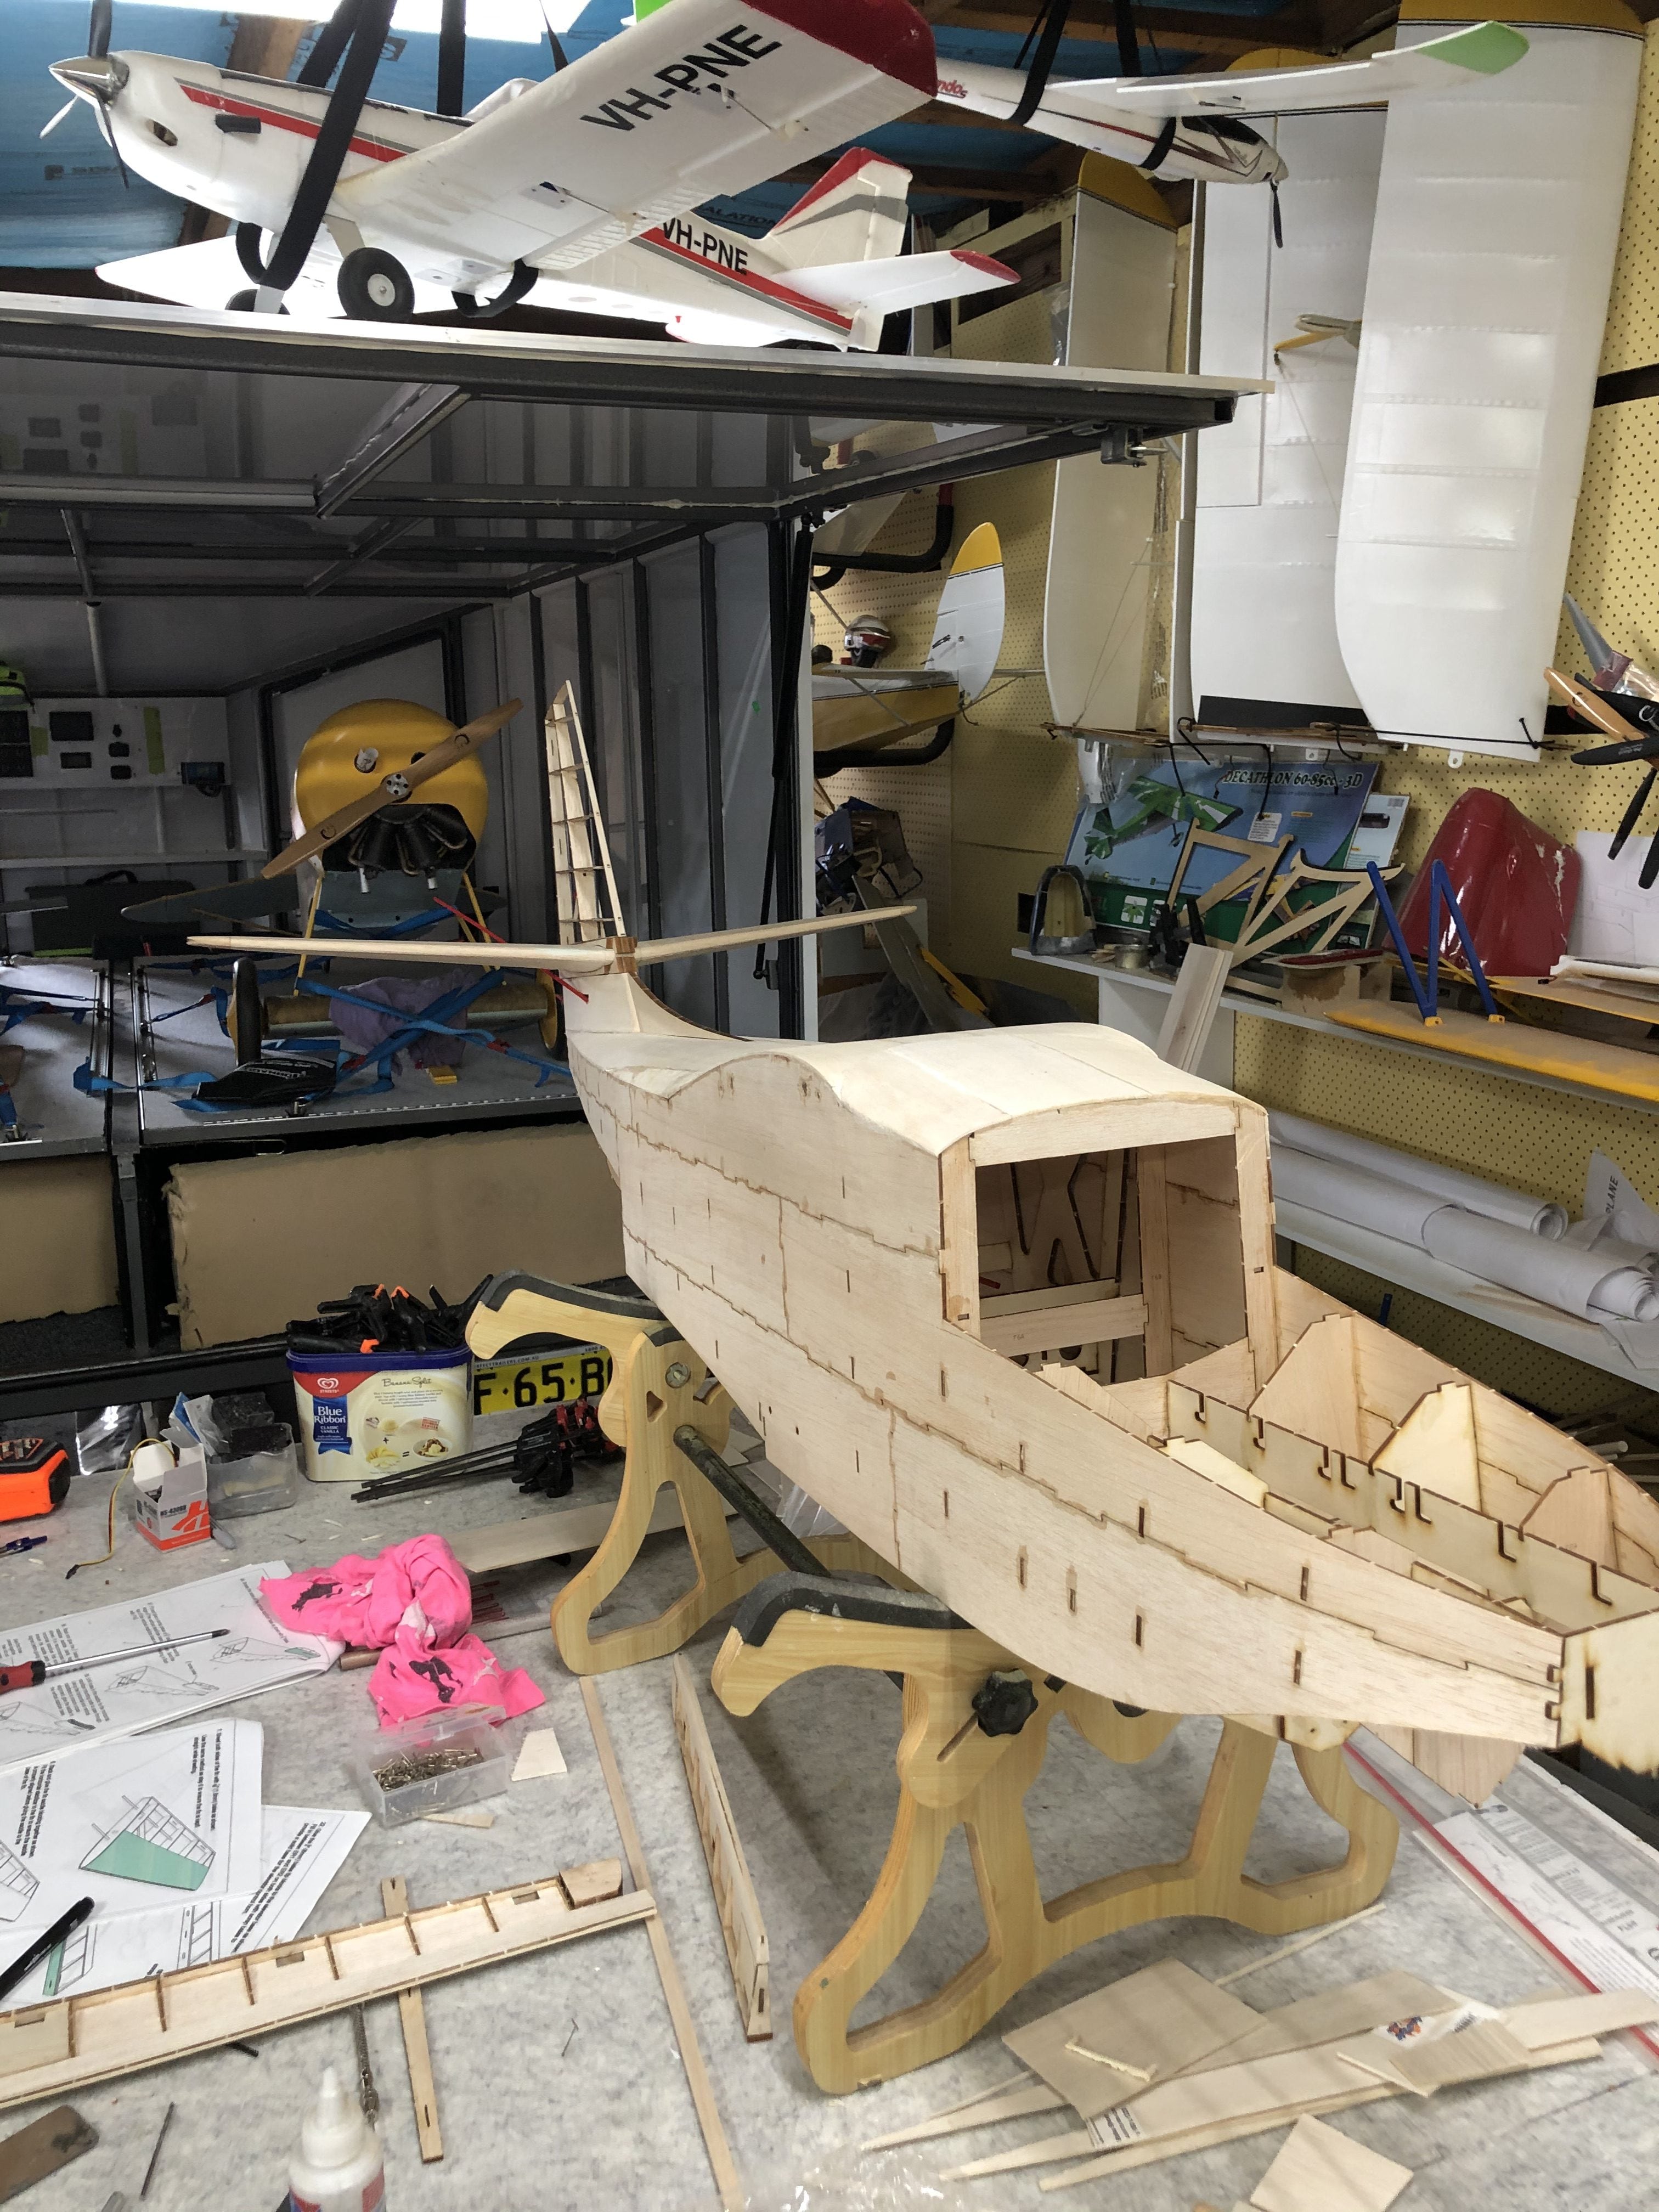
Update 1:
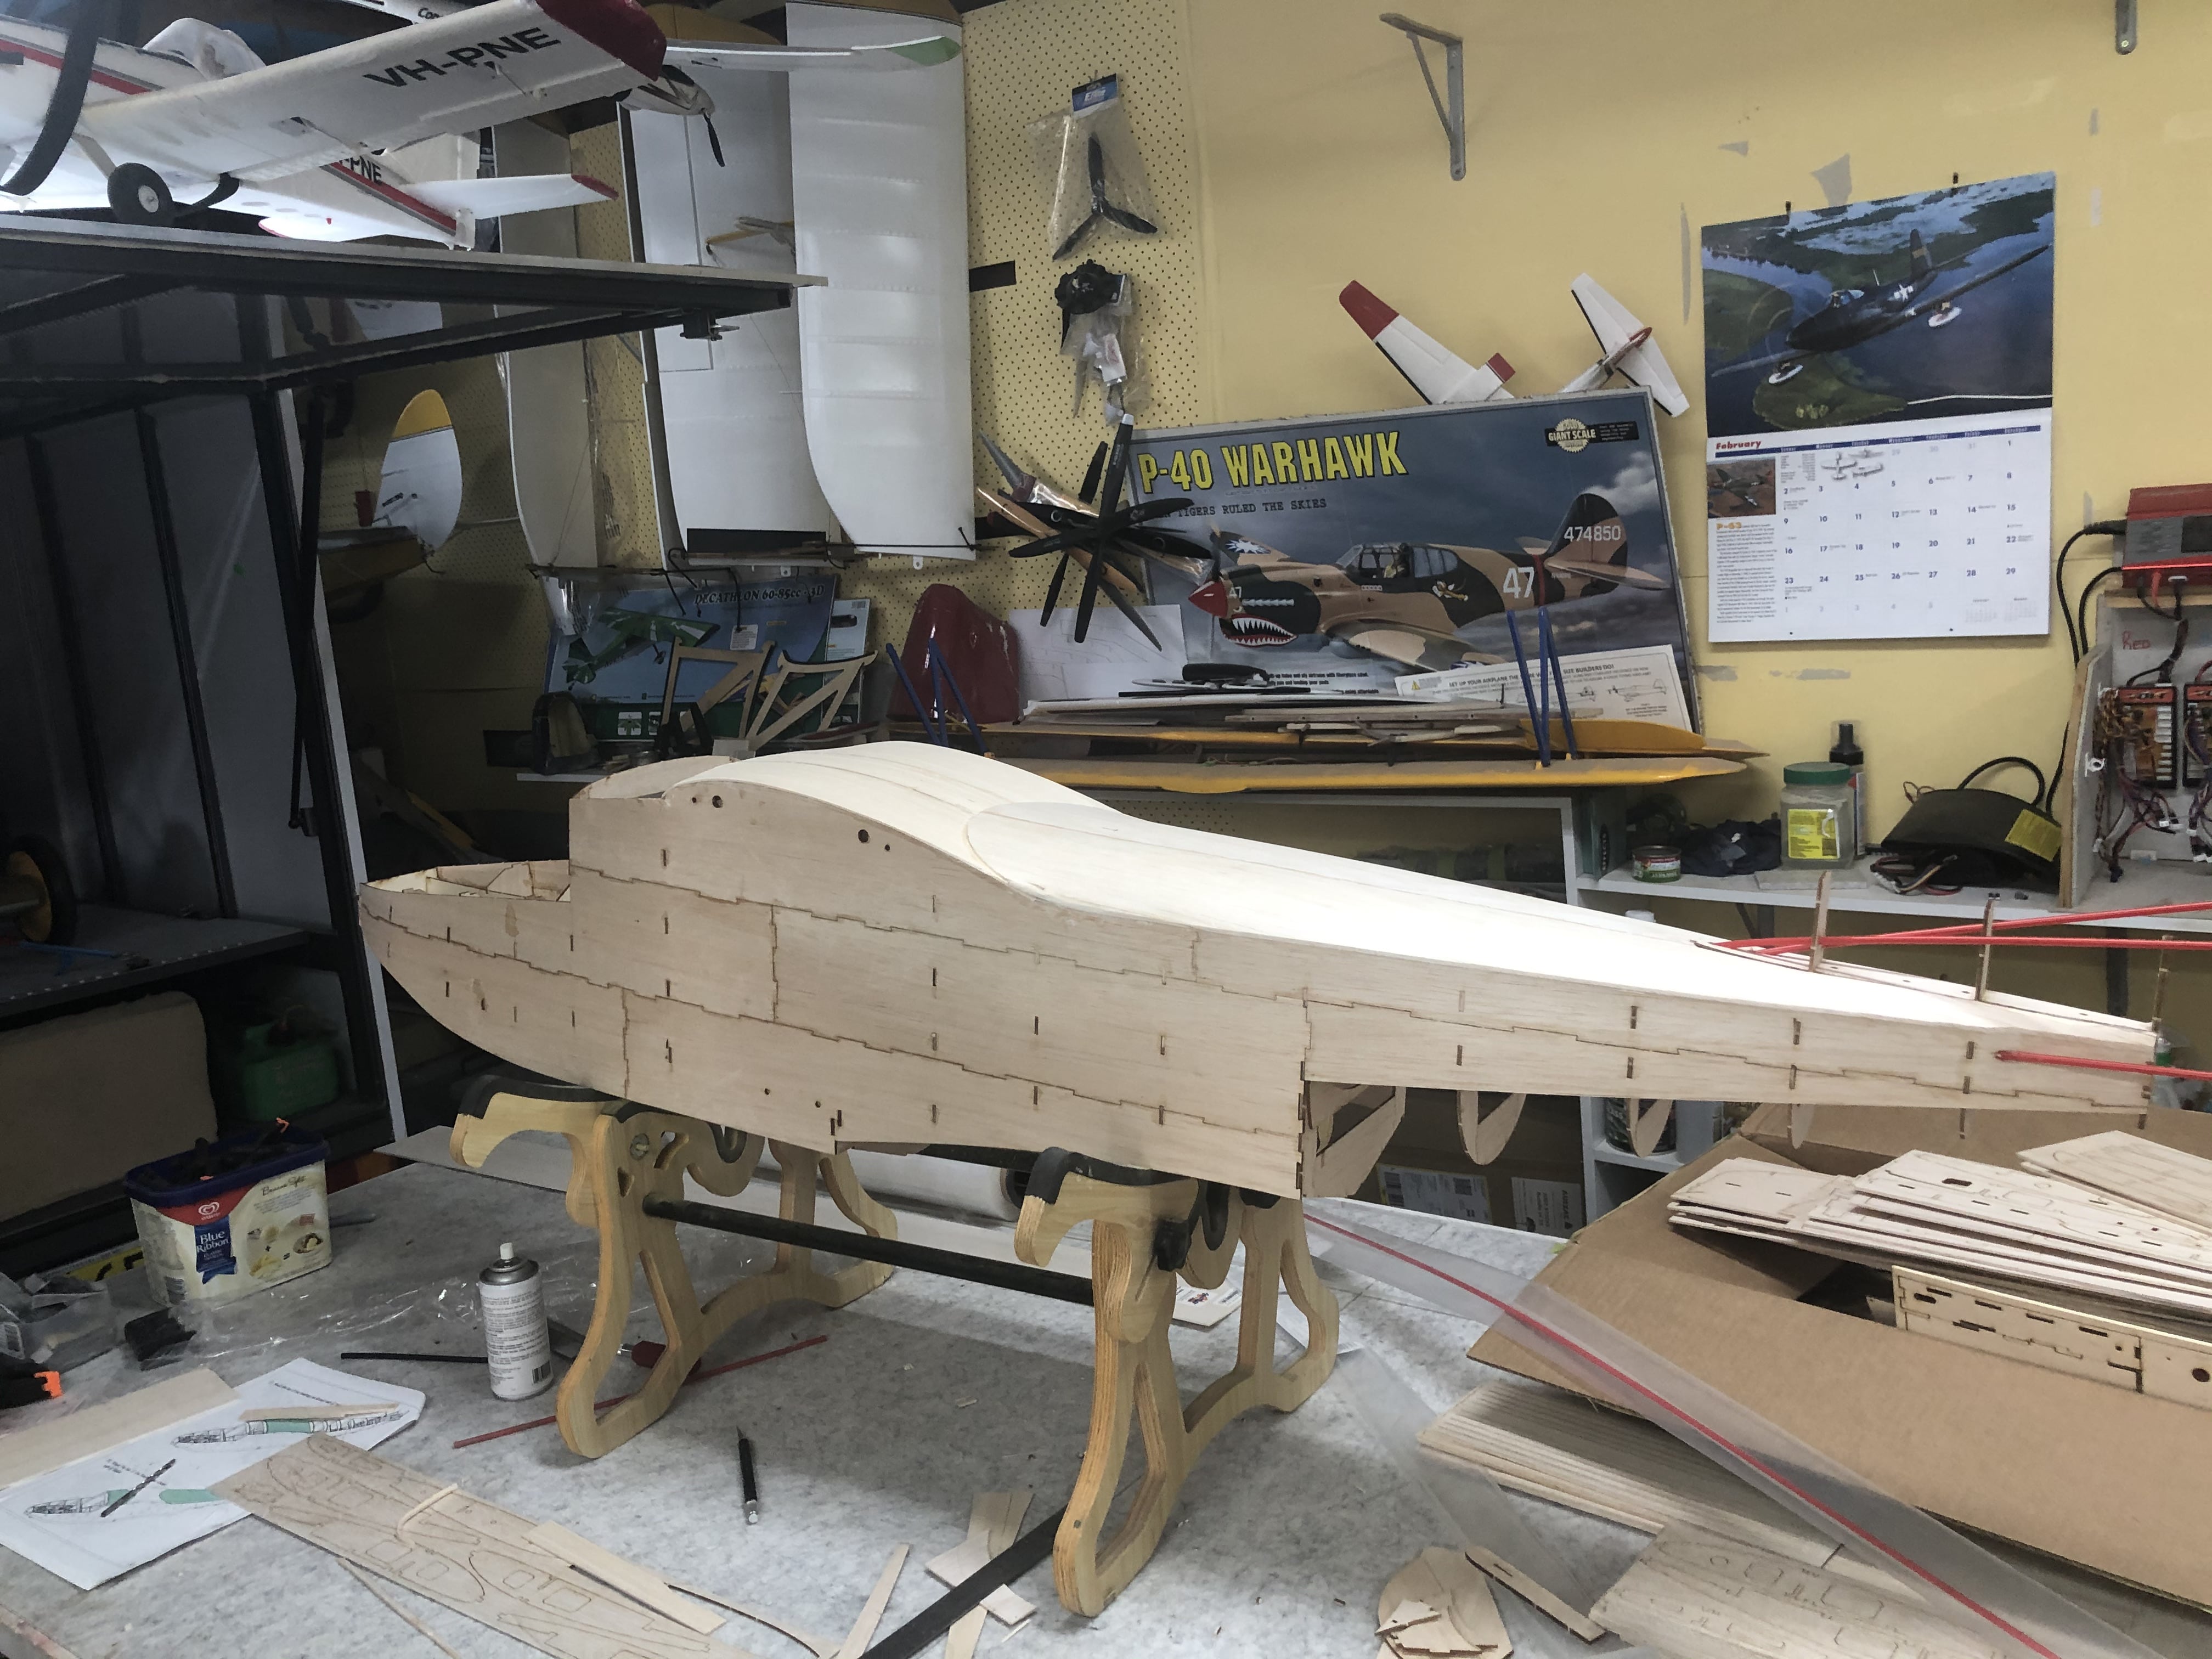
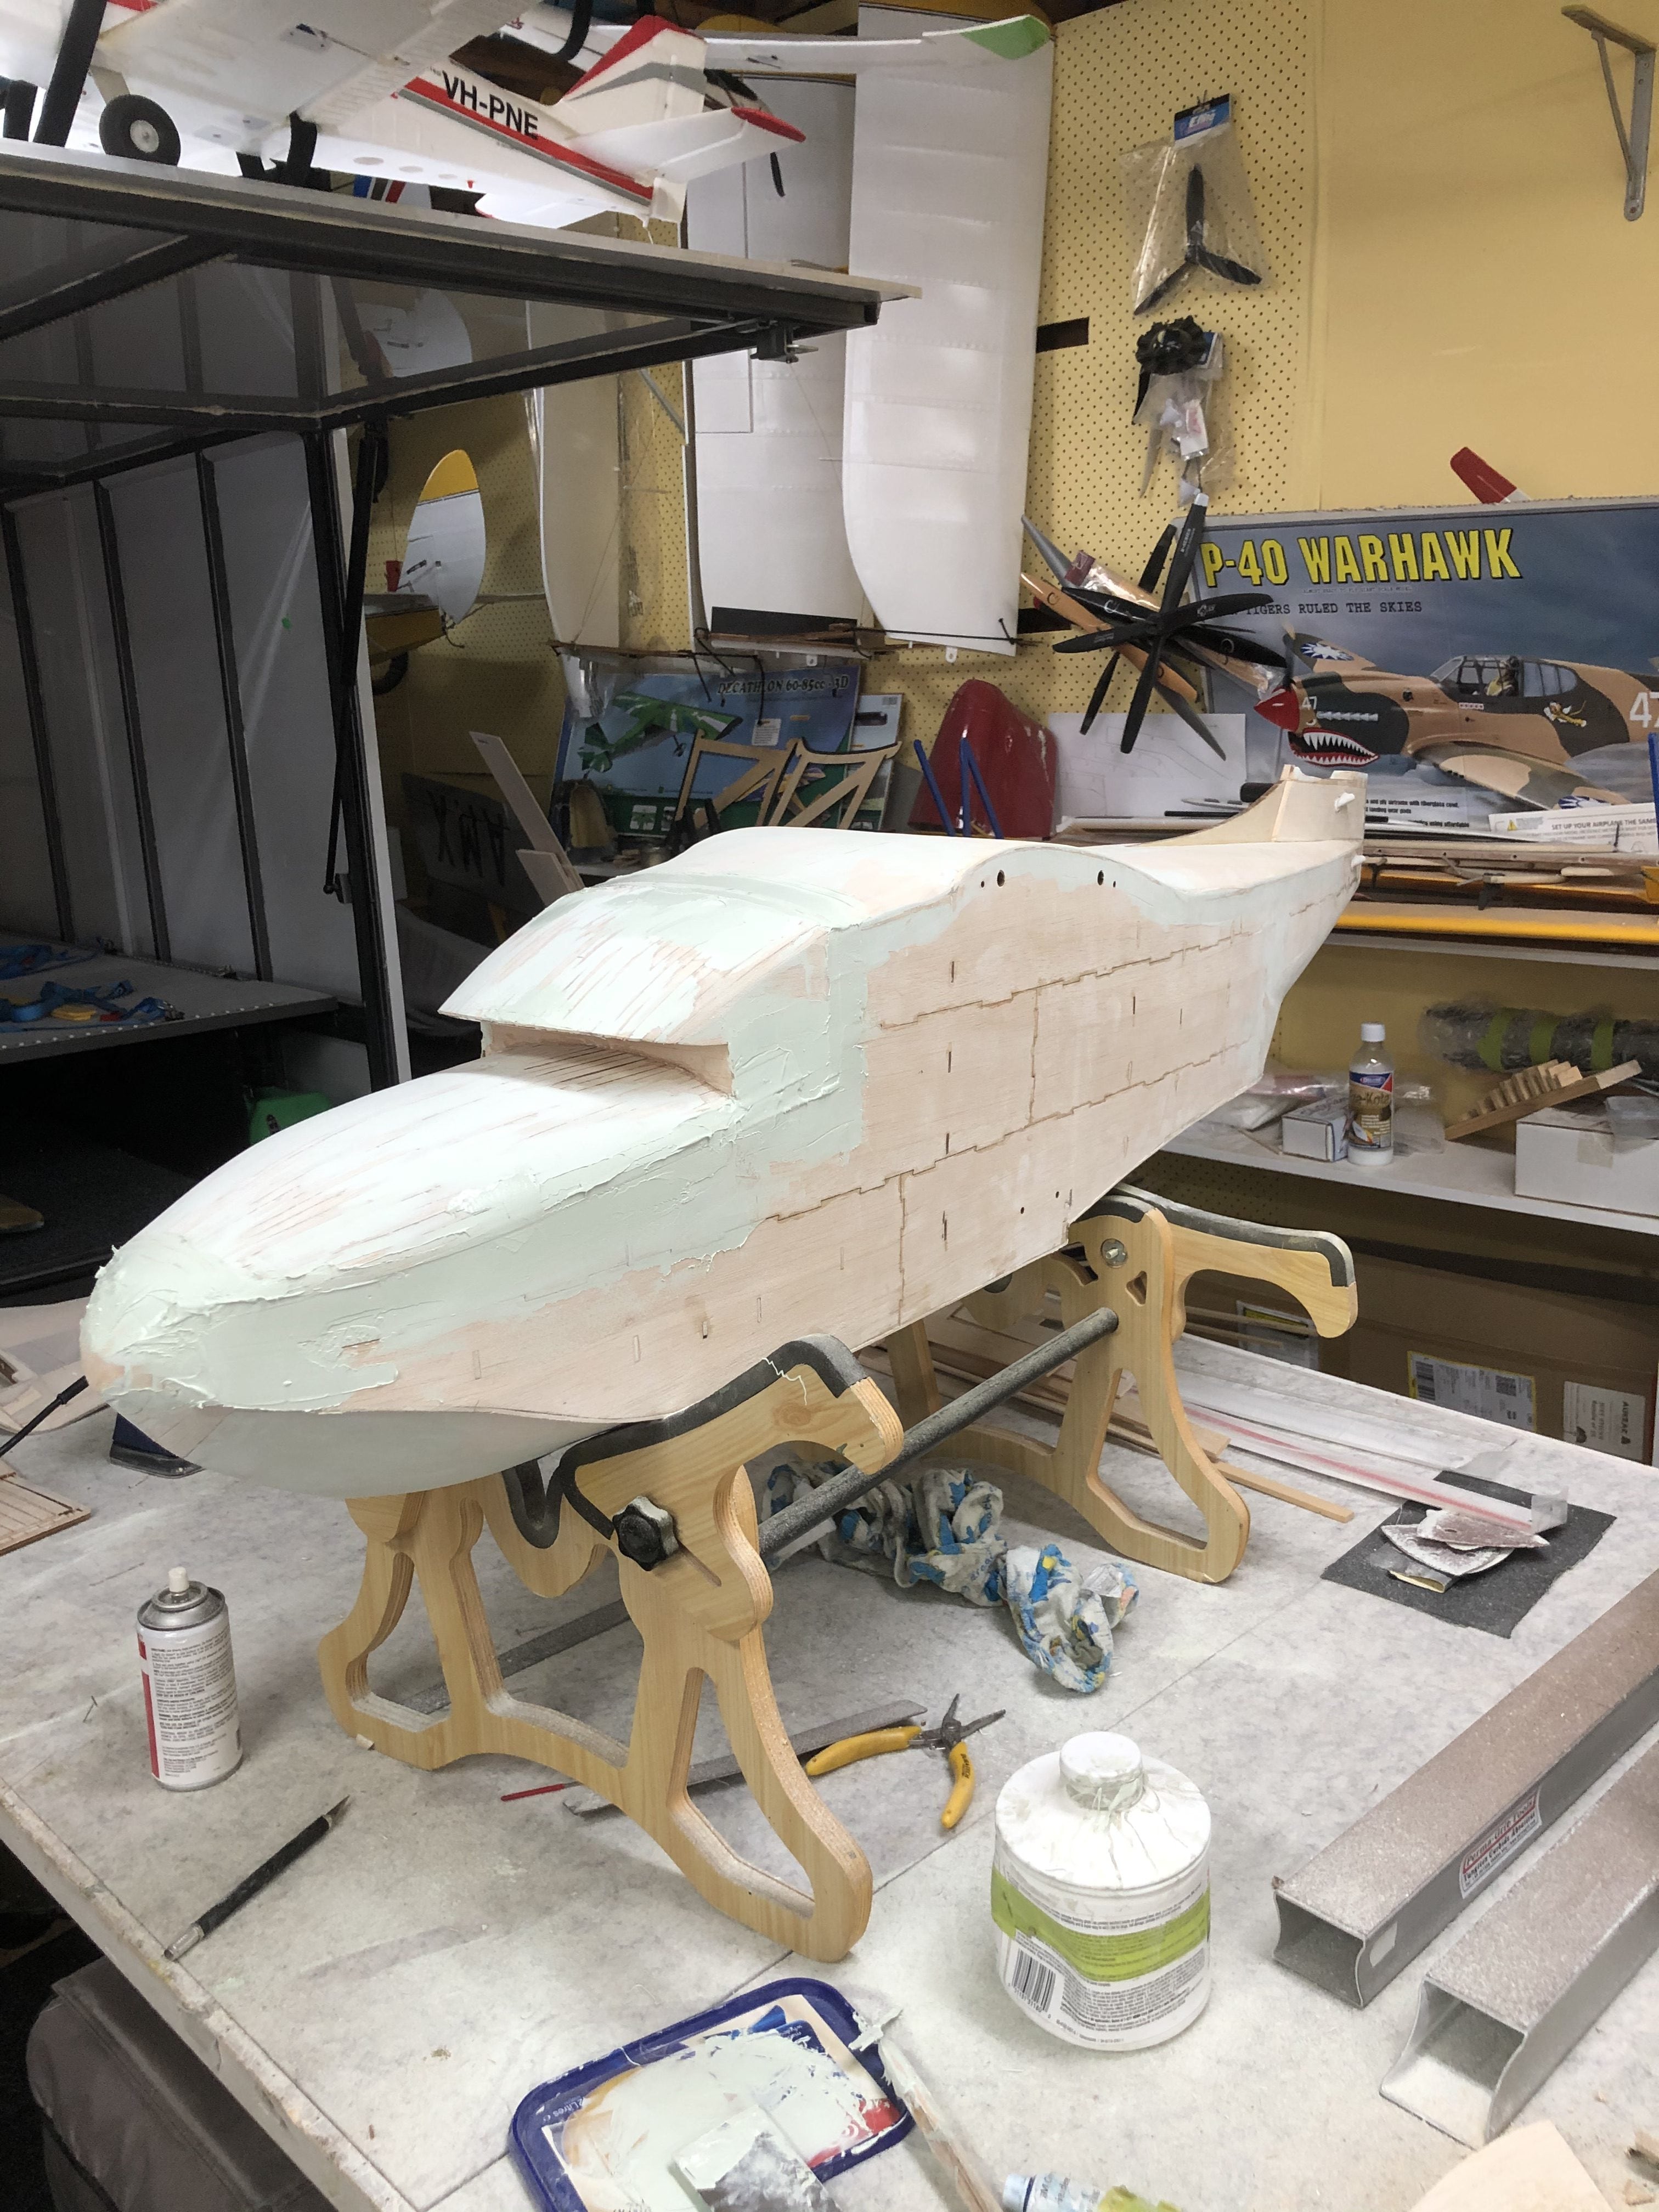
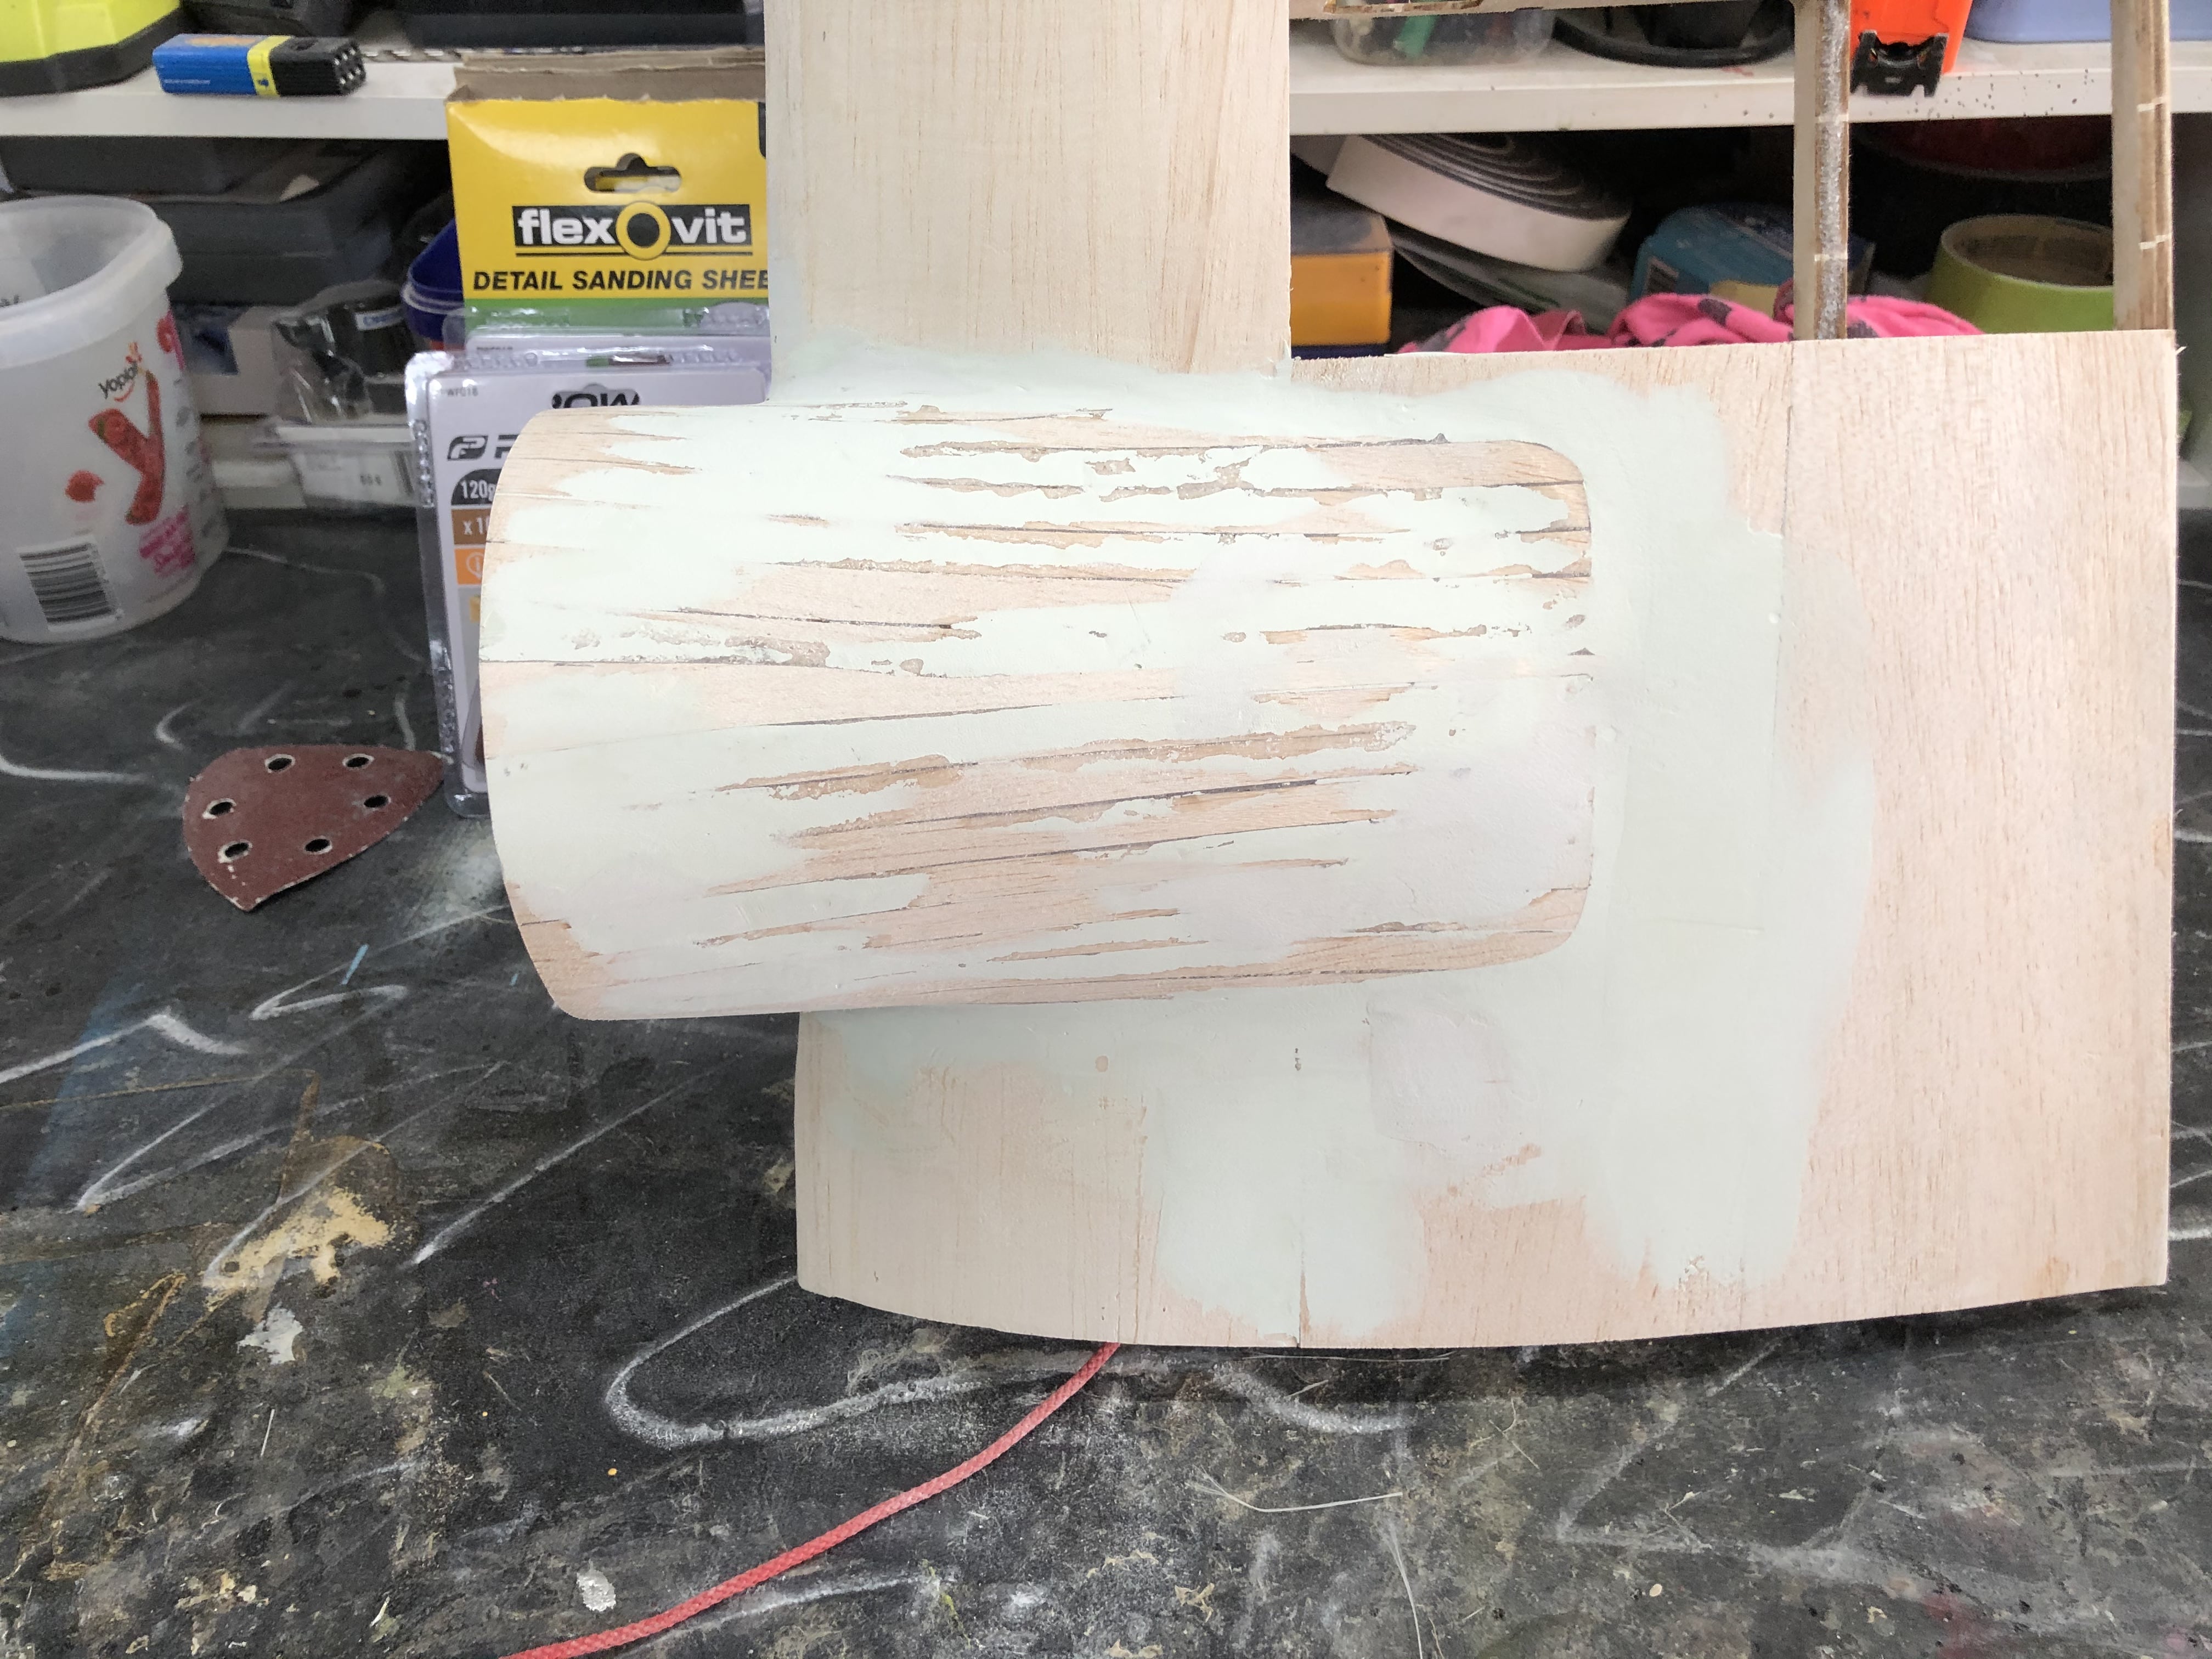
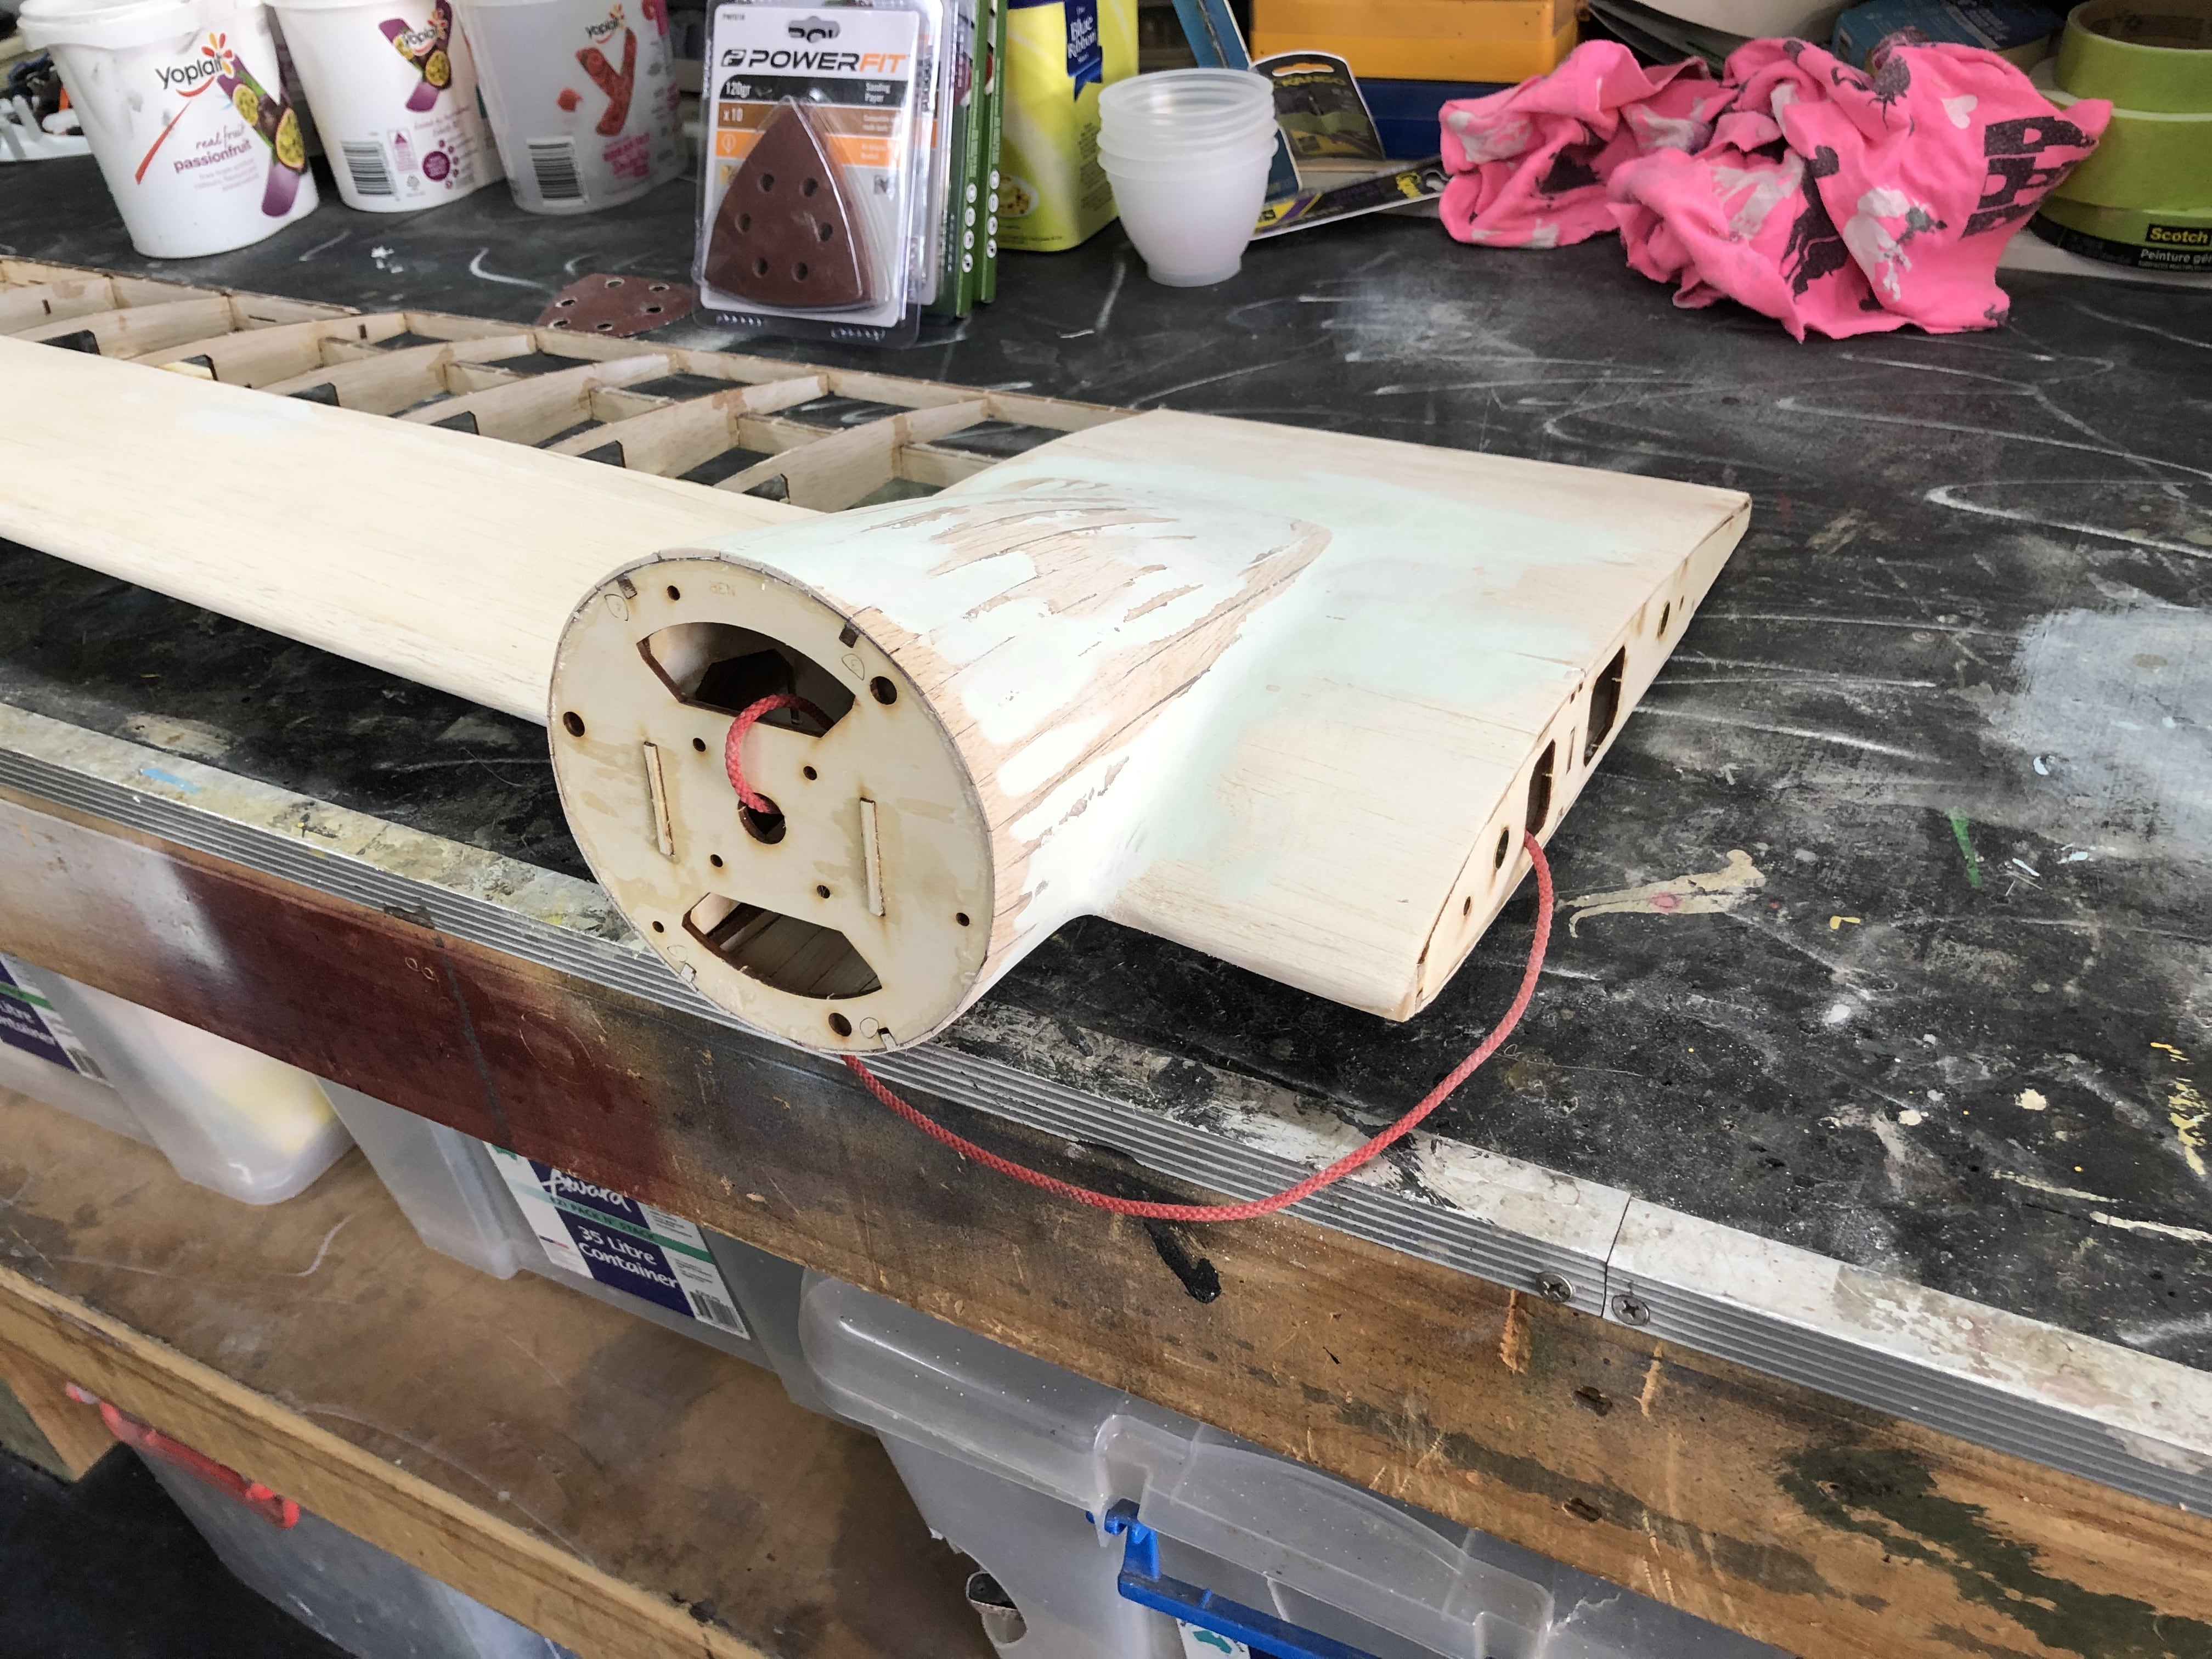
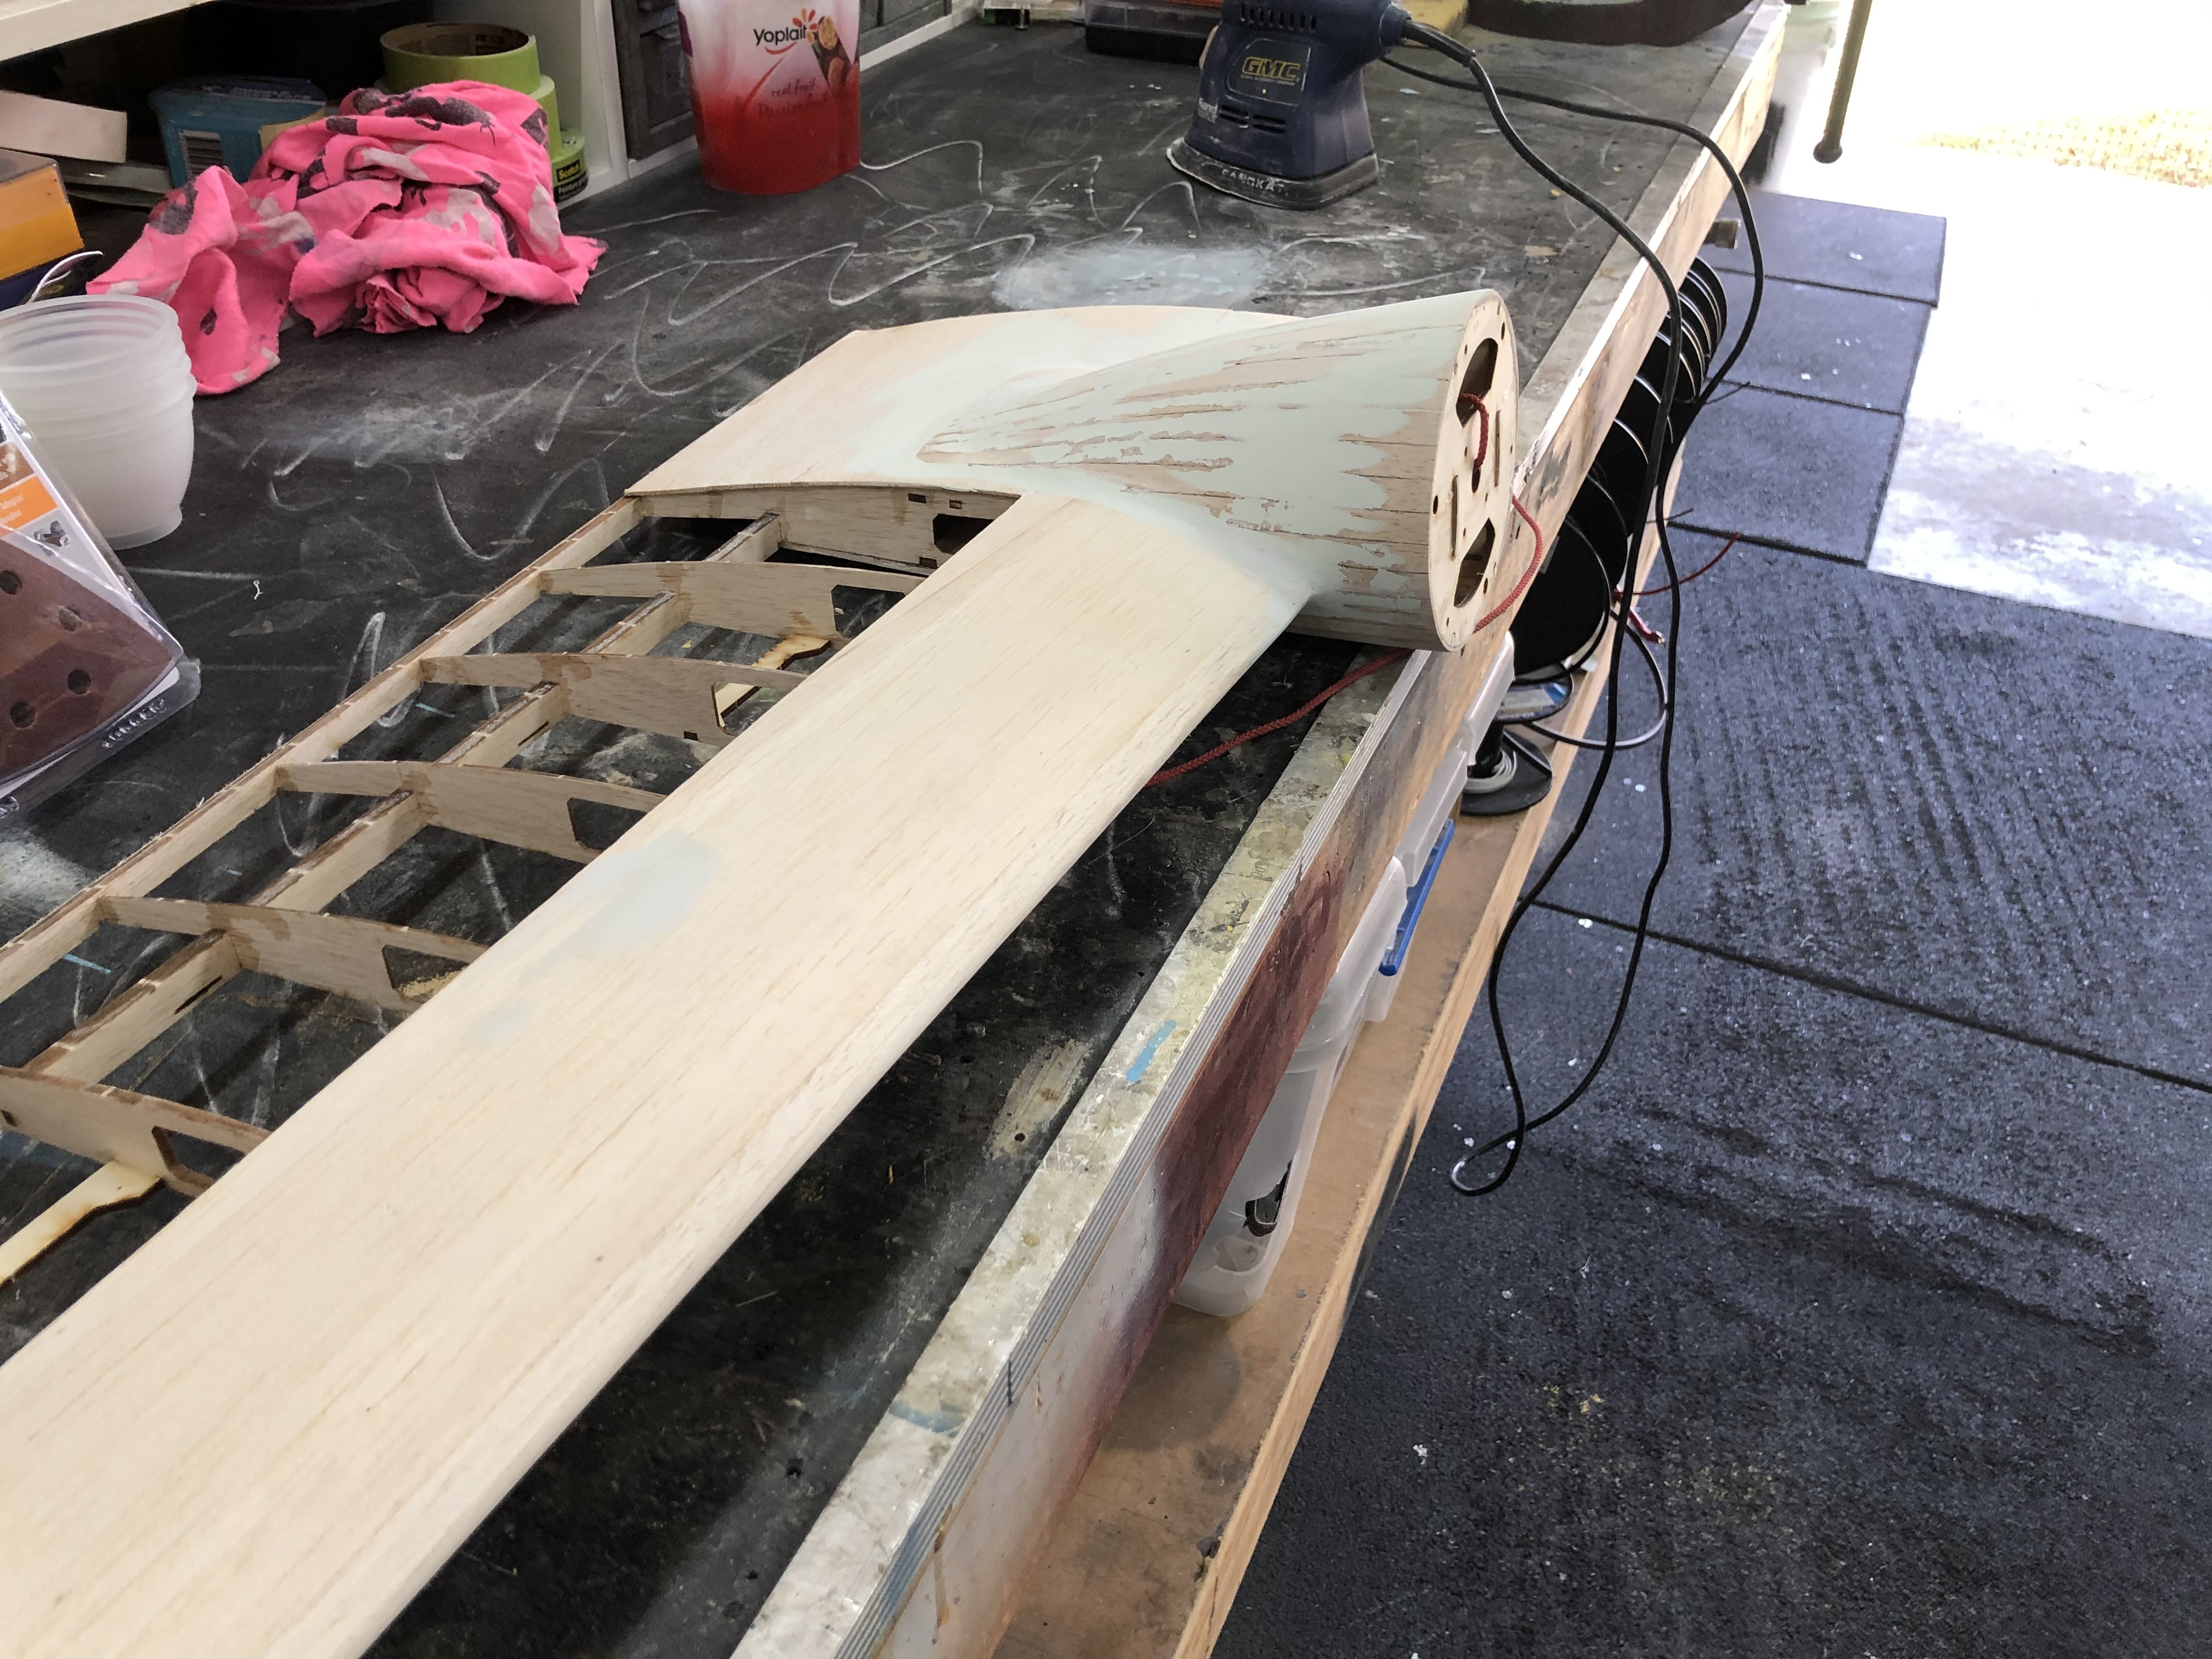
So I have now completed all the planking on the engine nacelles and as can be seen in the pictures, also completed the filling (remember filler is your friend). The wings have been sanded and next is to fitted shape the wing tips followed by glassing. I like to glass the leading edges of all my builds as I believe that although it adds a little weight, the benefits of the additional strength is an advantage. There is nothing worse that picking up a wing and cracking the balsa sheet on the leading edge.
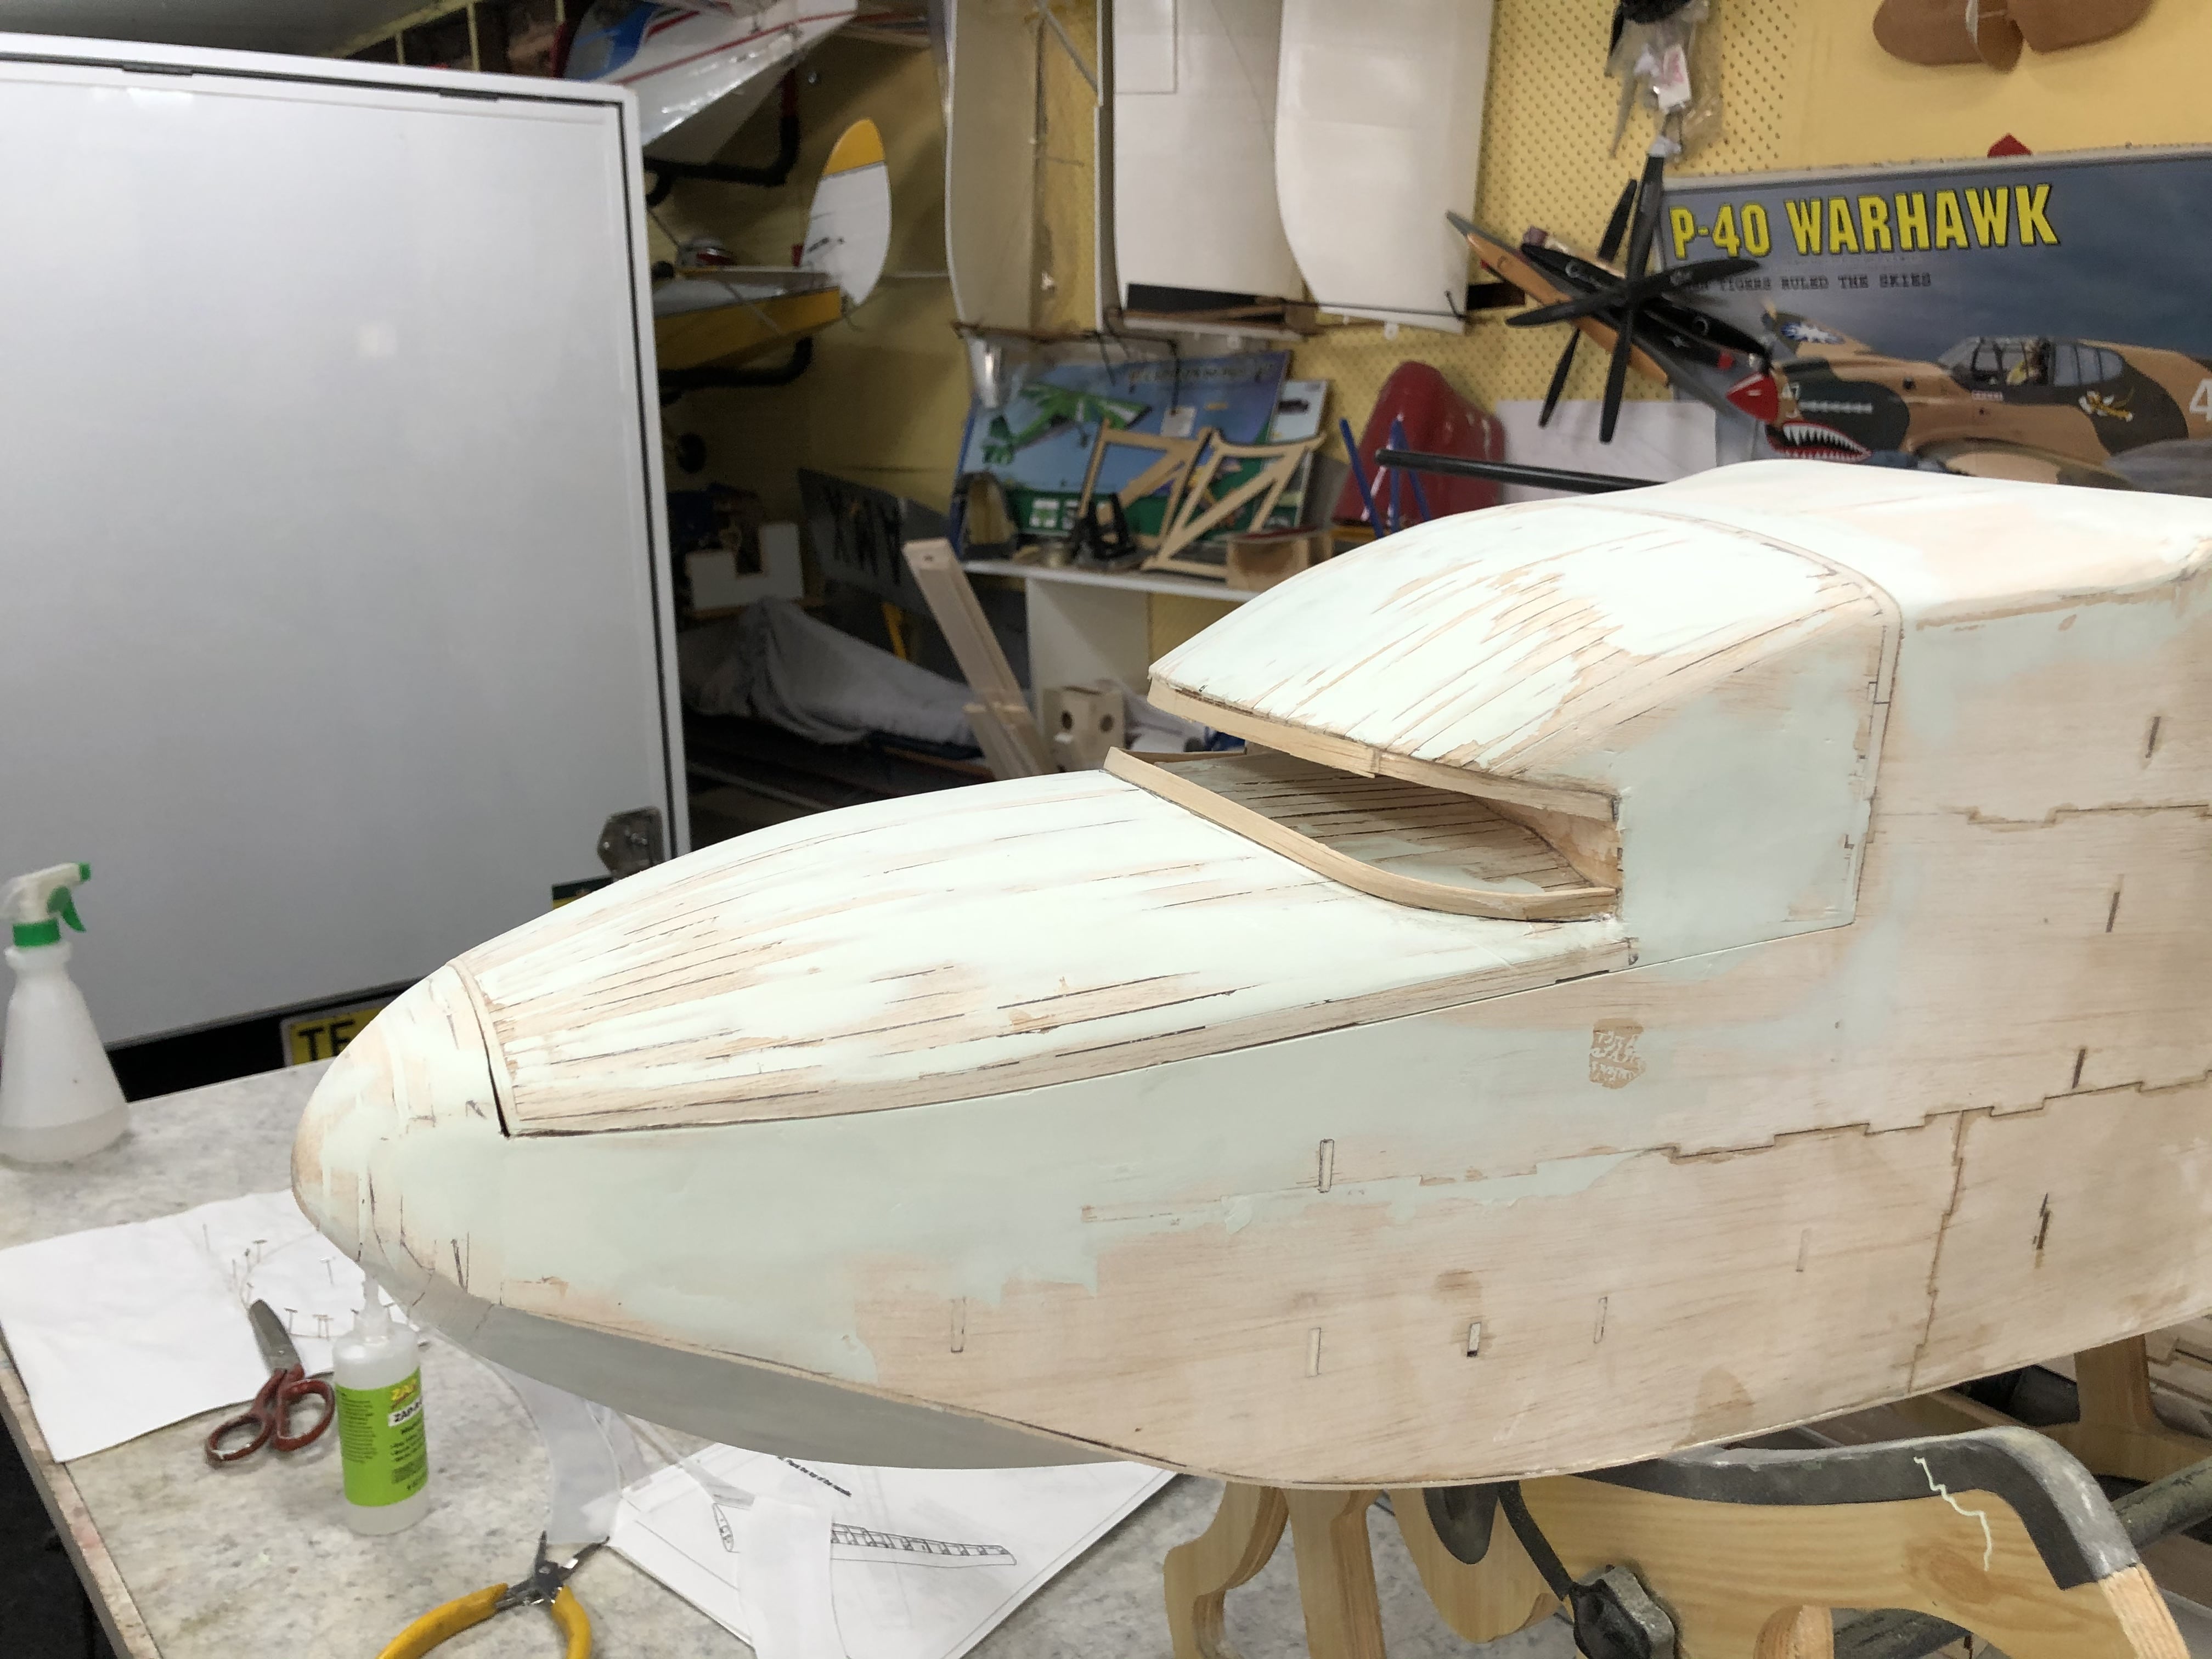
I will also fill and sand the entire fuselage and glass it for strength as well as help seal the hull from the water.
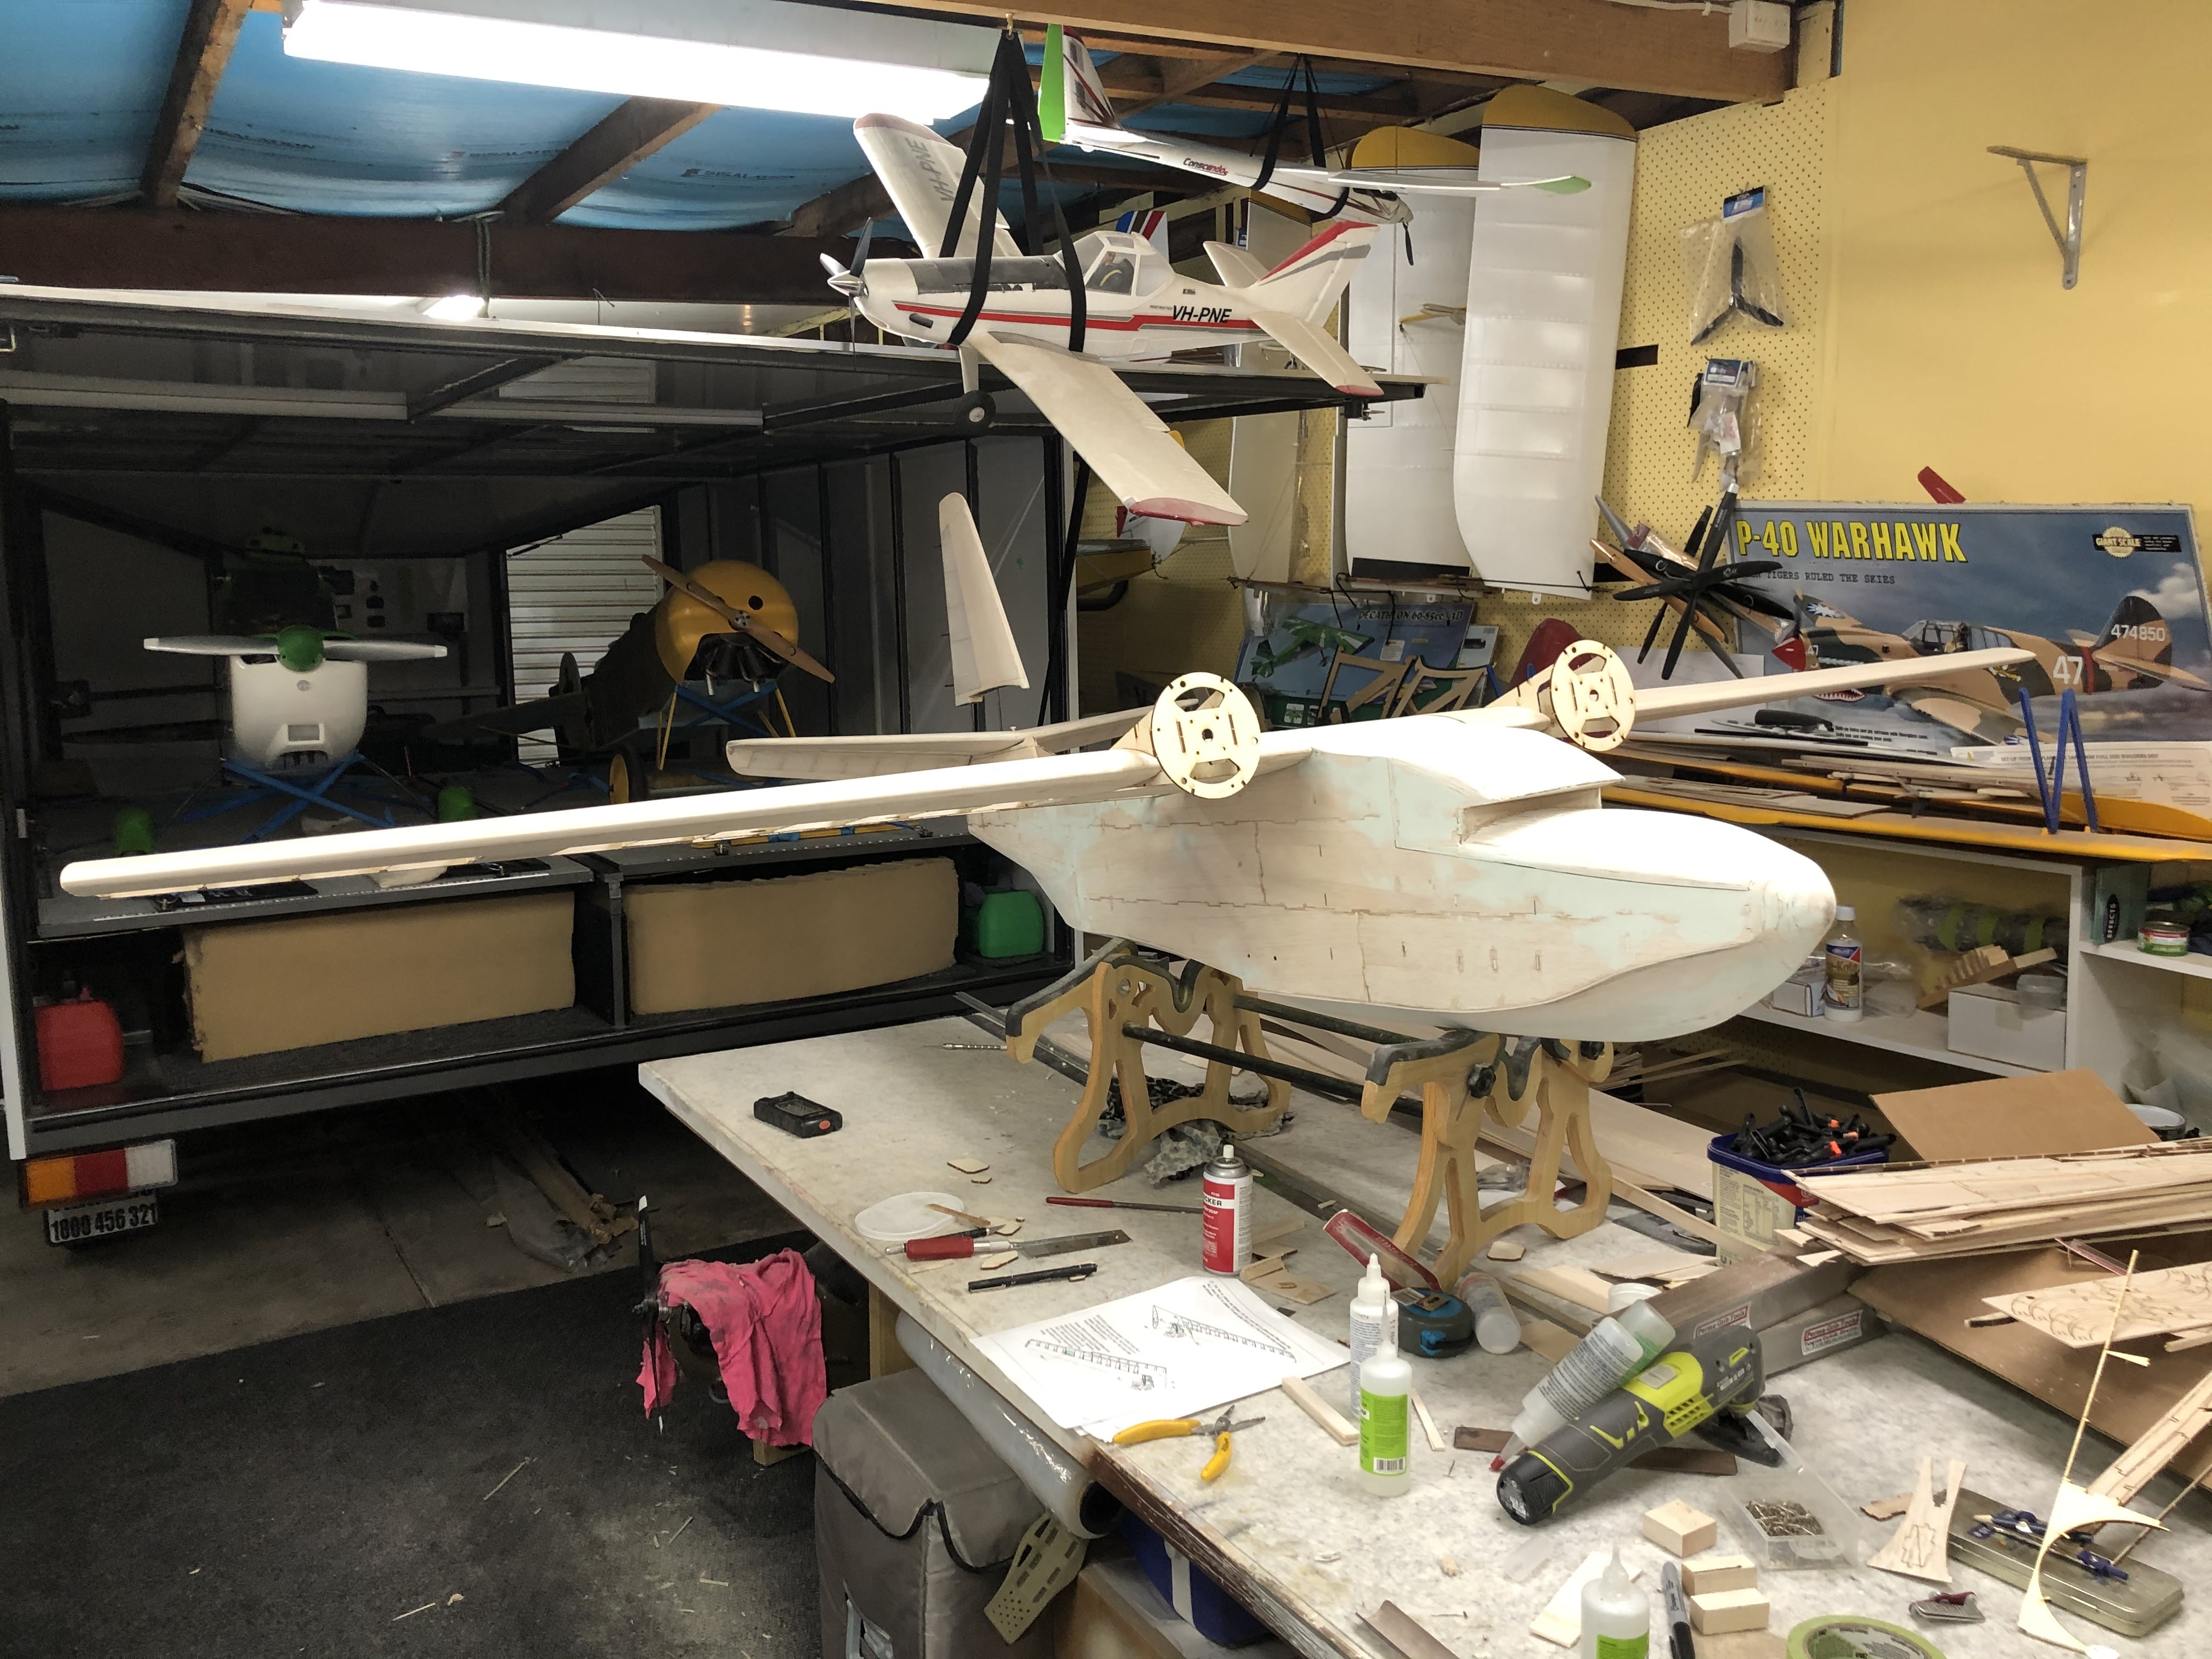
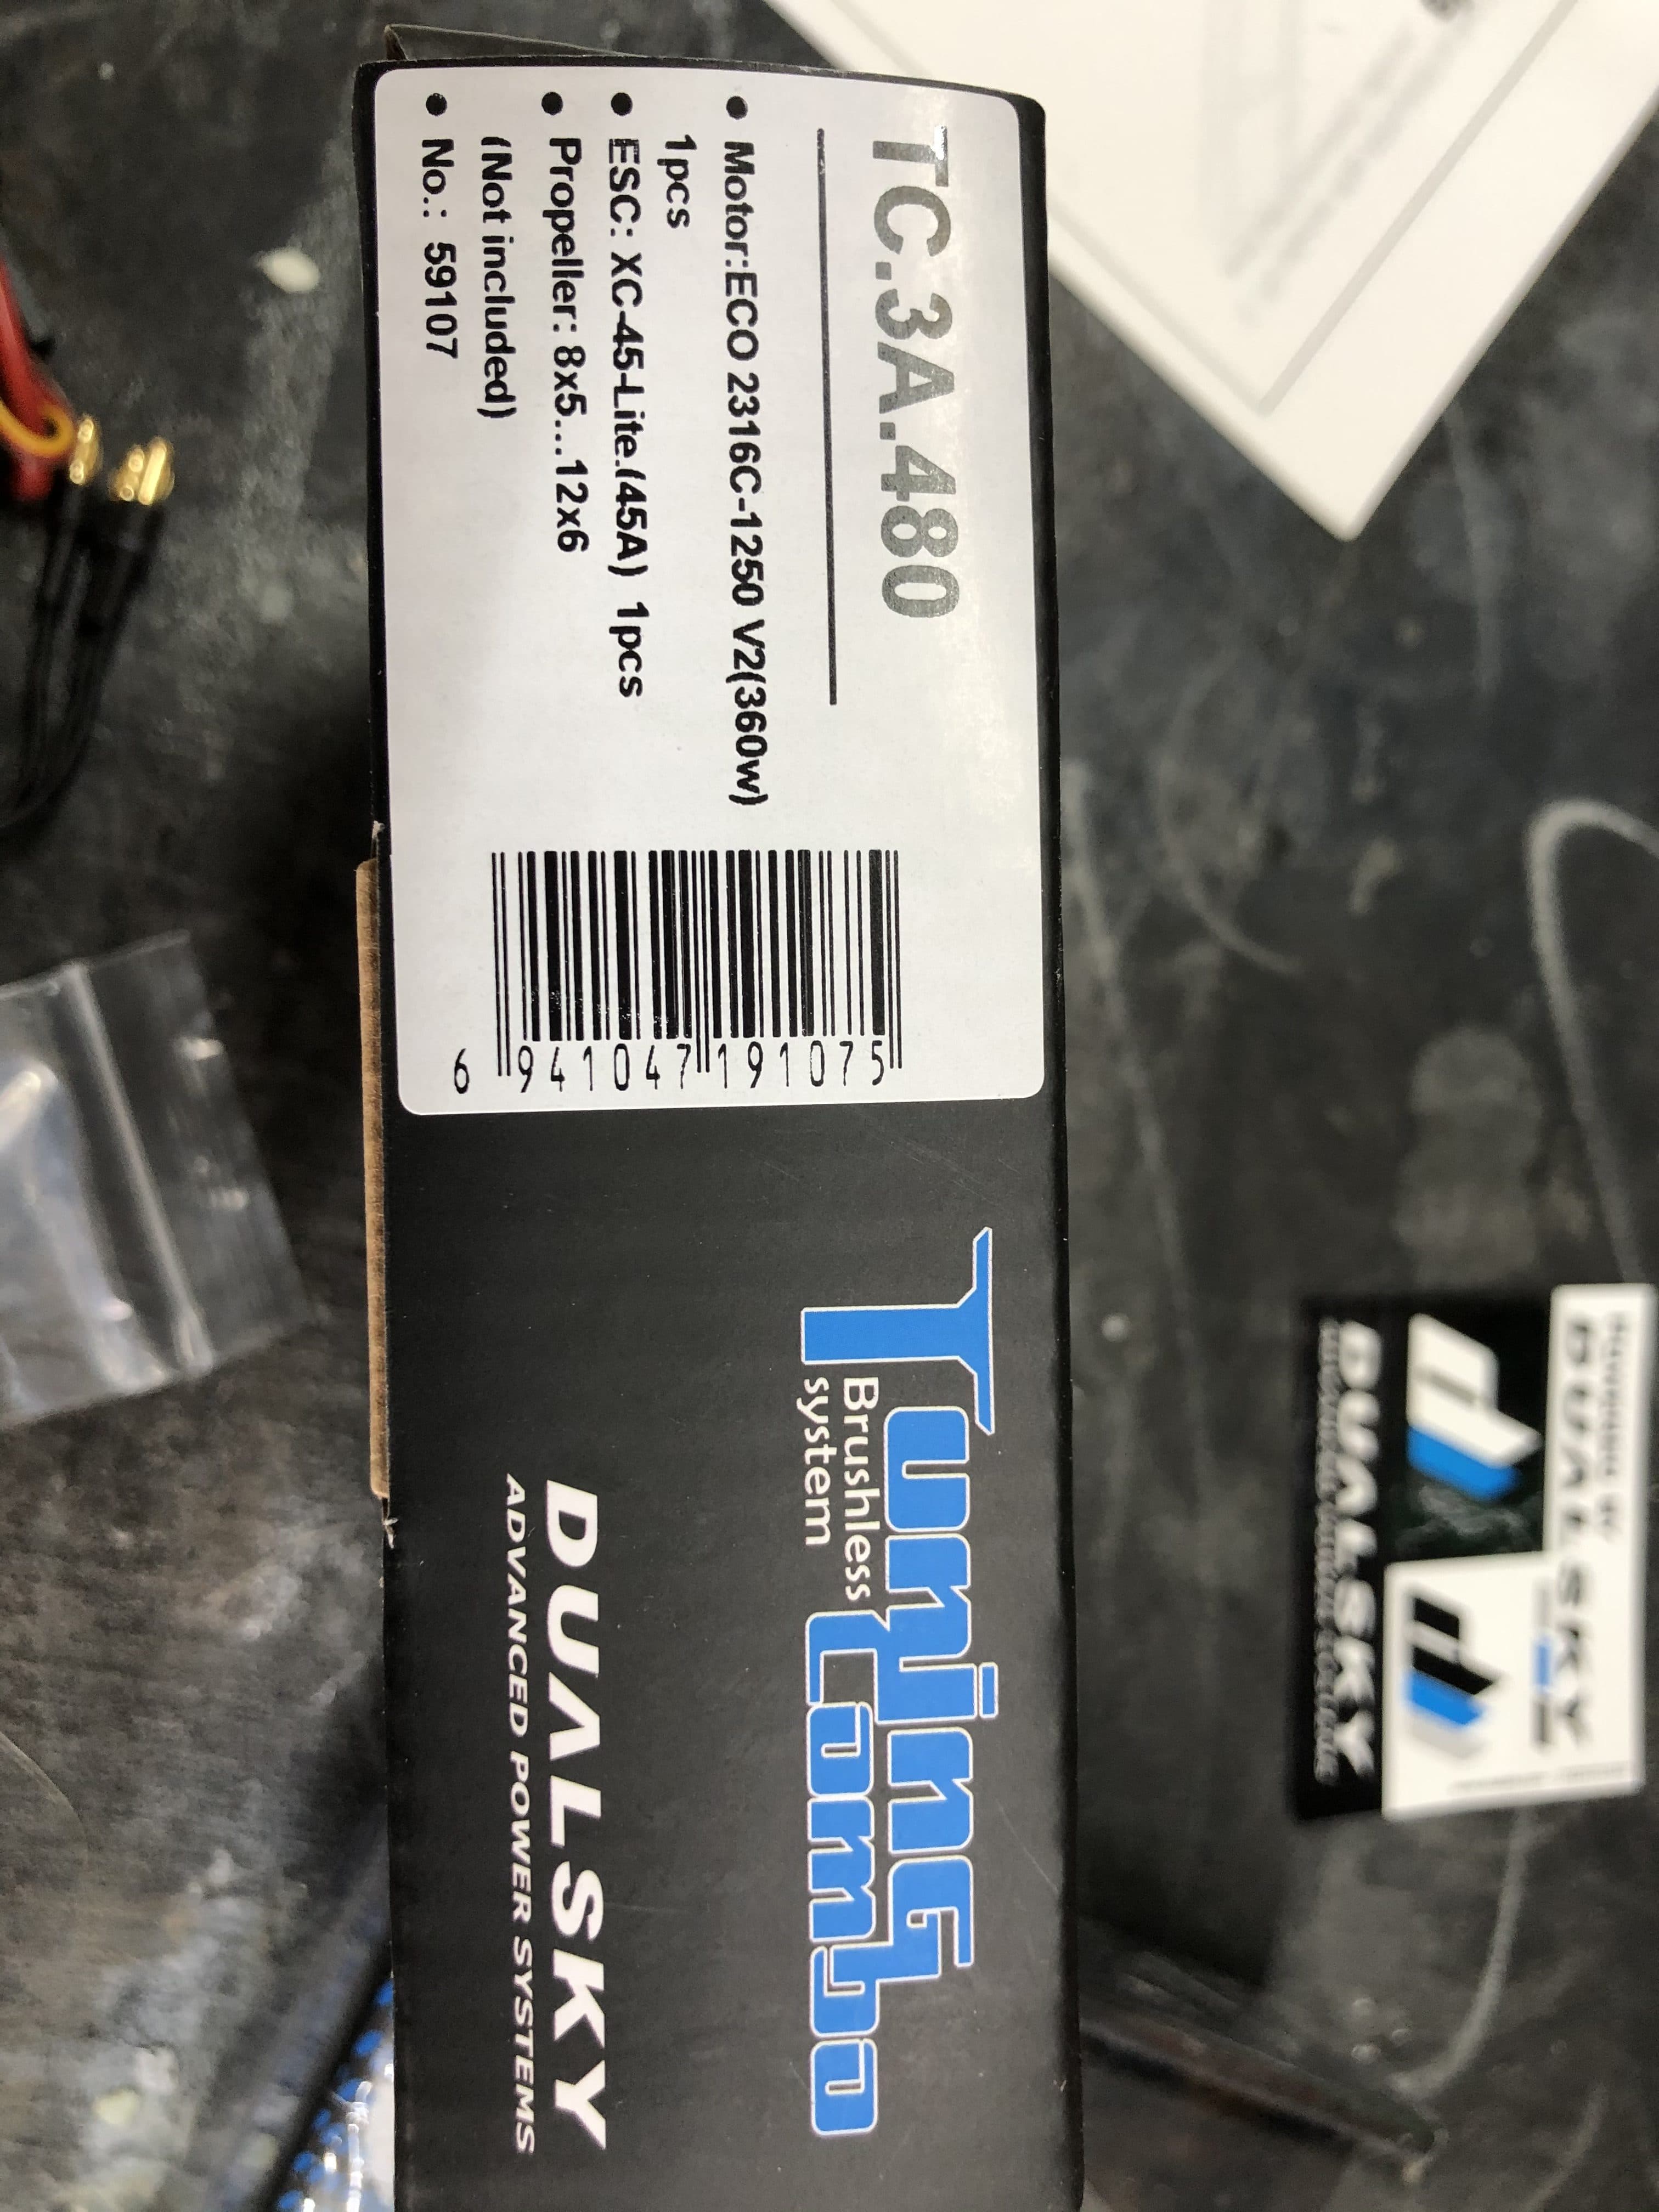
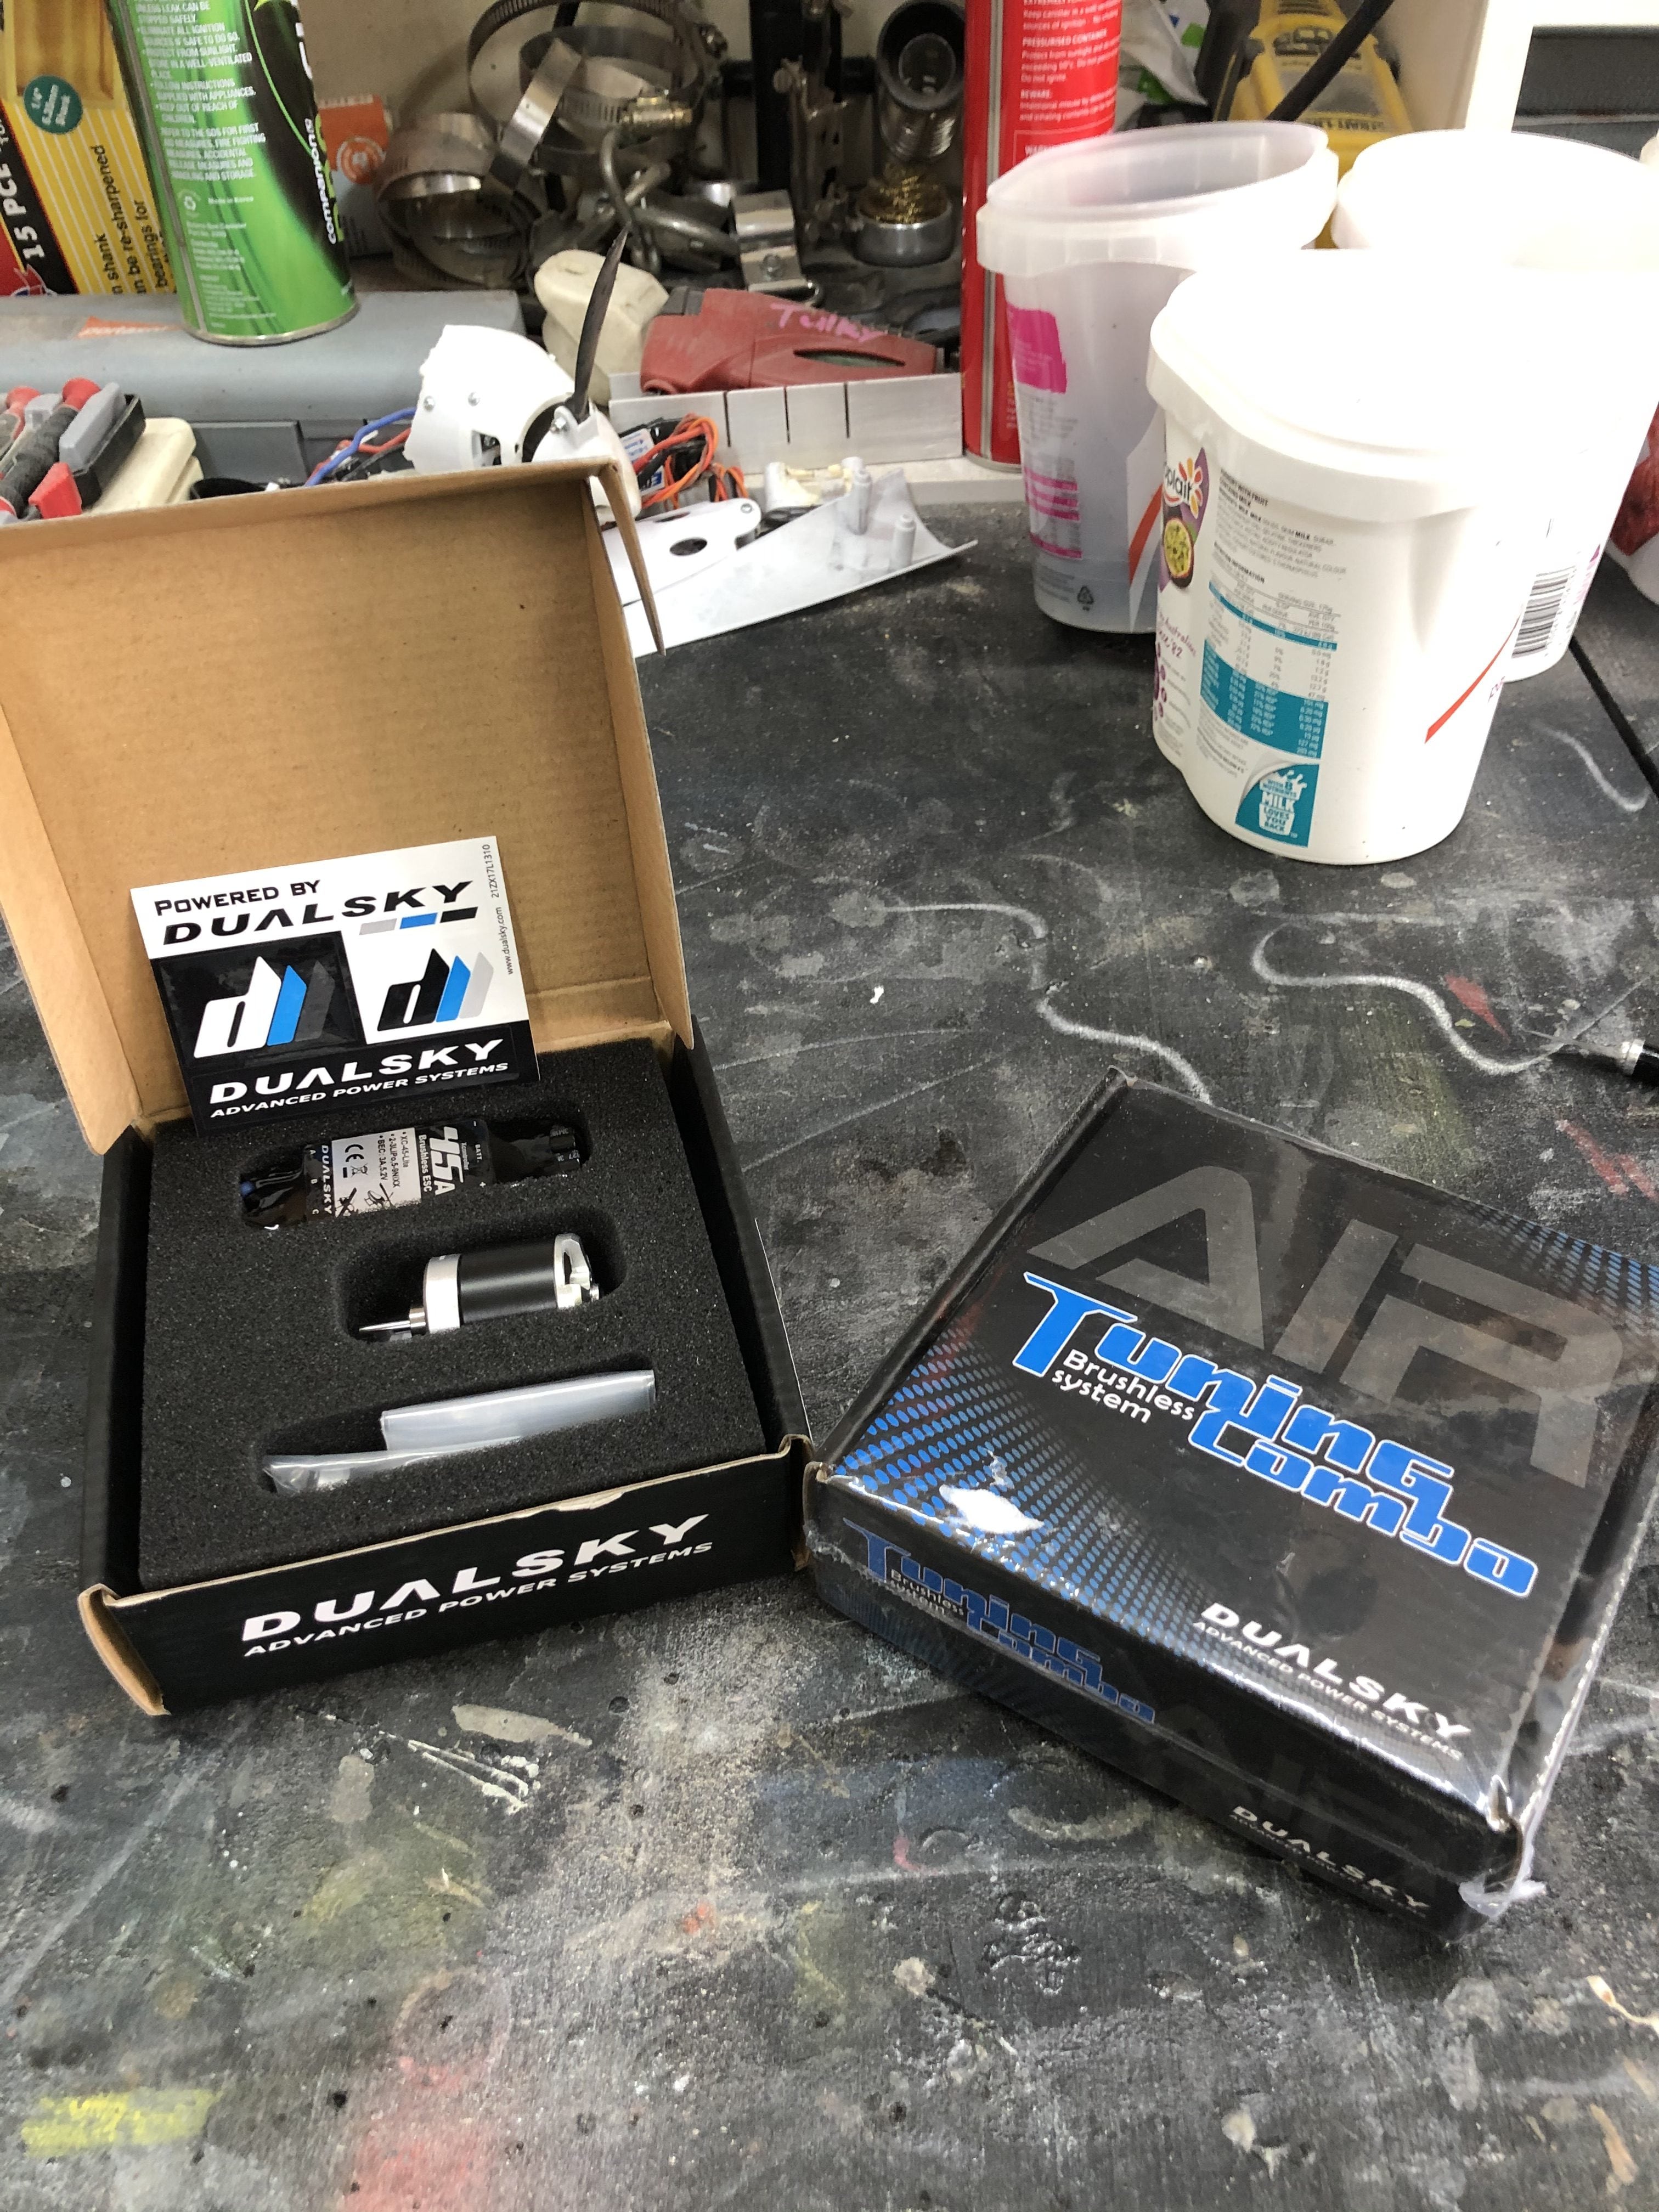
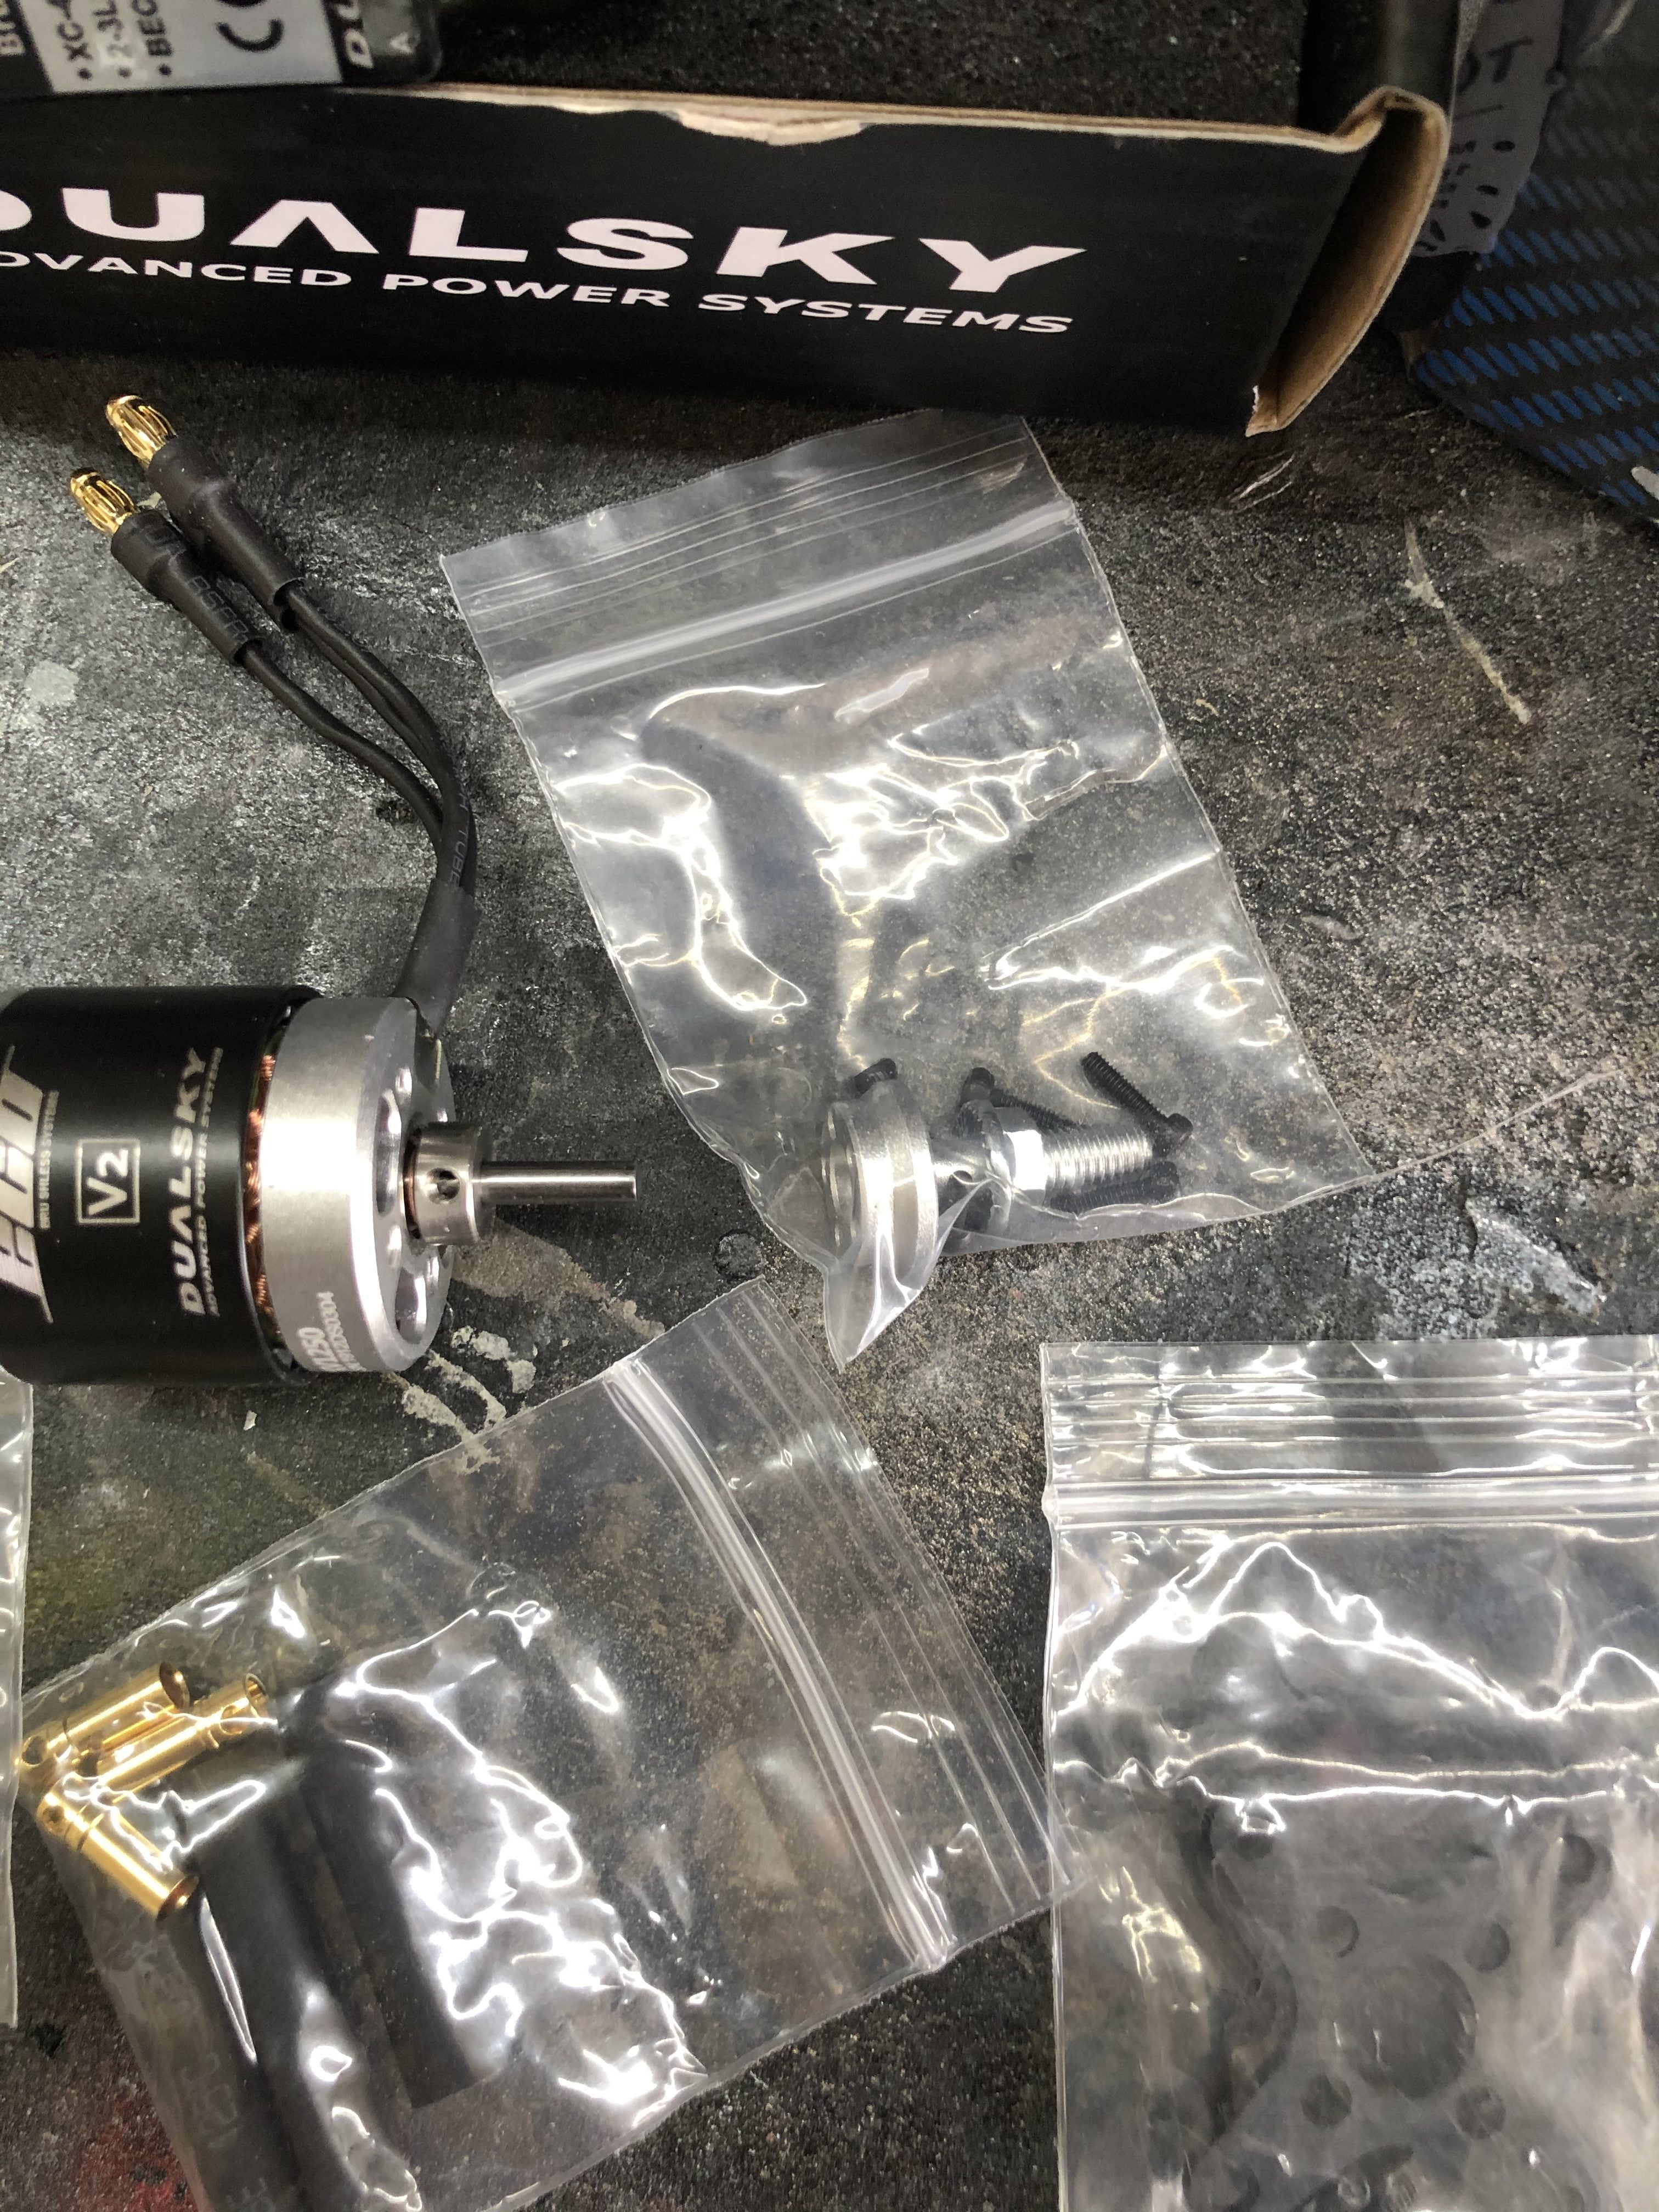
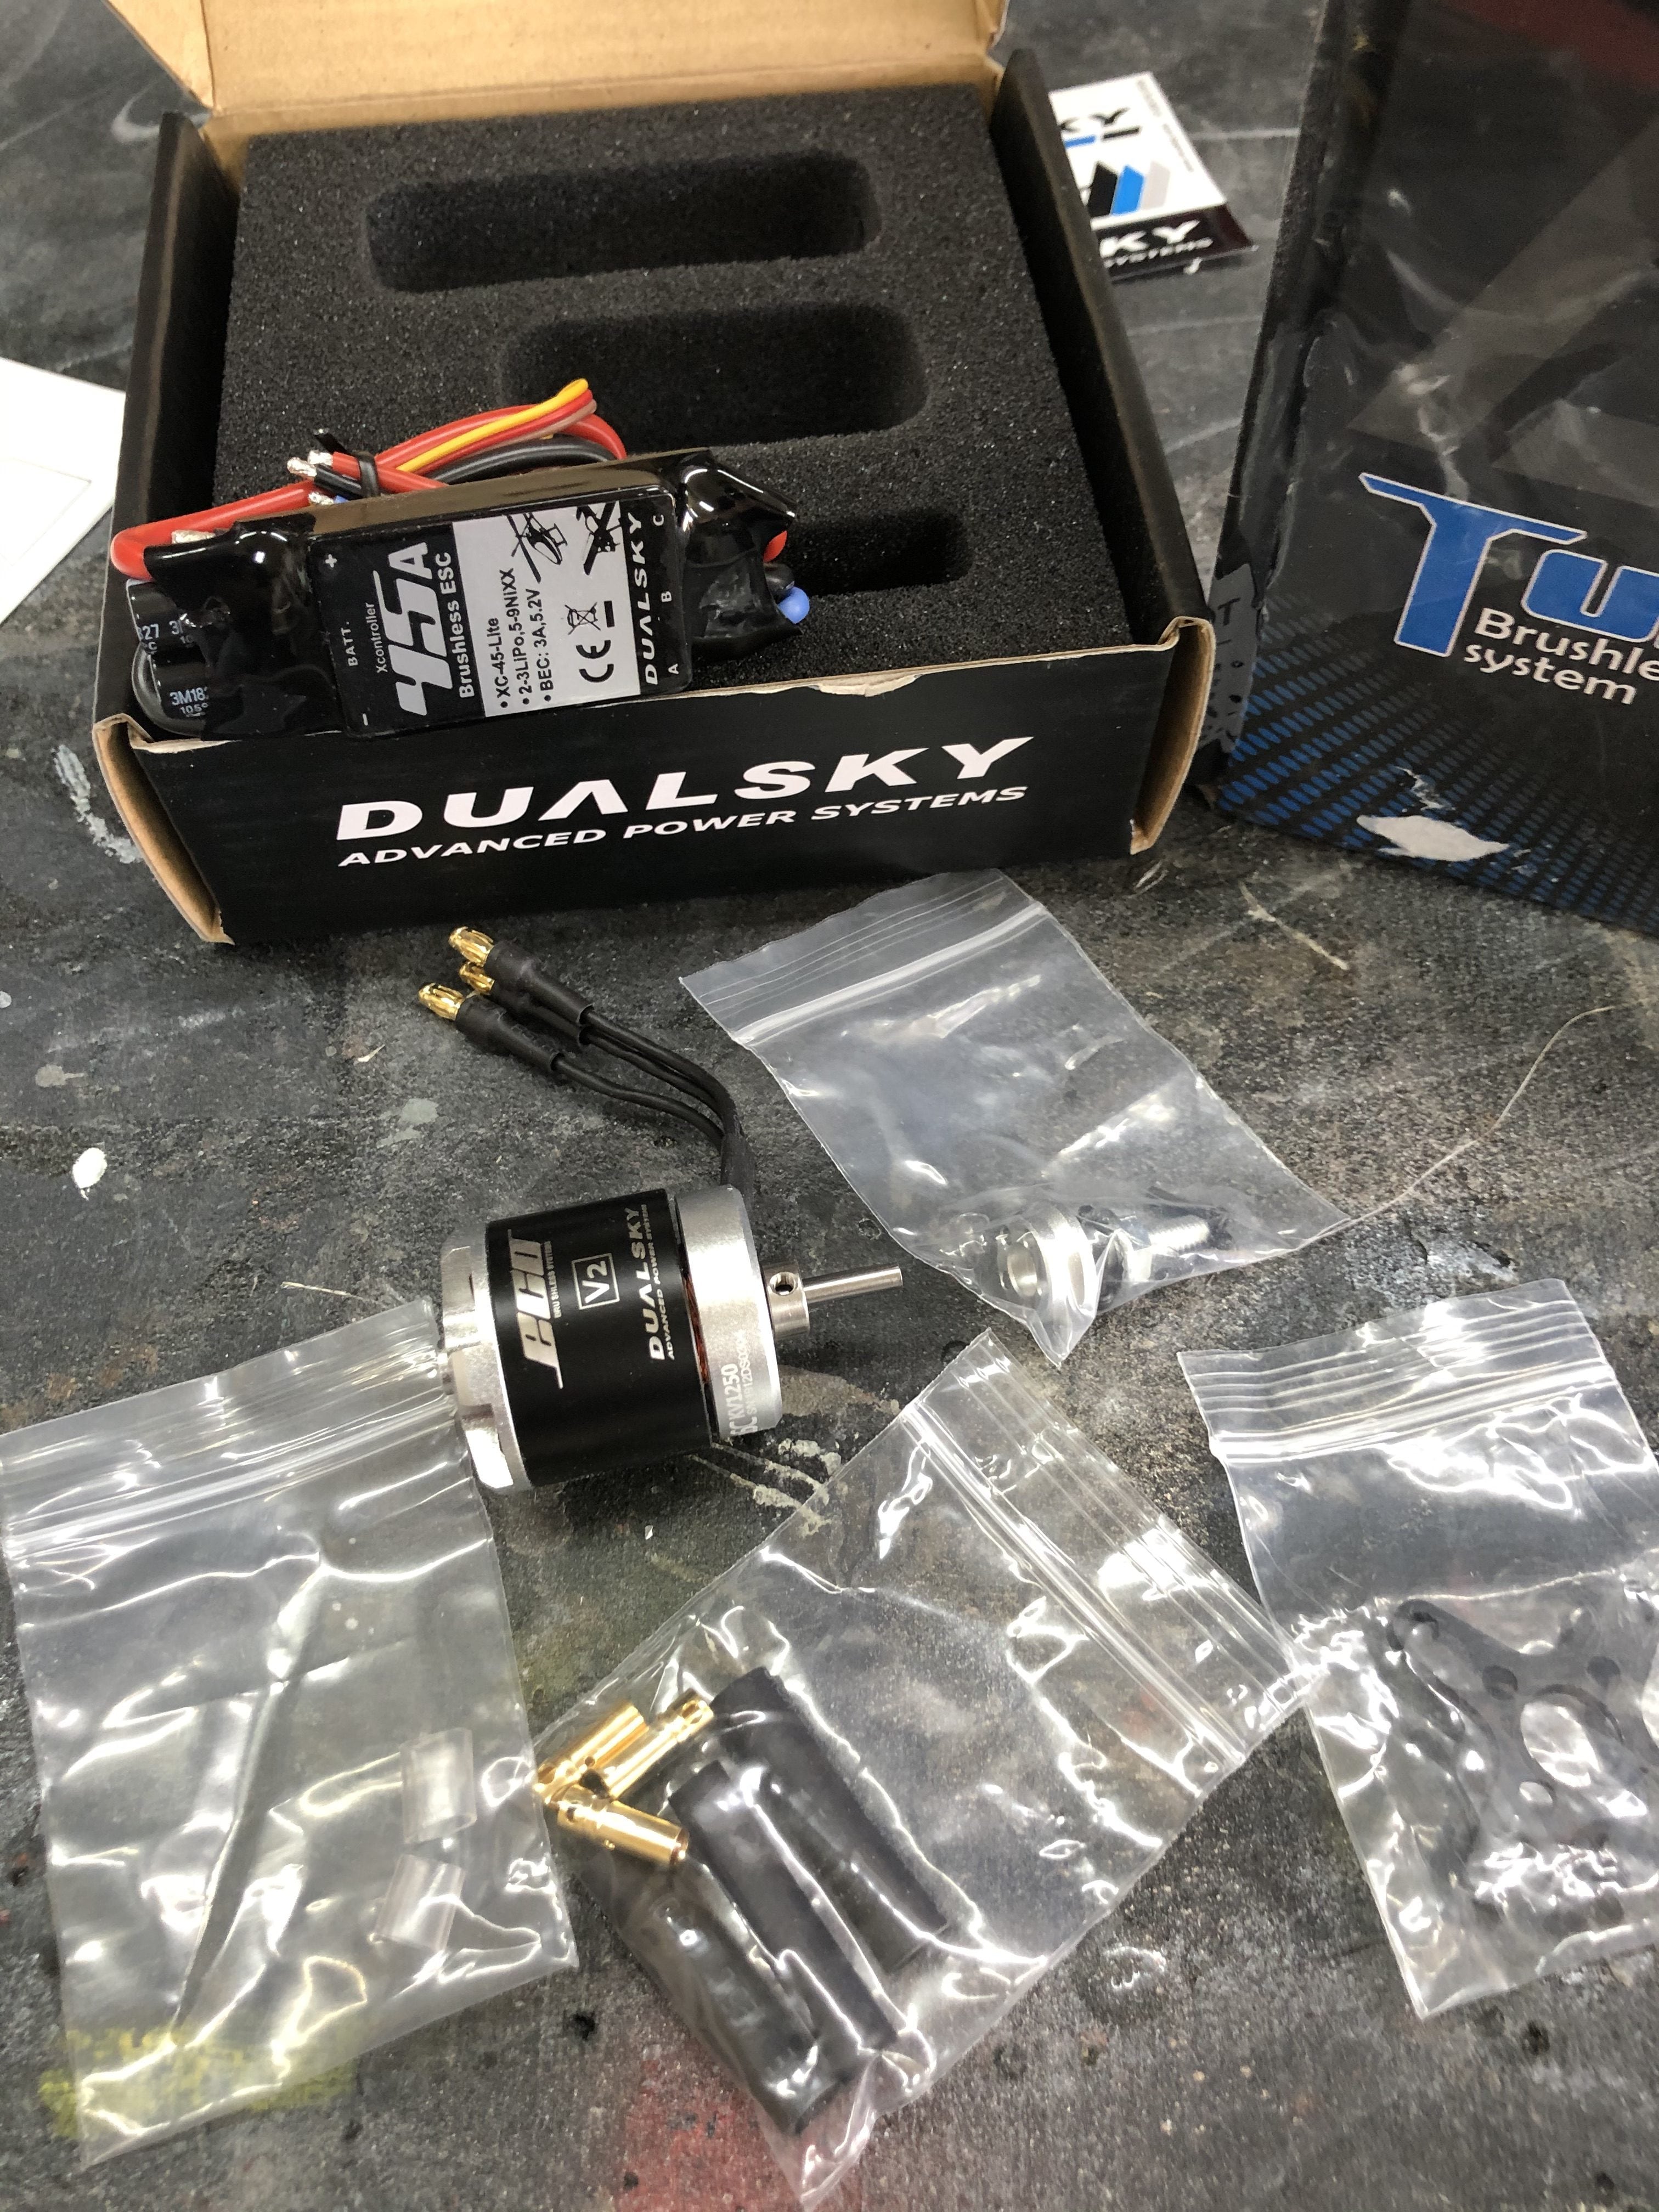
The power plants have also been chosen and purchased (thanks to the help from Rob at Albury RC Models). I am going with the Dualsky Echo V2 which is rated at 1250kv together with the XC-45 Lite 45amp Dualsky ESC. These are available as a combo from Albury RC. Now, I am not really an electric boy as most of you would know, so the above info is what is on the box, but as I said, given the model specs and requirements, this was the recommended combo from Rob at Albury RC and I trust his knowledge.
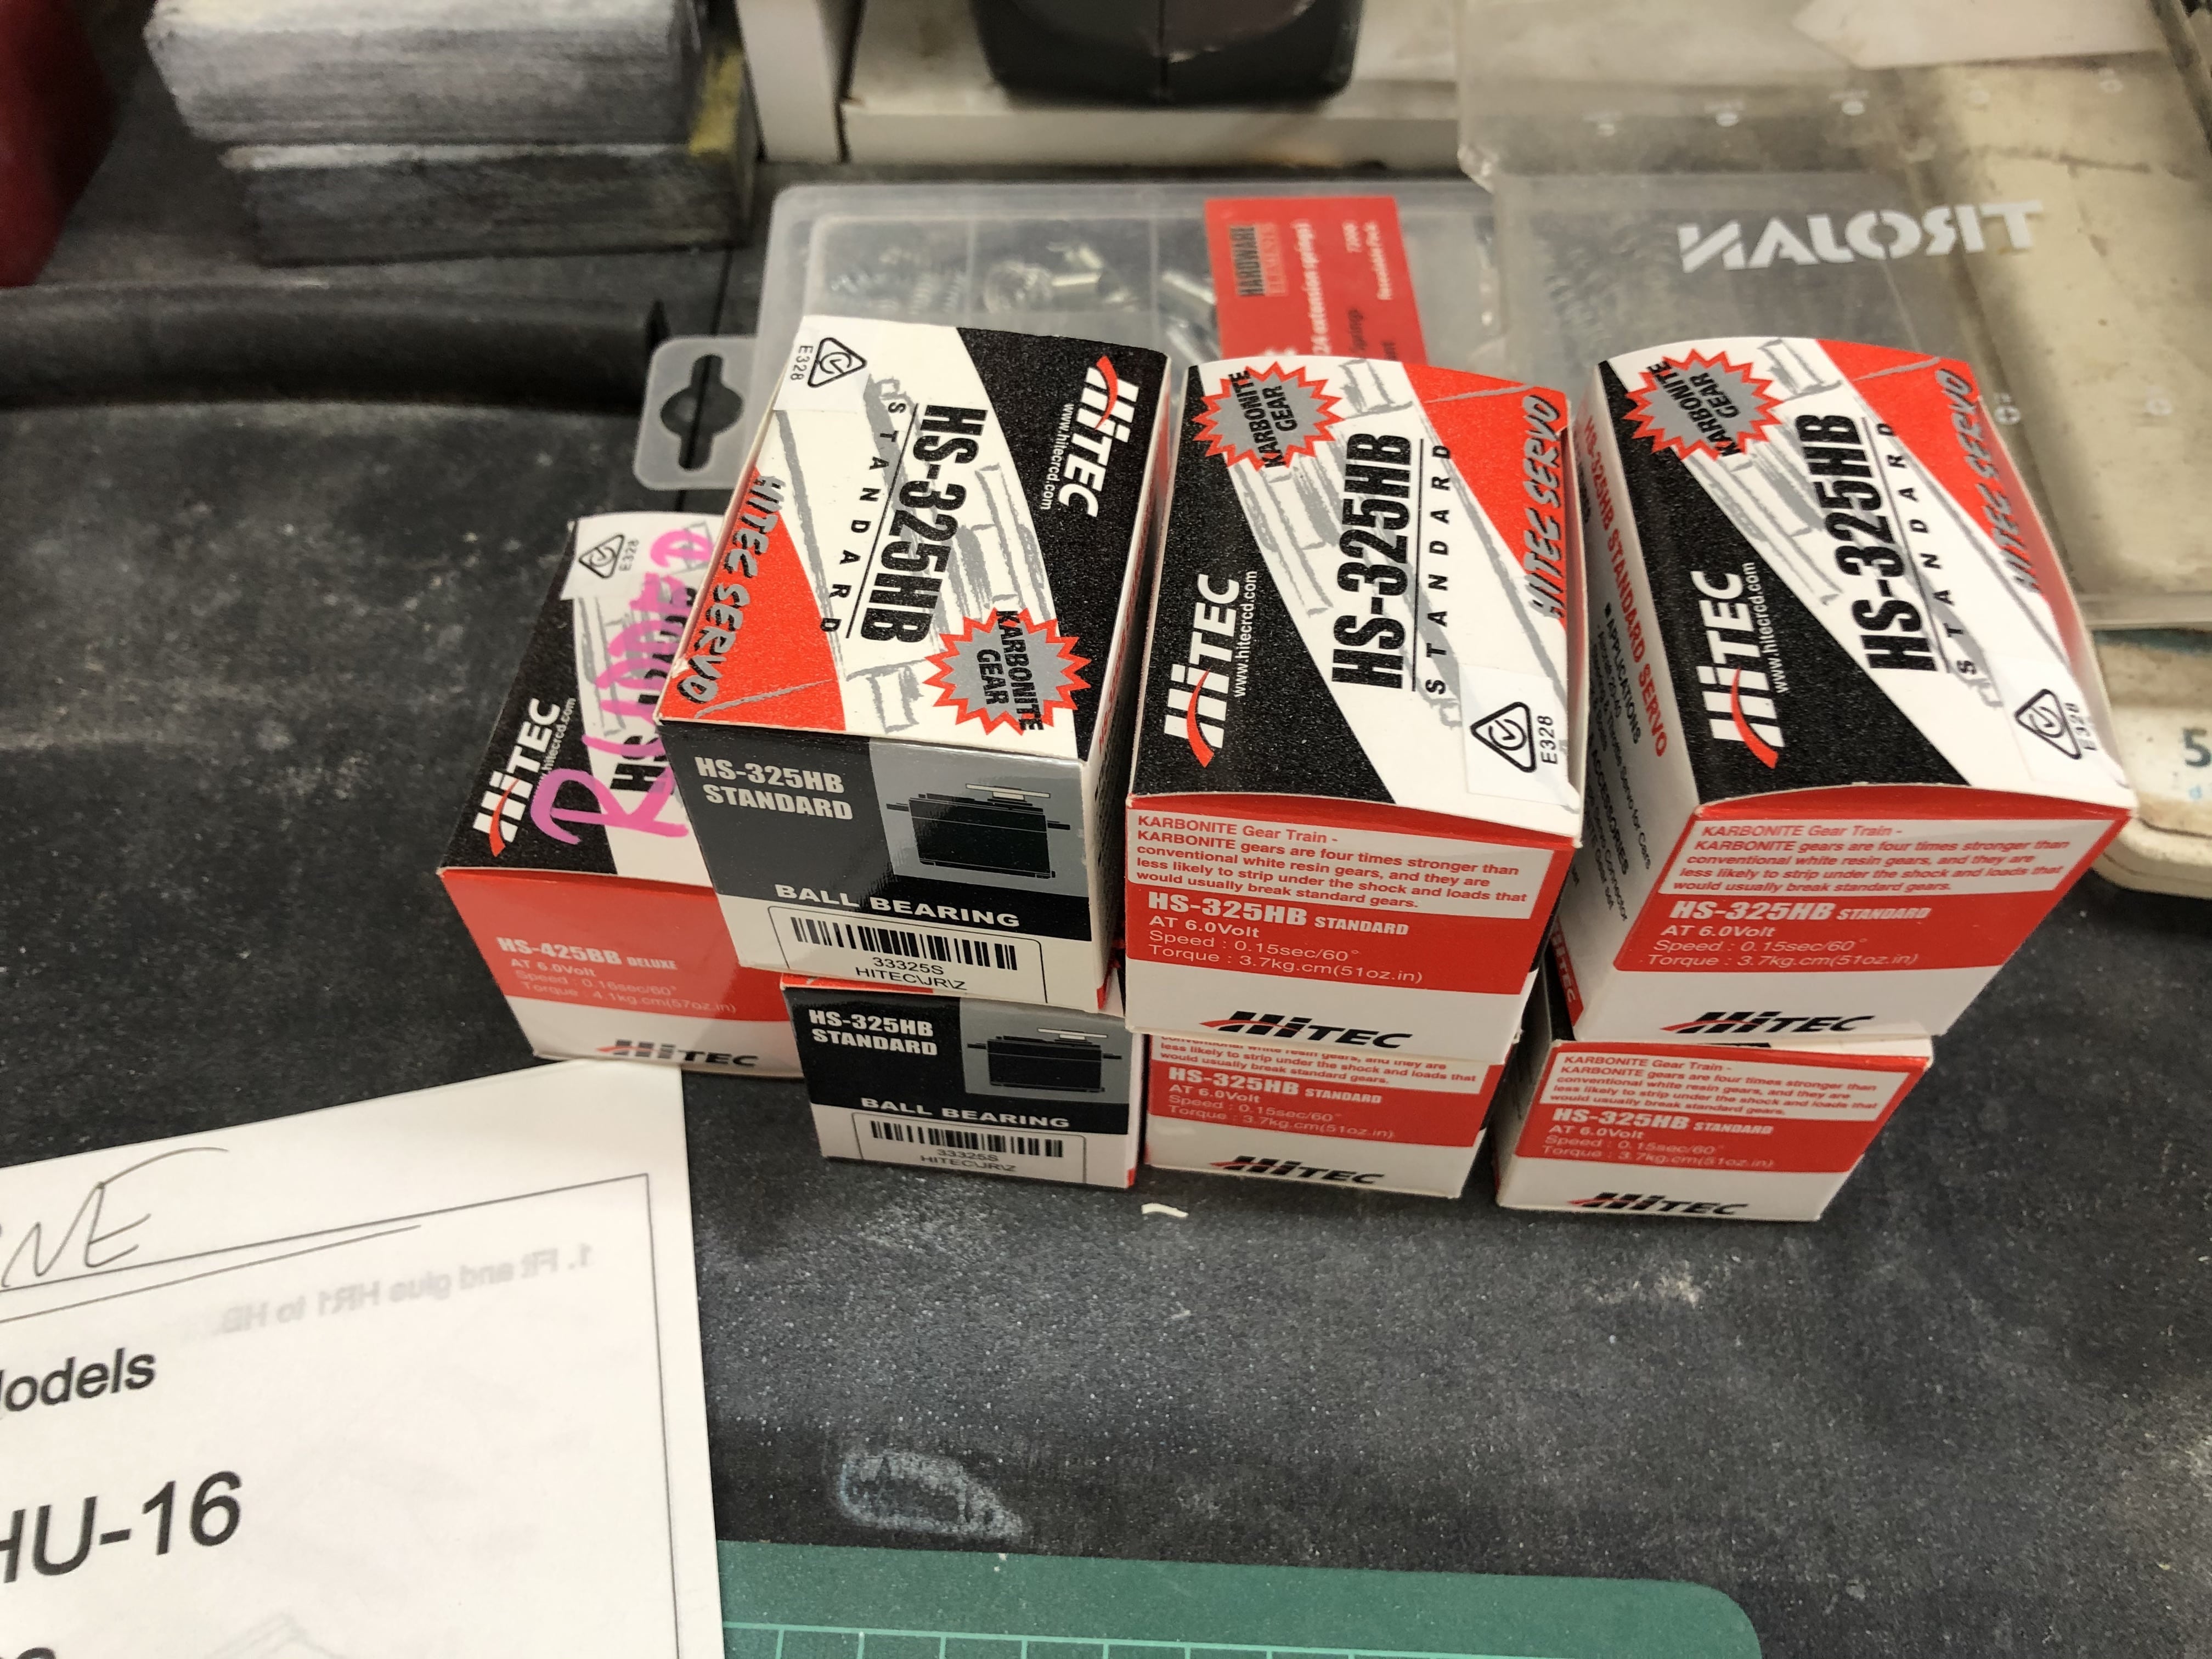
I have also chosen to run Hitec HS-325MB servos throughout with an HS-425BB for the rudder.
I will run 3 blade props probably around the 11X10 range but will decide that after the overall weight and wing loading is known. These will run as a clockwise/counter clockwise combo to assist with the models water handling and I will also do a throttle/rudder mix for additional water handling.

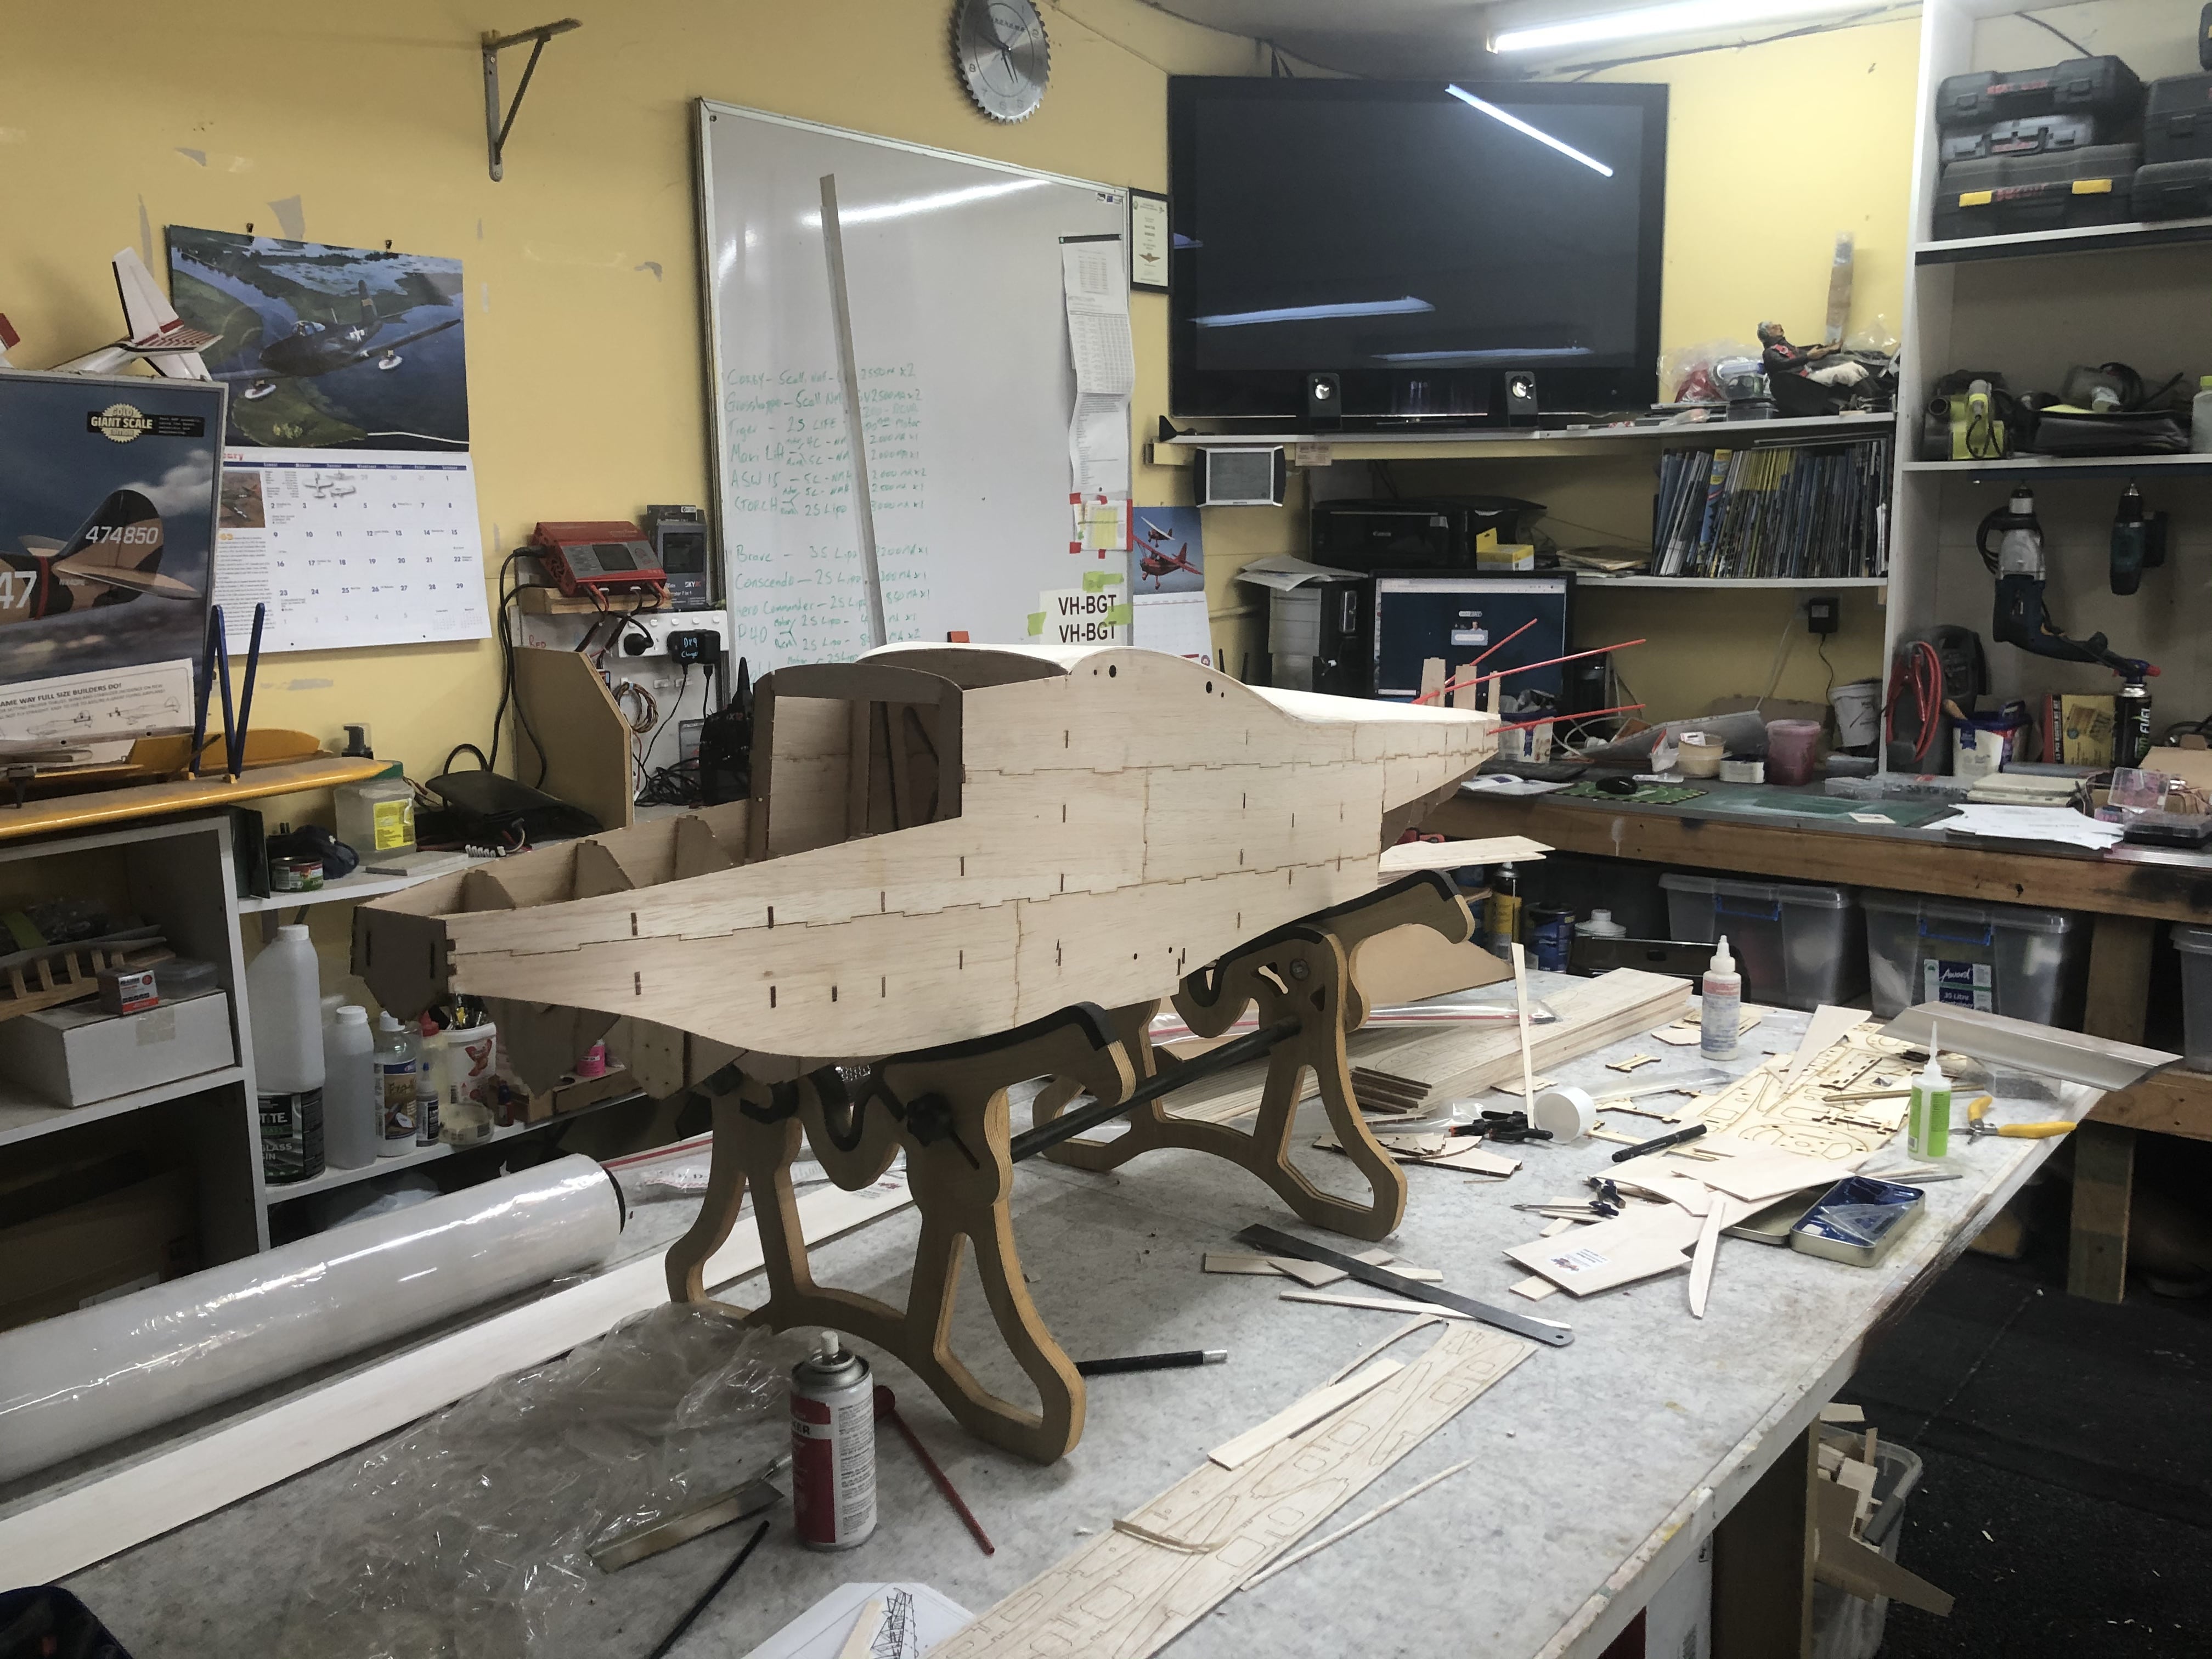
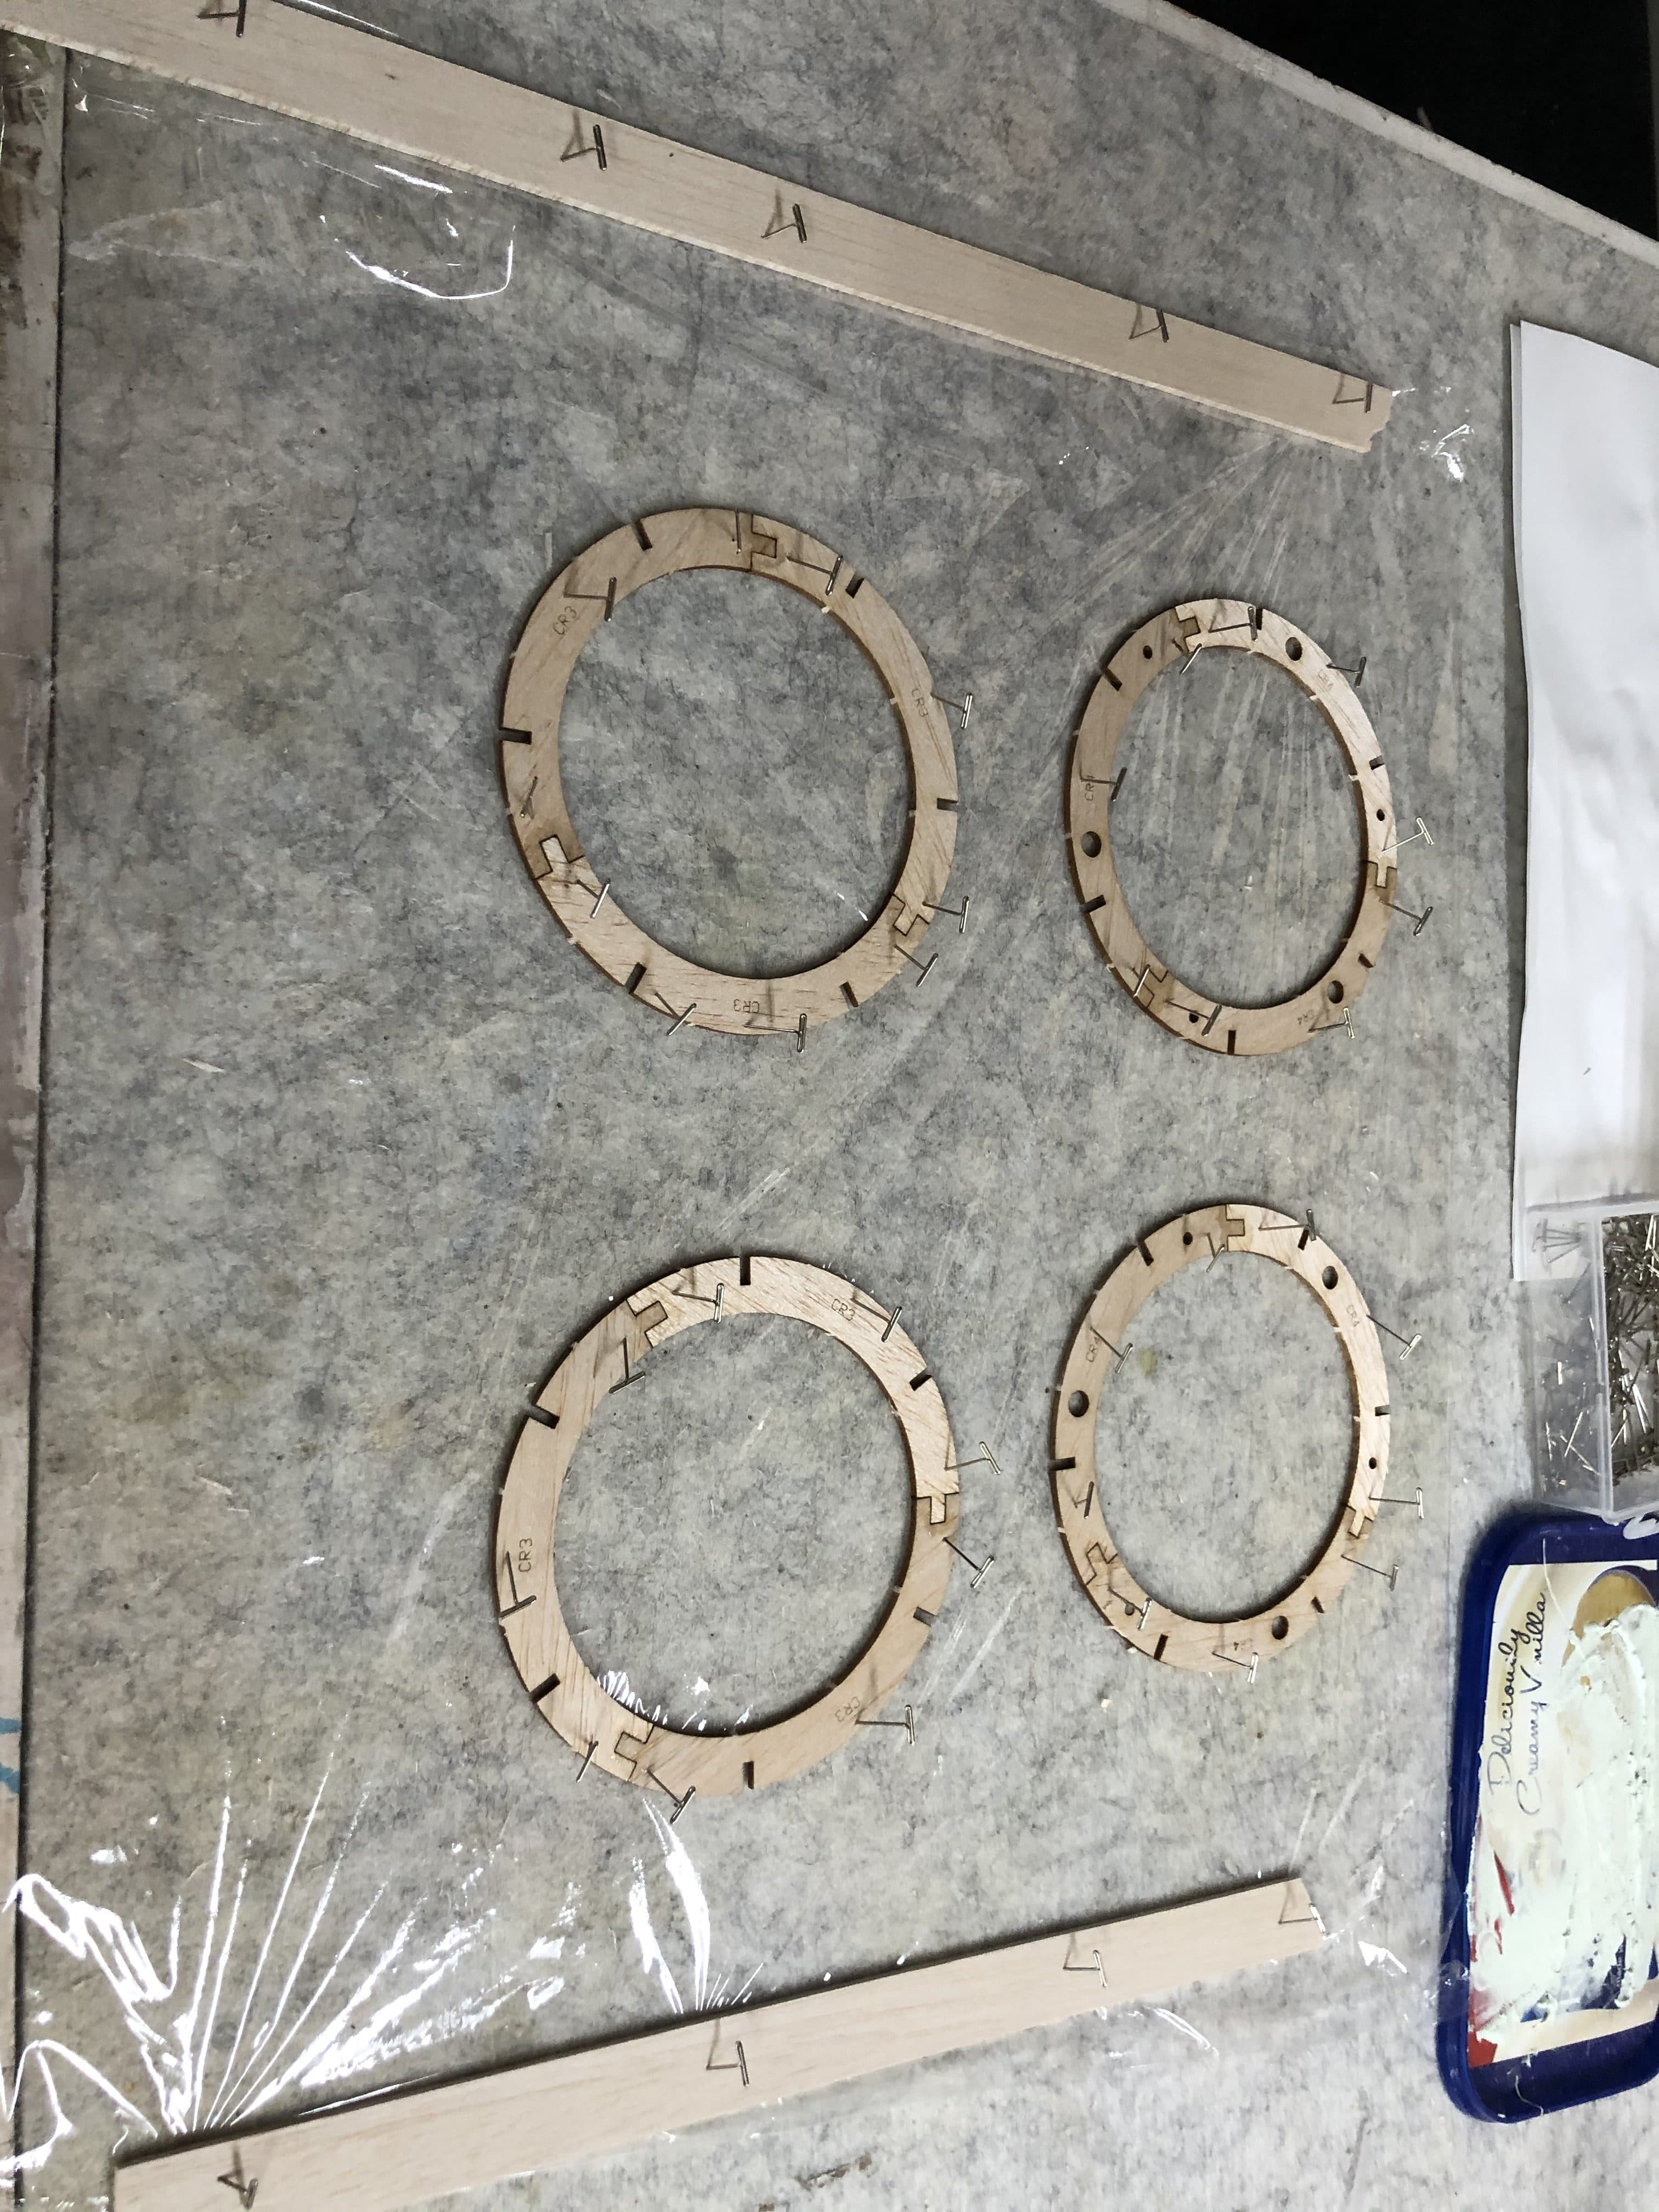
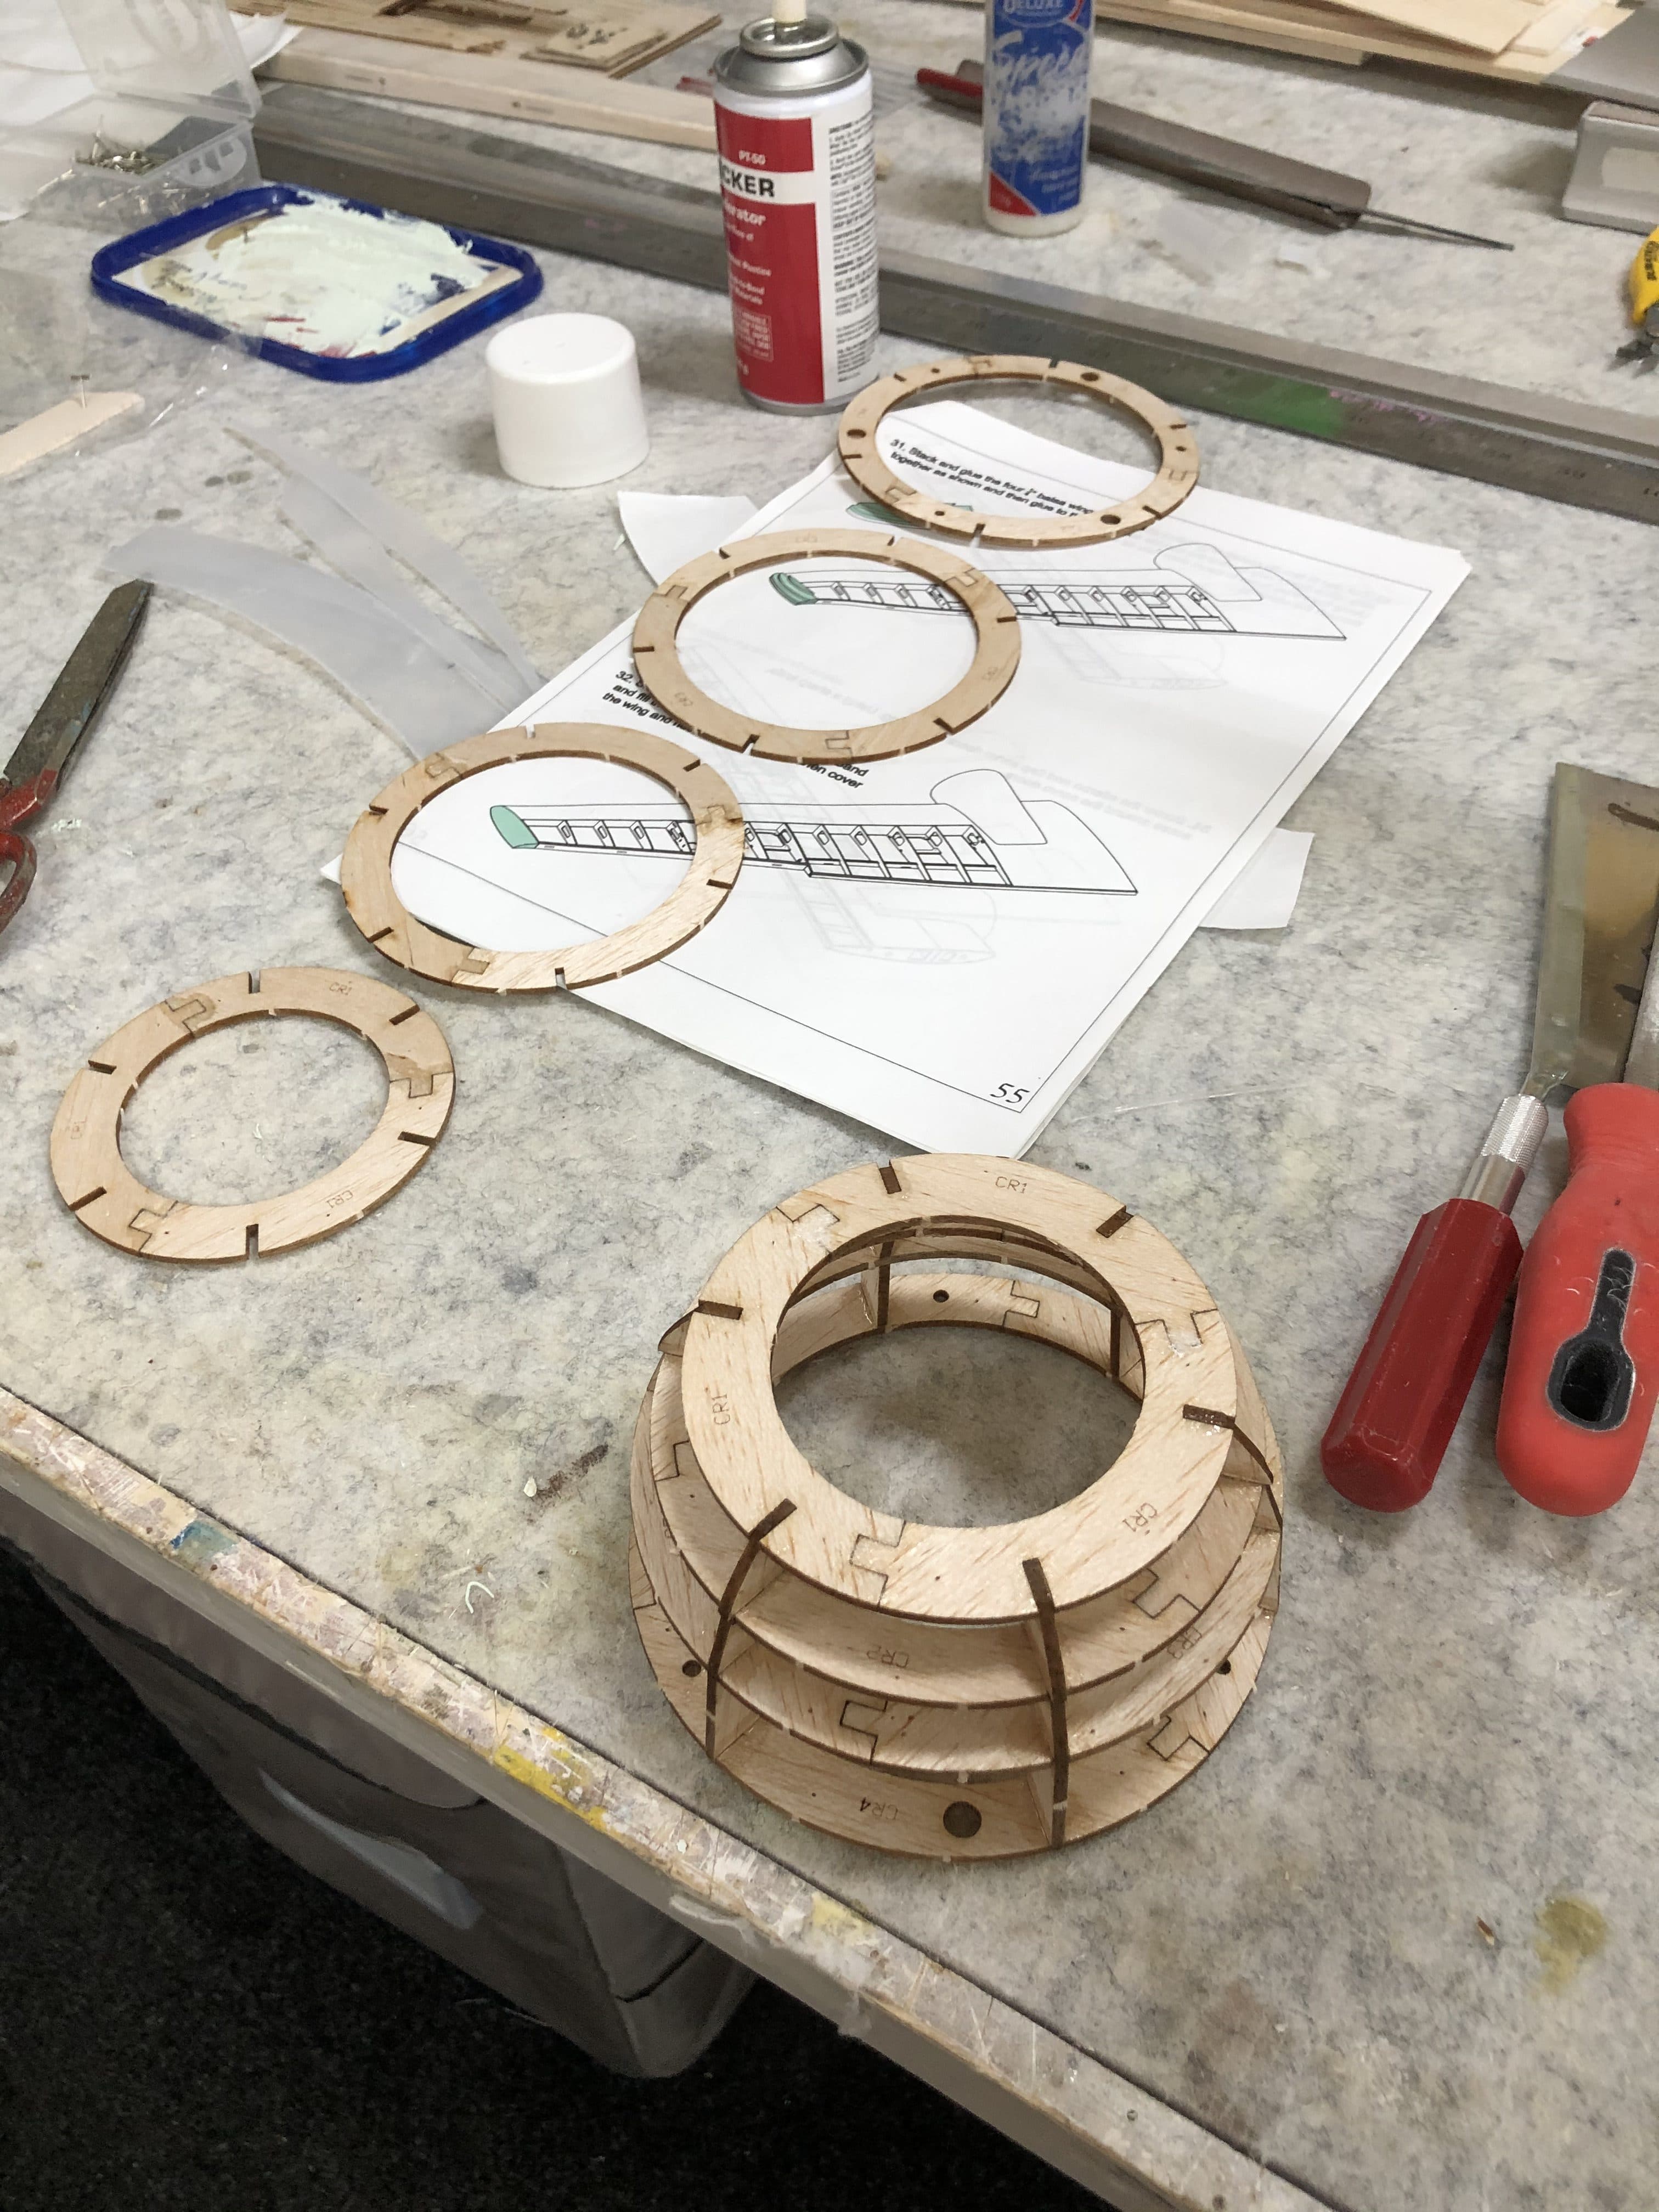
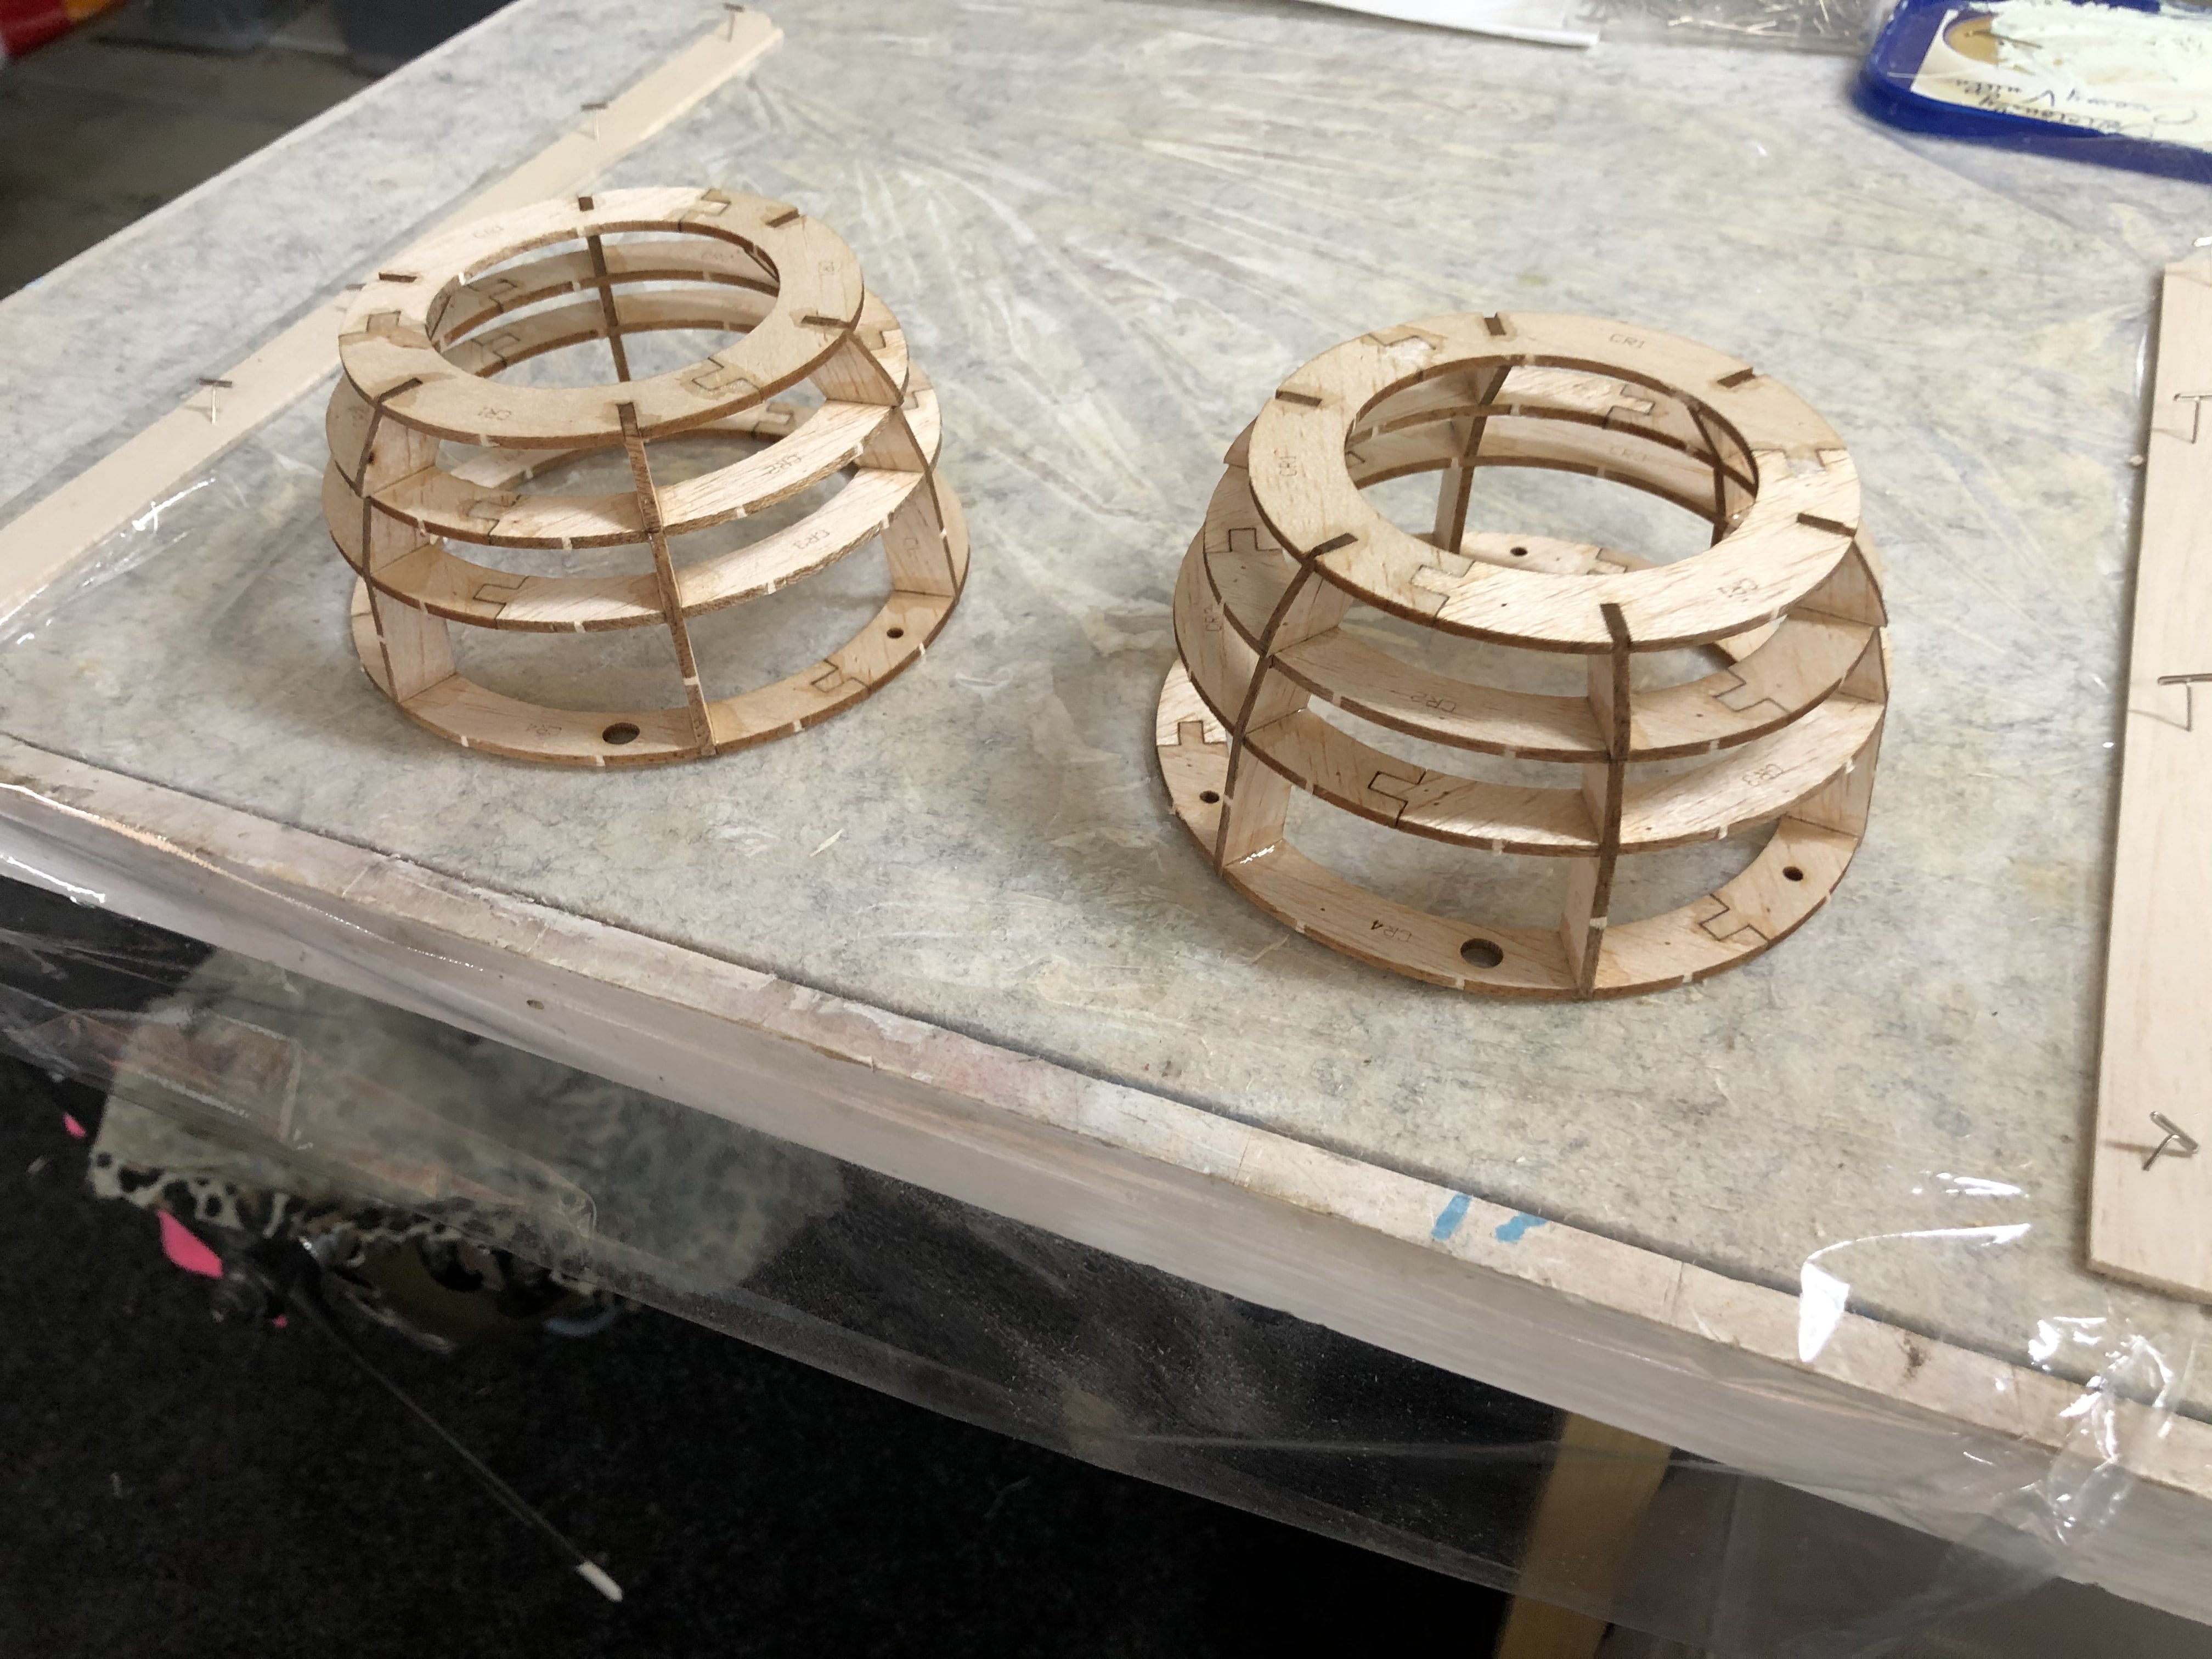
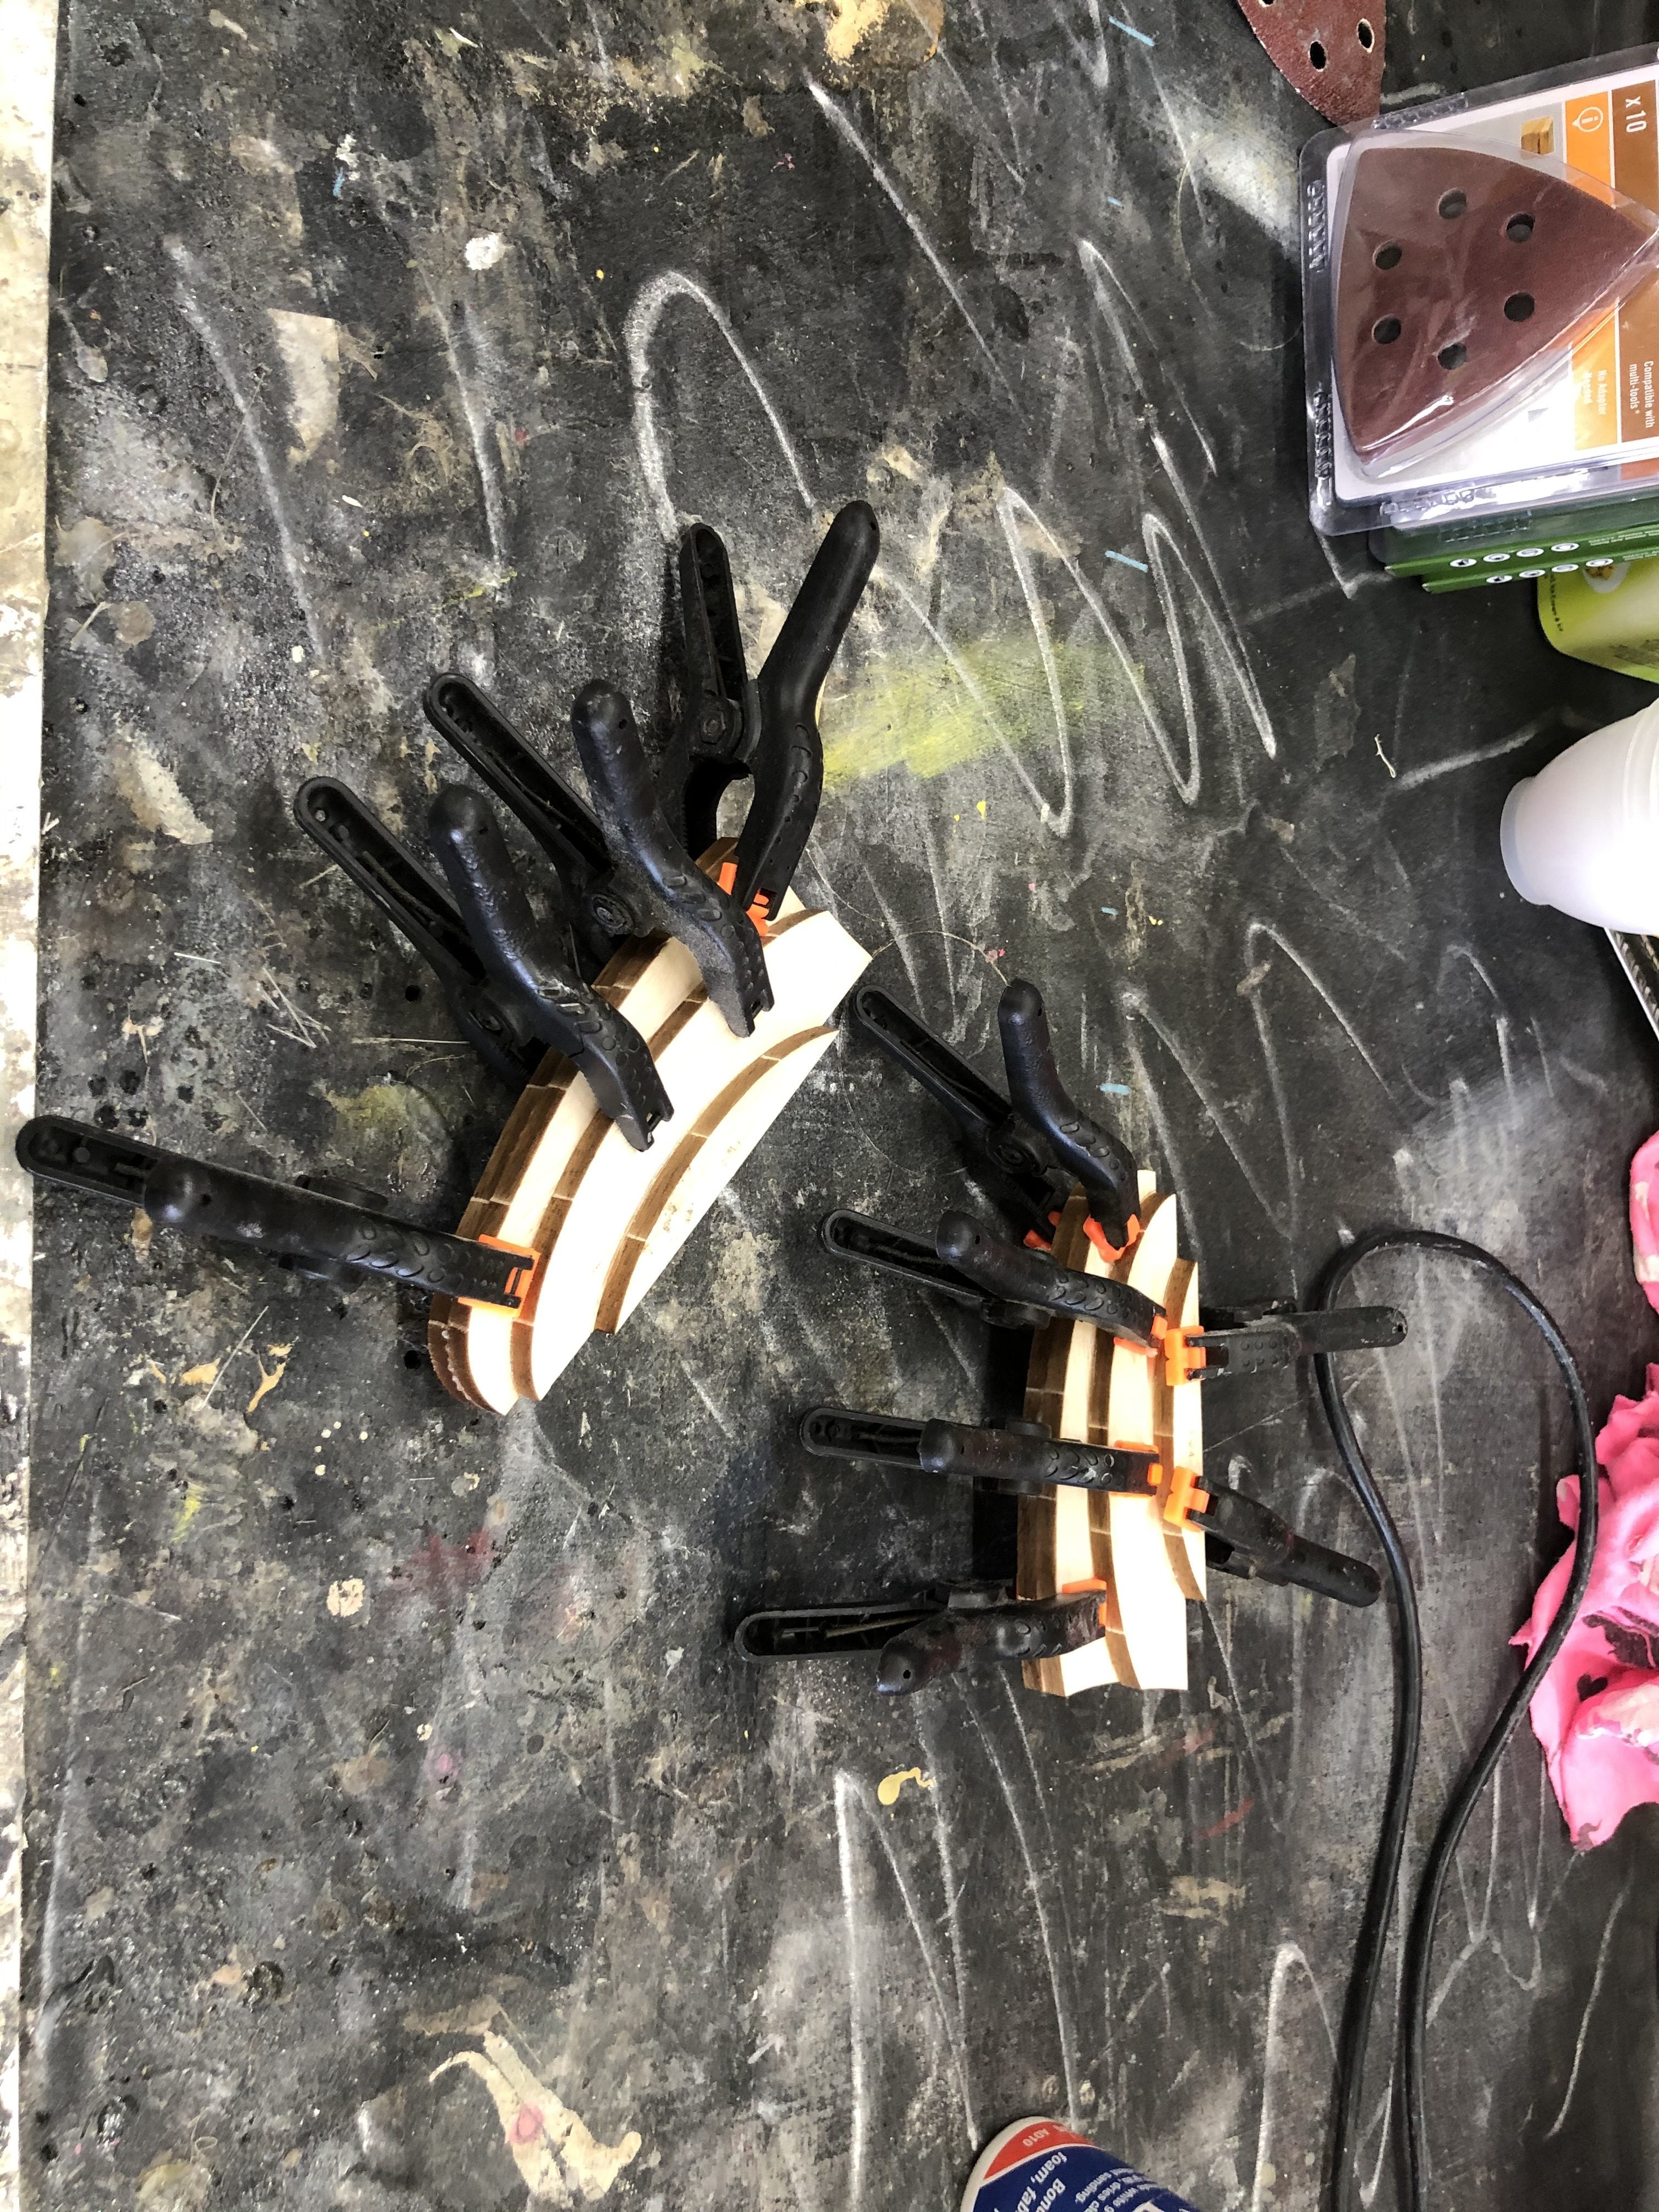
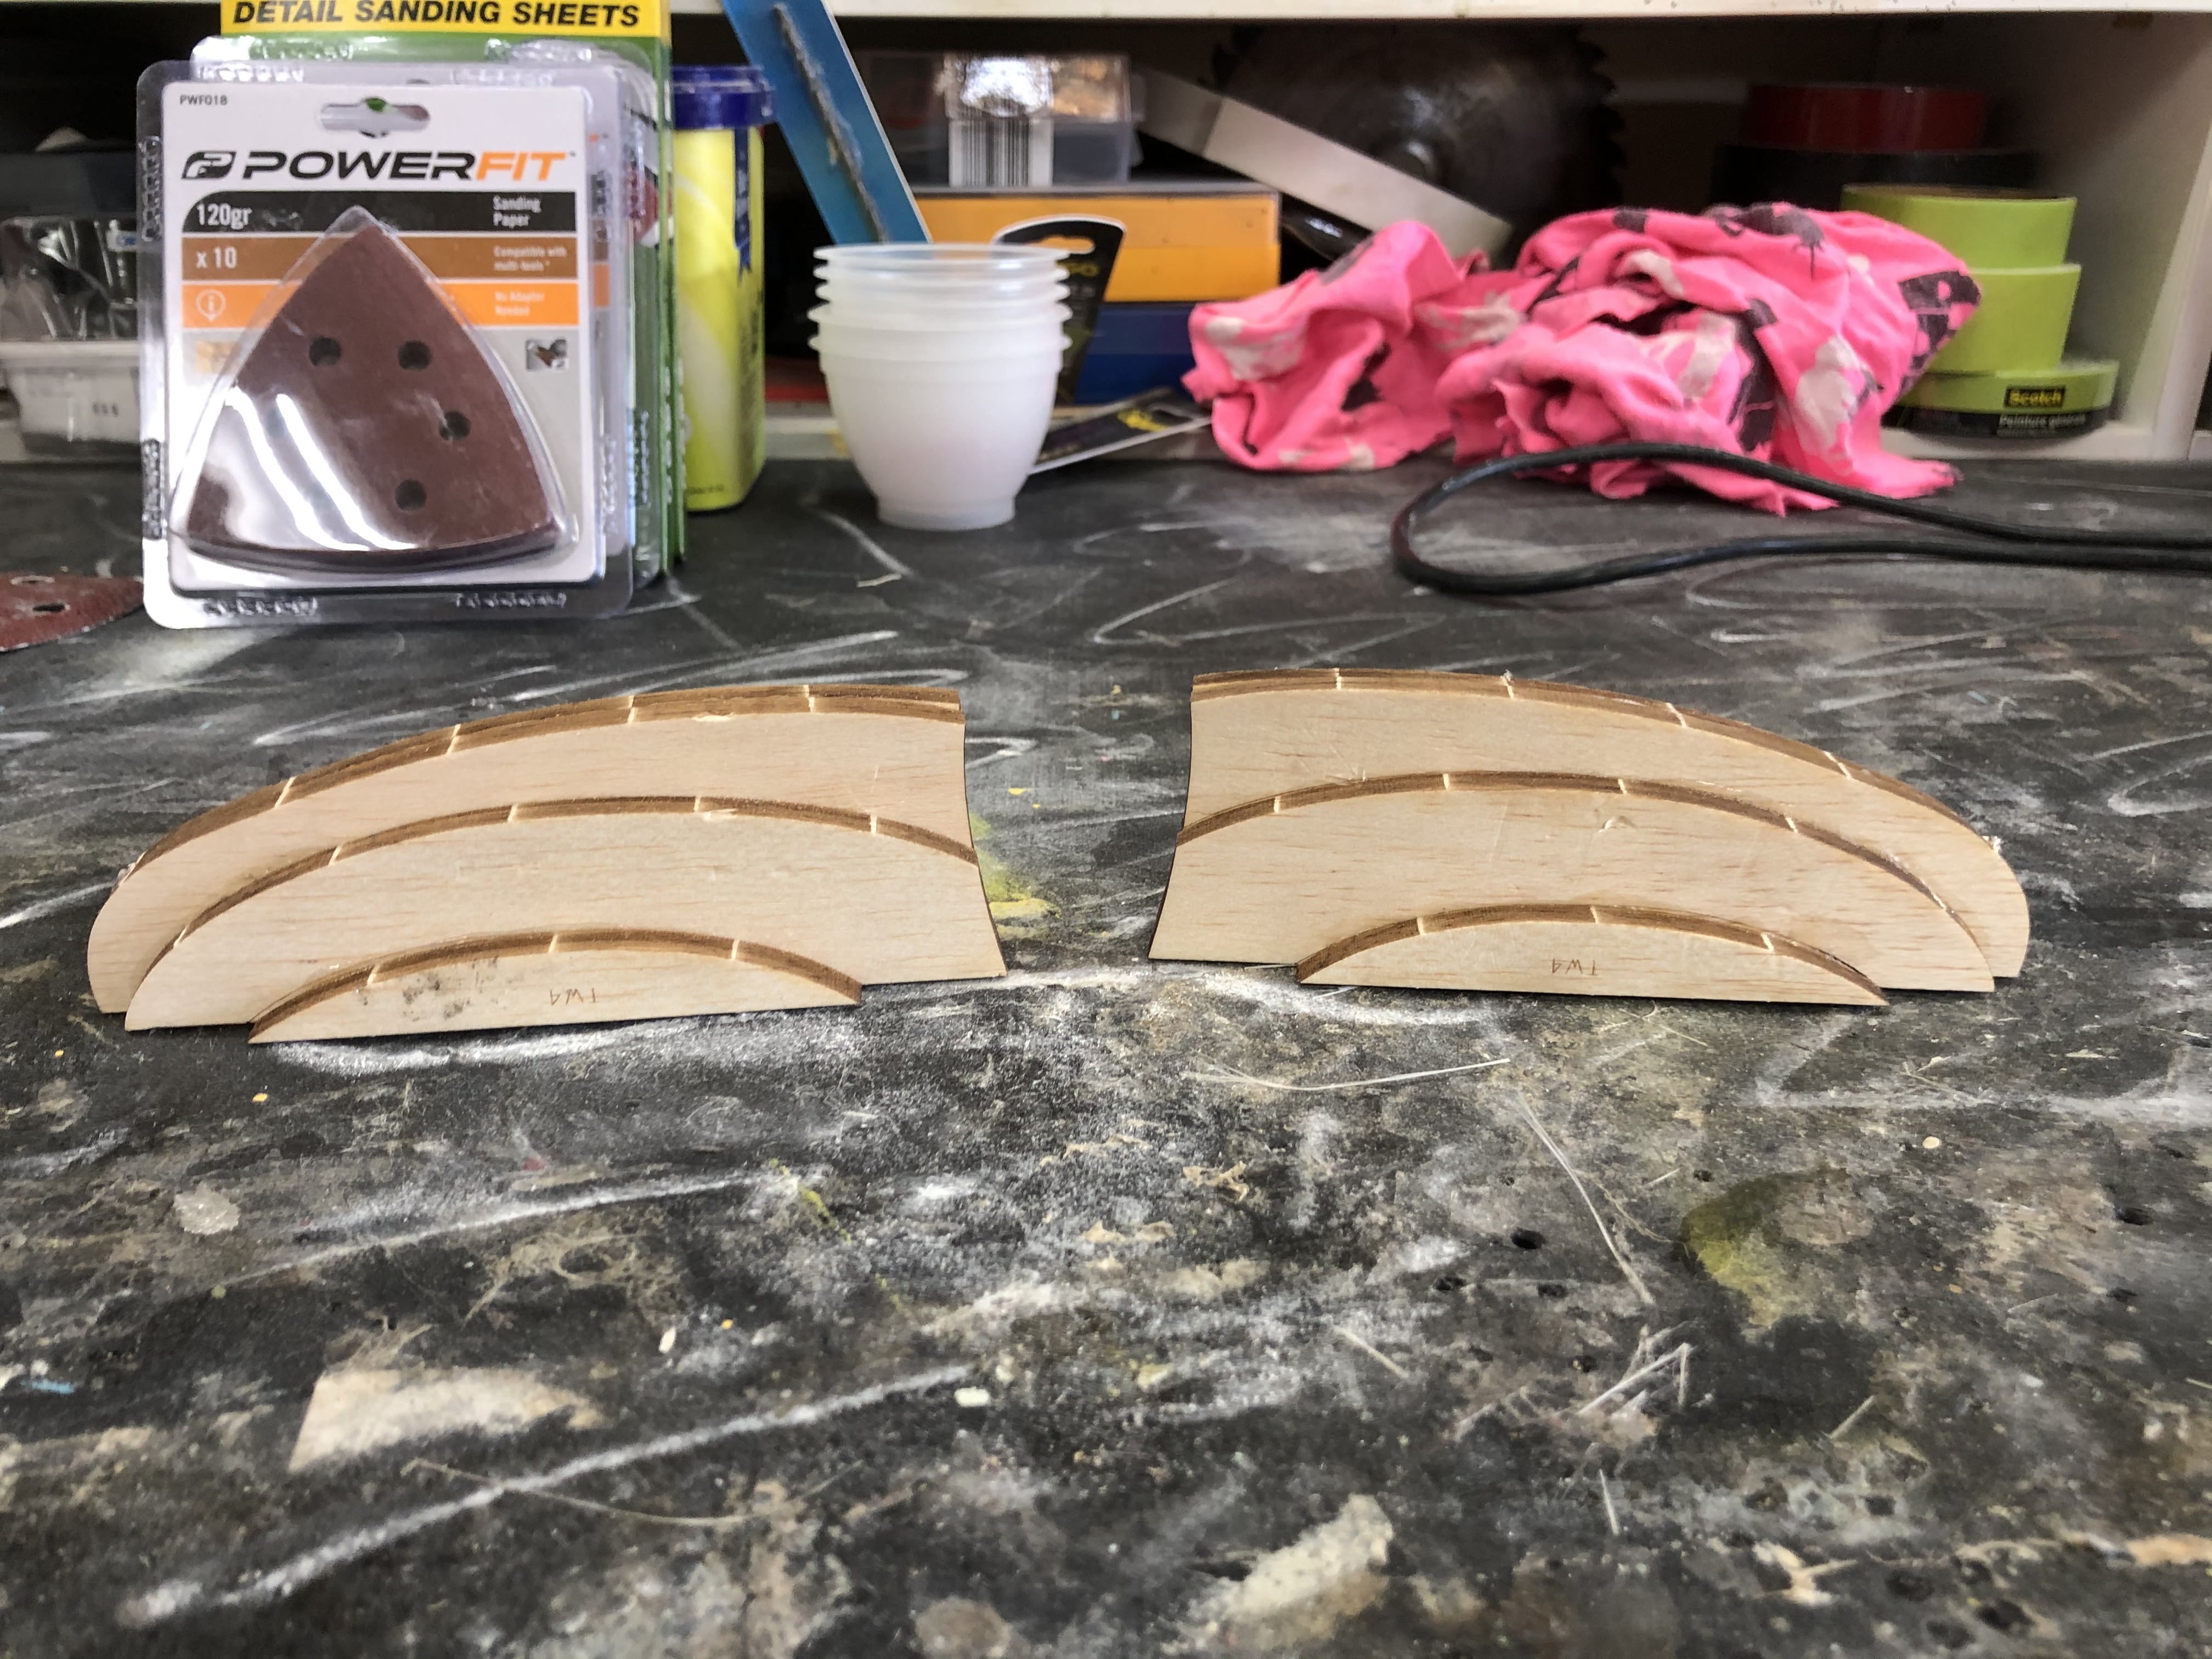
OK so a bit more done today, started the Cowls and while I was waiting for them to dry I started the wing Tips.
Update 2:
Well that’s it for now, soooo back to the workbench .


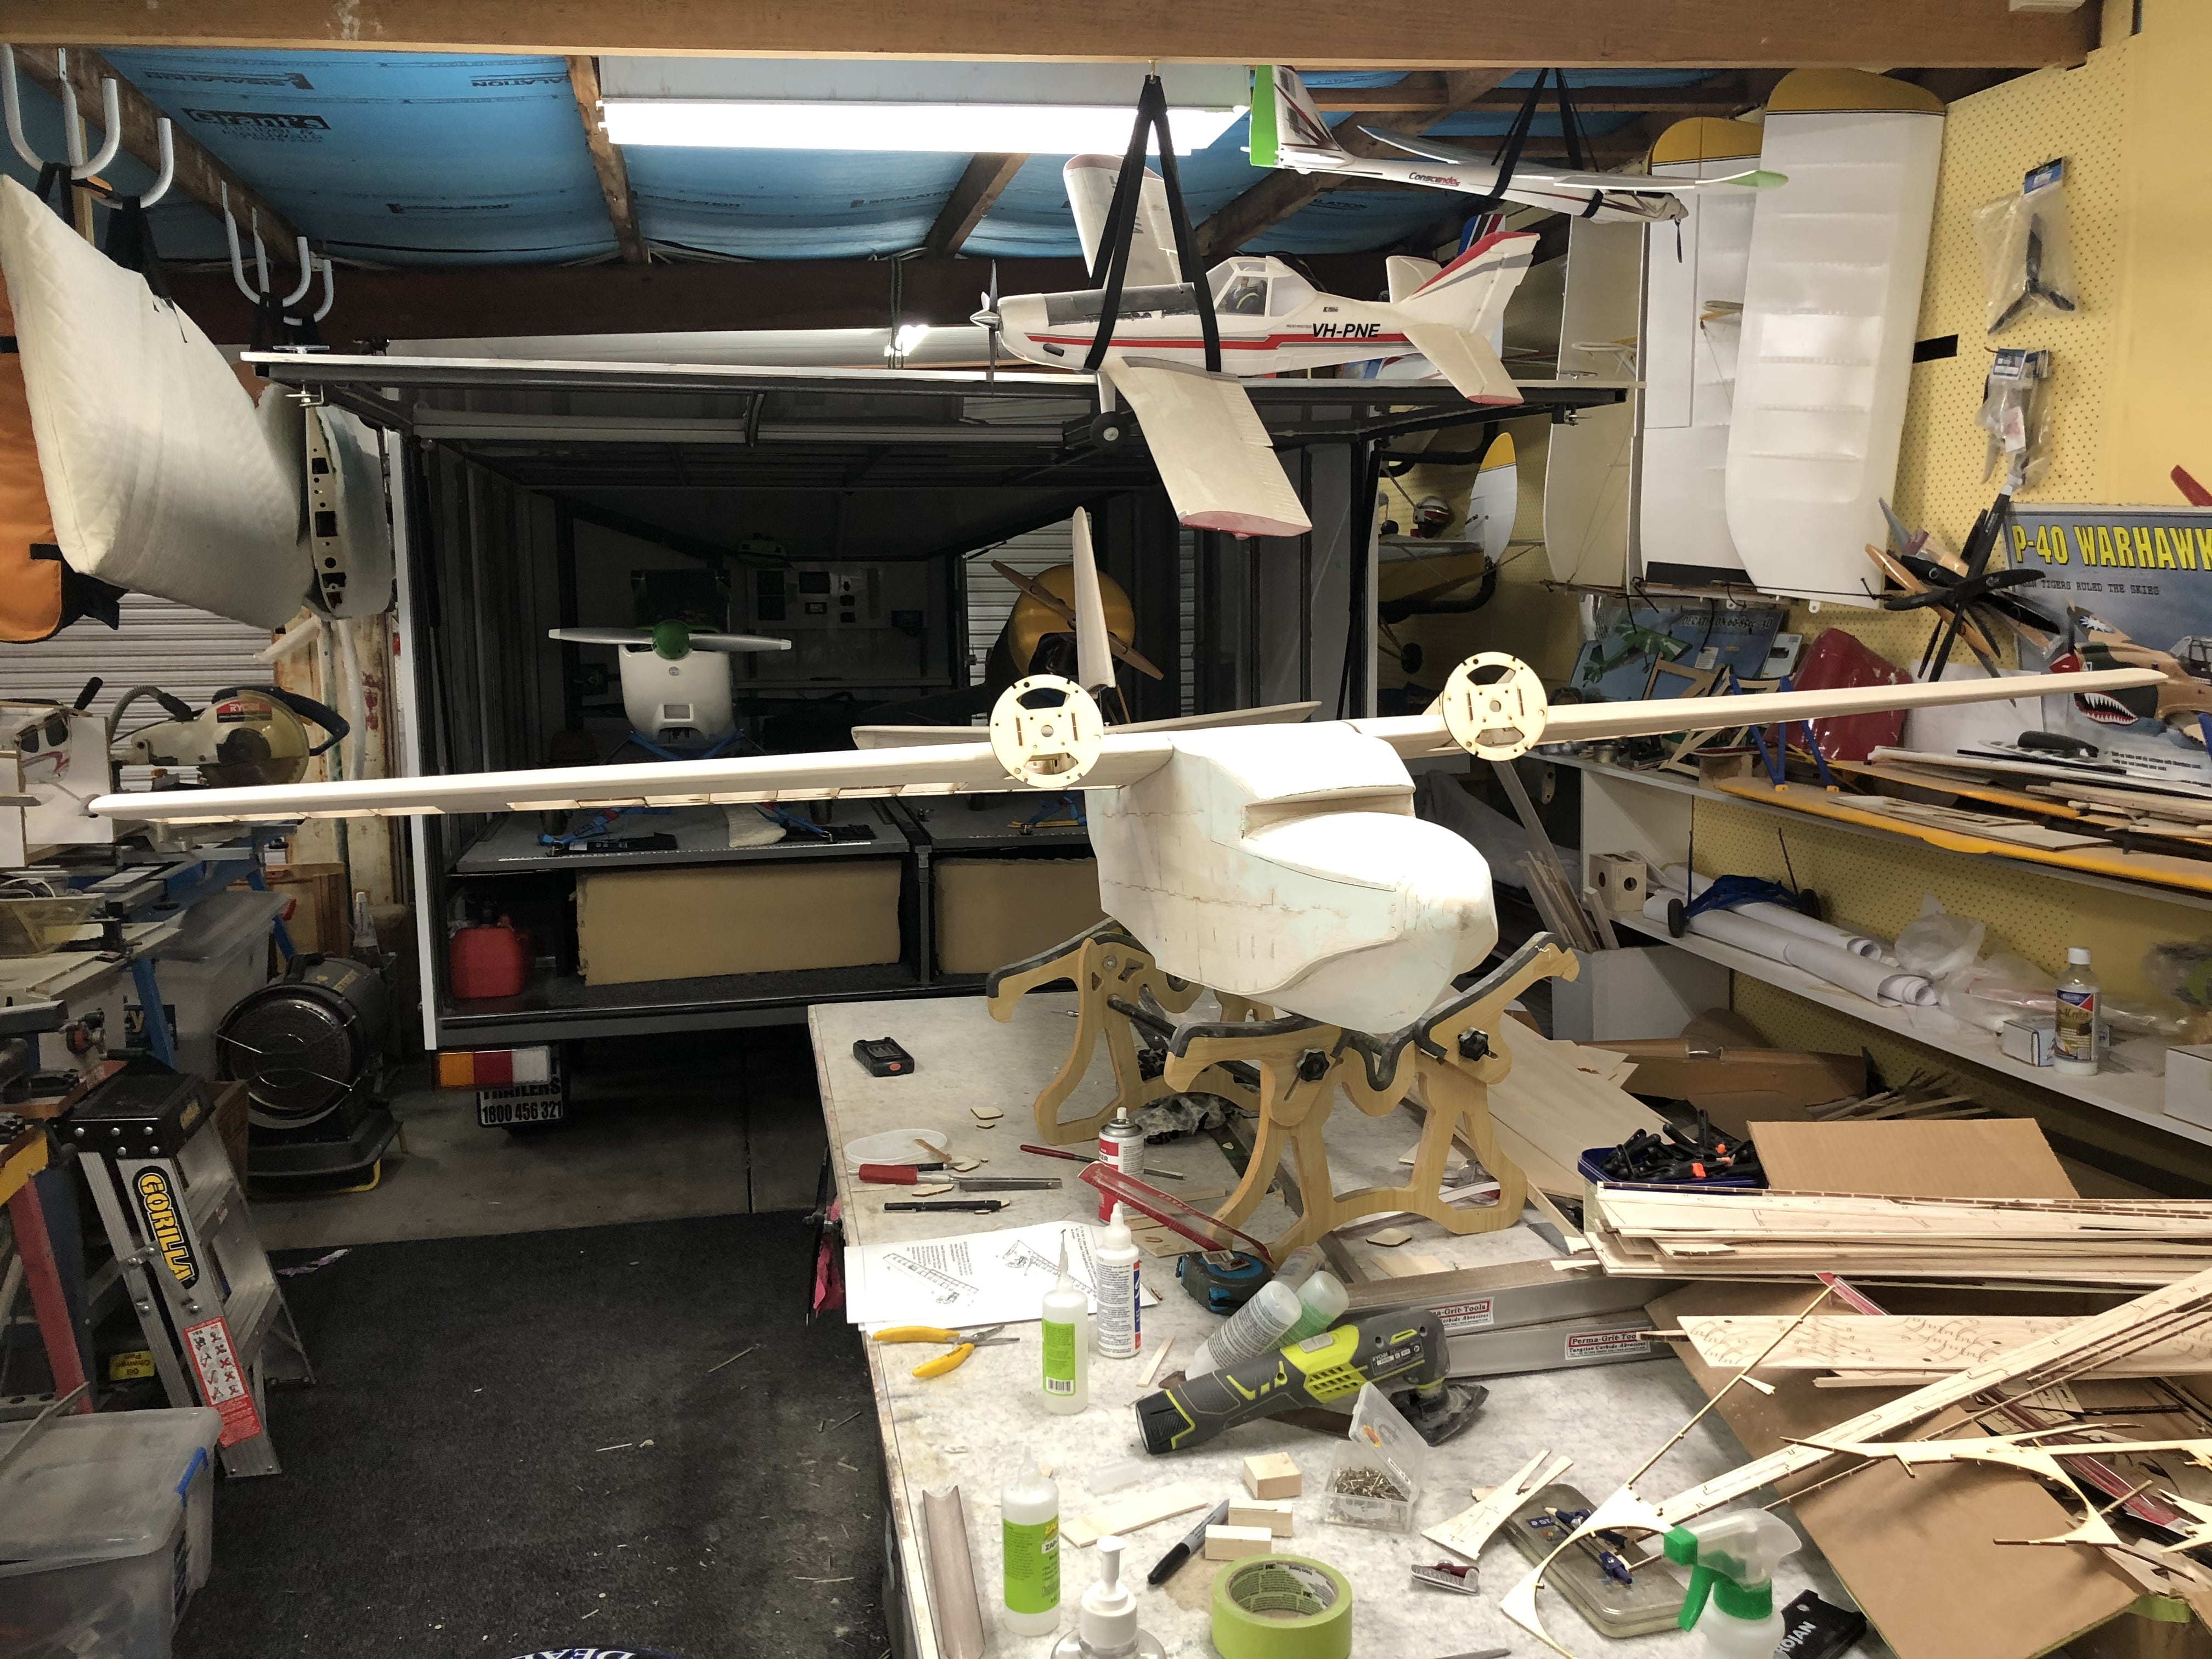
So I have been busy in the shed despite the lack of updates. As you can see I have started to instal the motors, One is complete and the other nearly there. Both motor mounts are done so the second installation is really just fitting it up and aligning the cowl. I have also built the ailerons and both flaps since the last update with the next task installing the servos and control links.


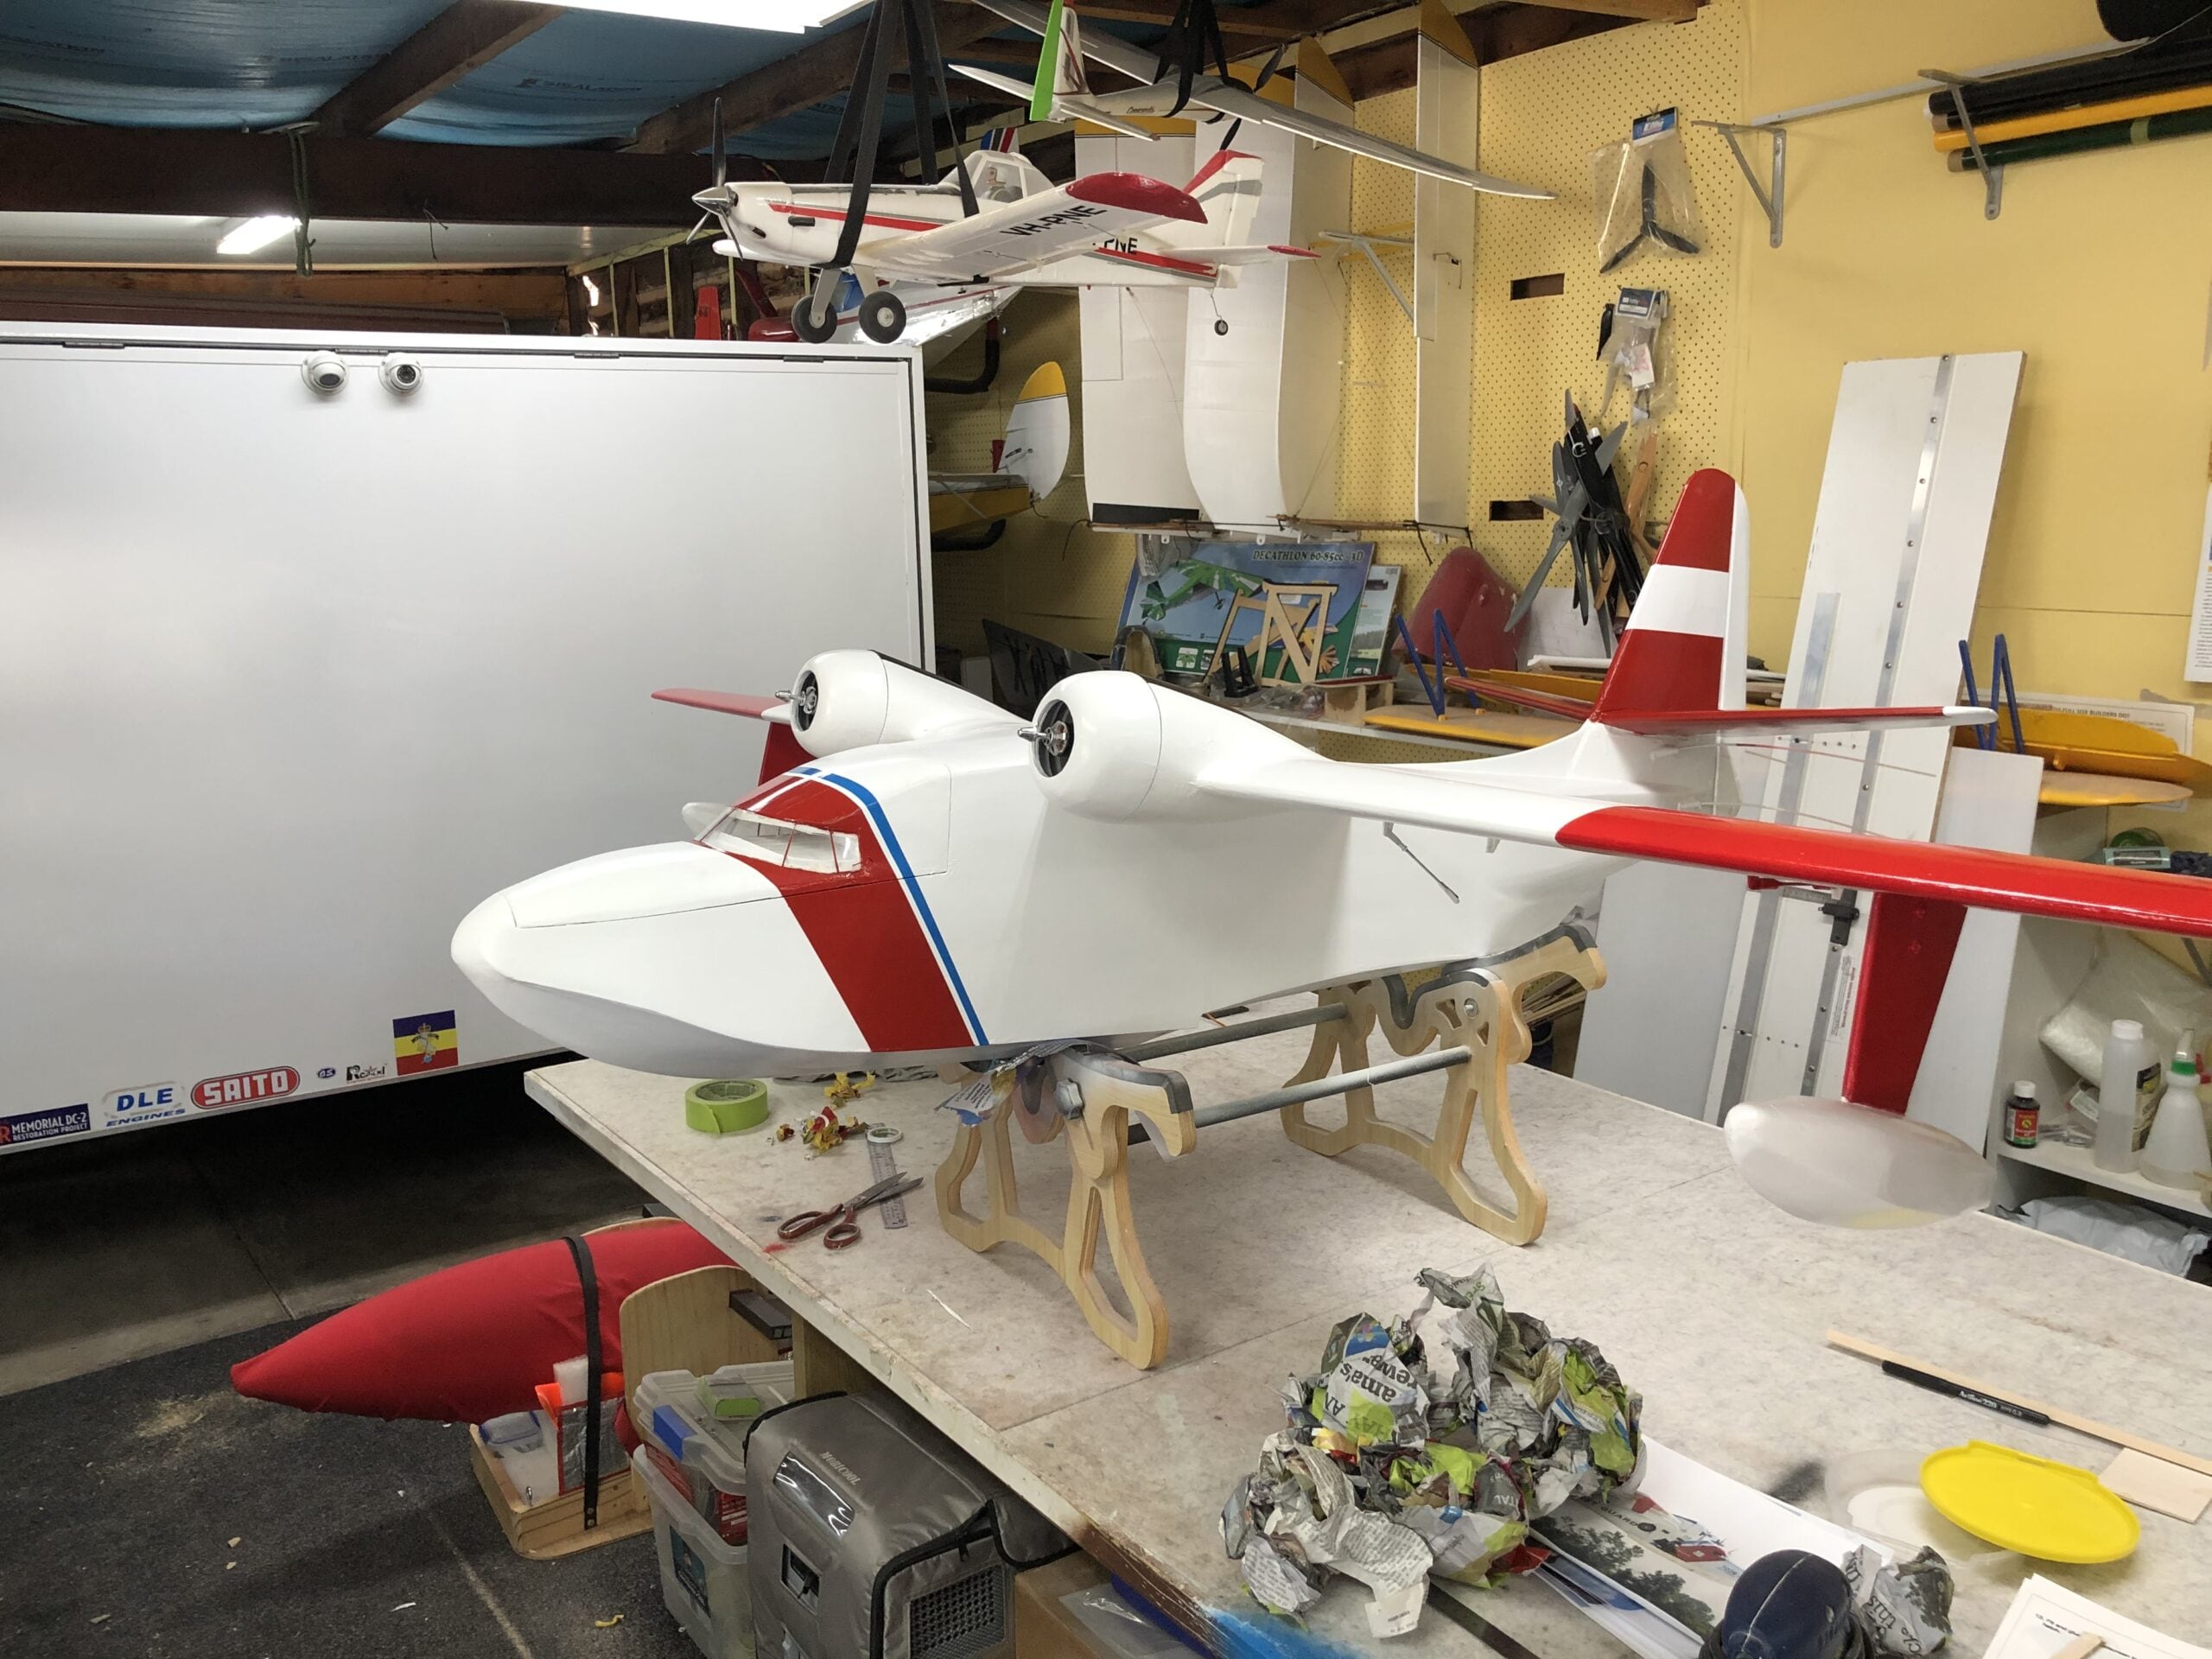
So both motors and Cowls are now fitted. The Ailerons and Flaps have been hinged and the ESC’s wired and cables run. Next is to finish installing the Aileron and Flap servos then onto covering the wing.
More later.


So today I finished up the tip floats and mounted them onto the wing. They are held on by a small bungee mount to give some flexibility if they hit the water.
That completes the “building part, now onto covering and finishing
90% done 90% to go
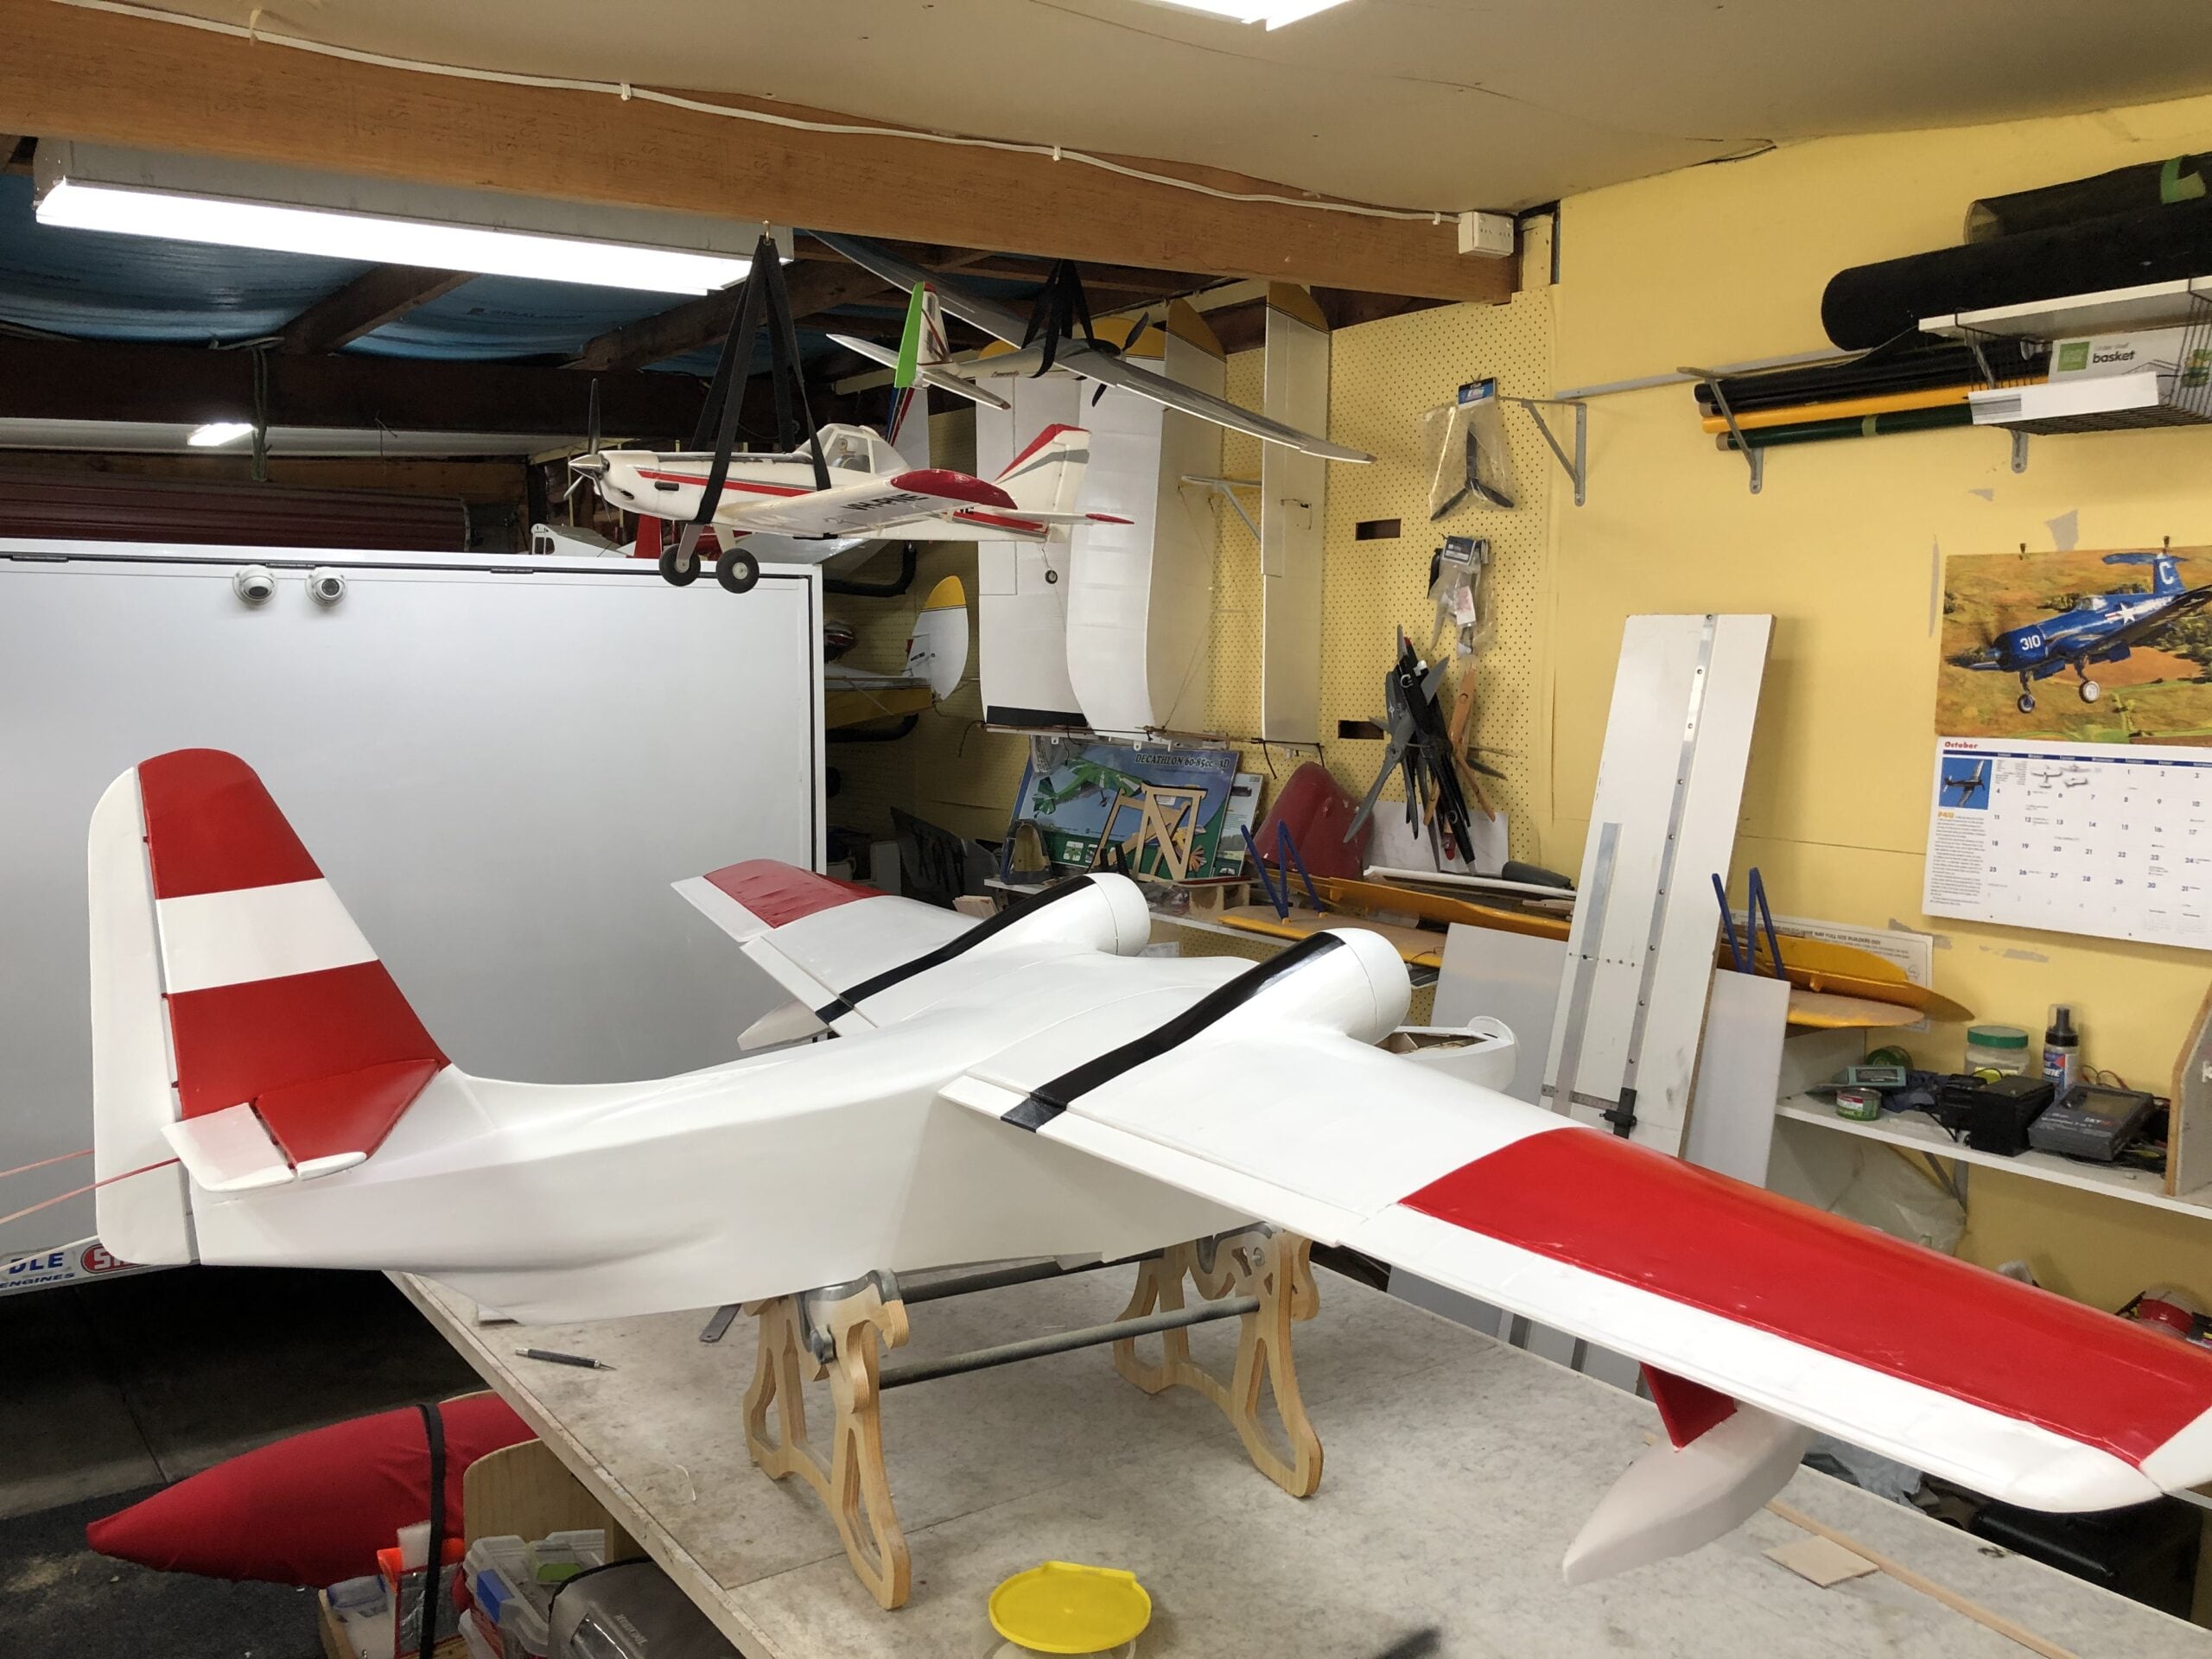
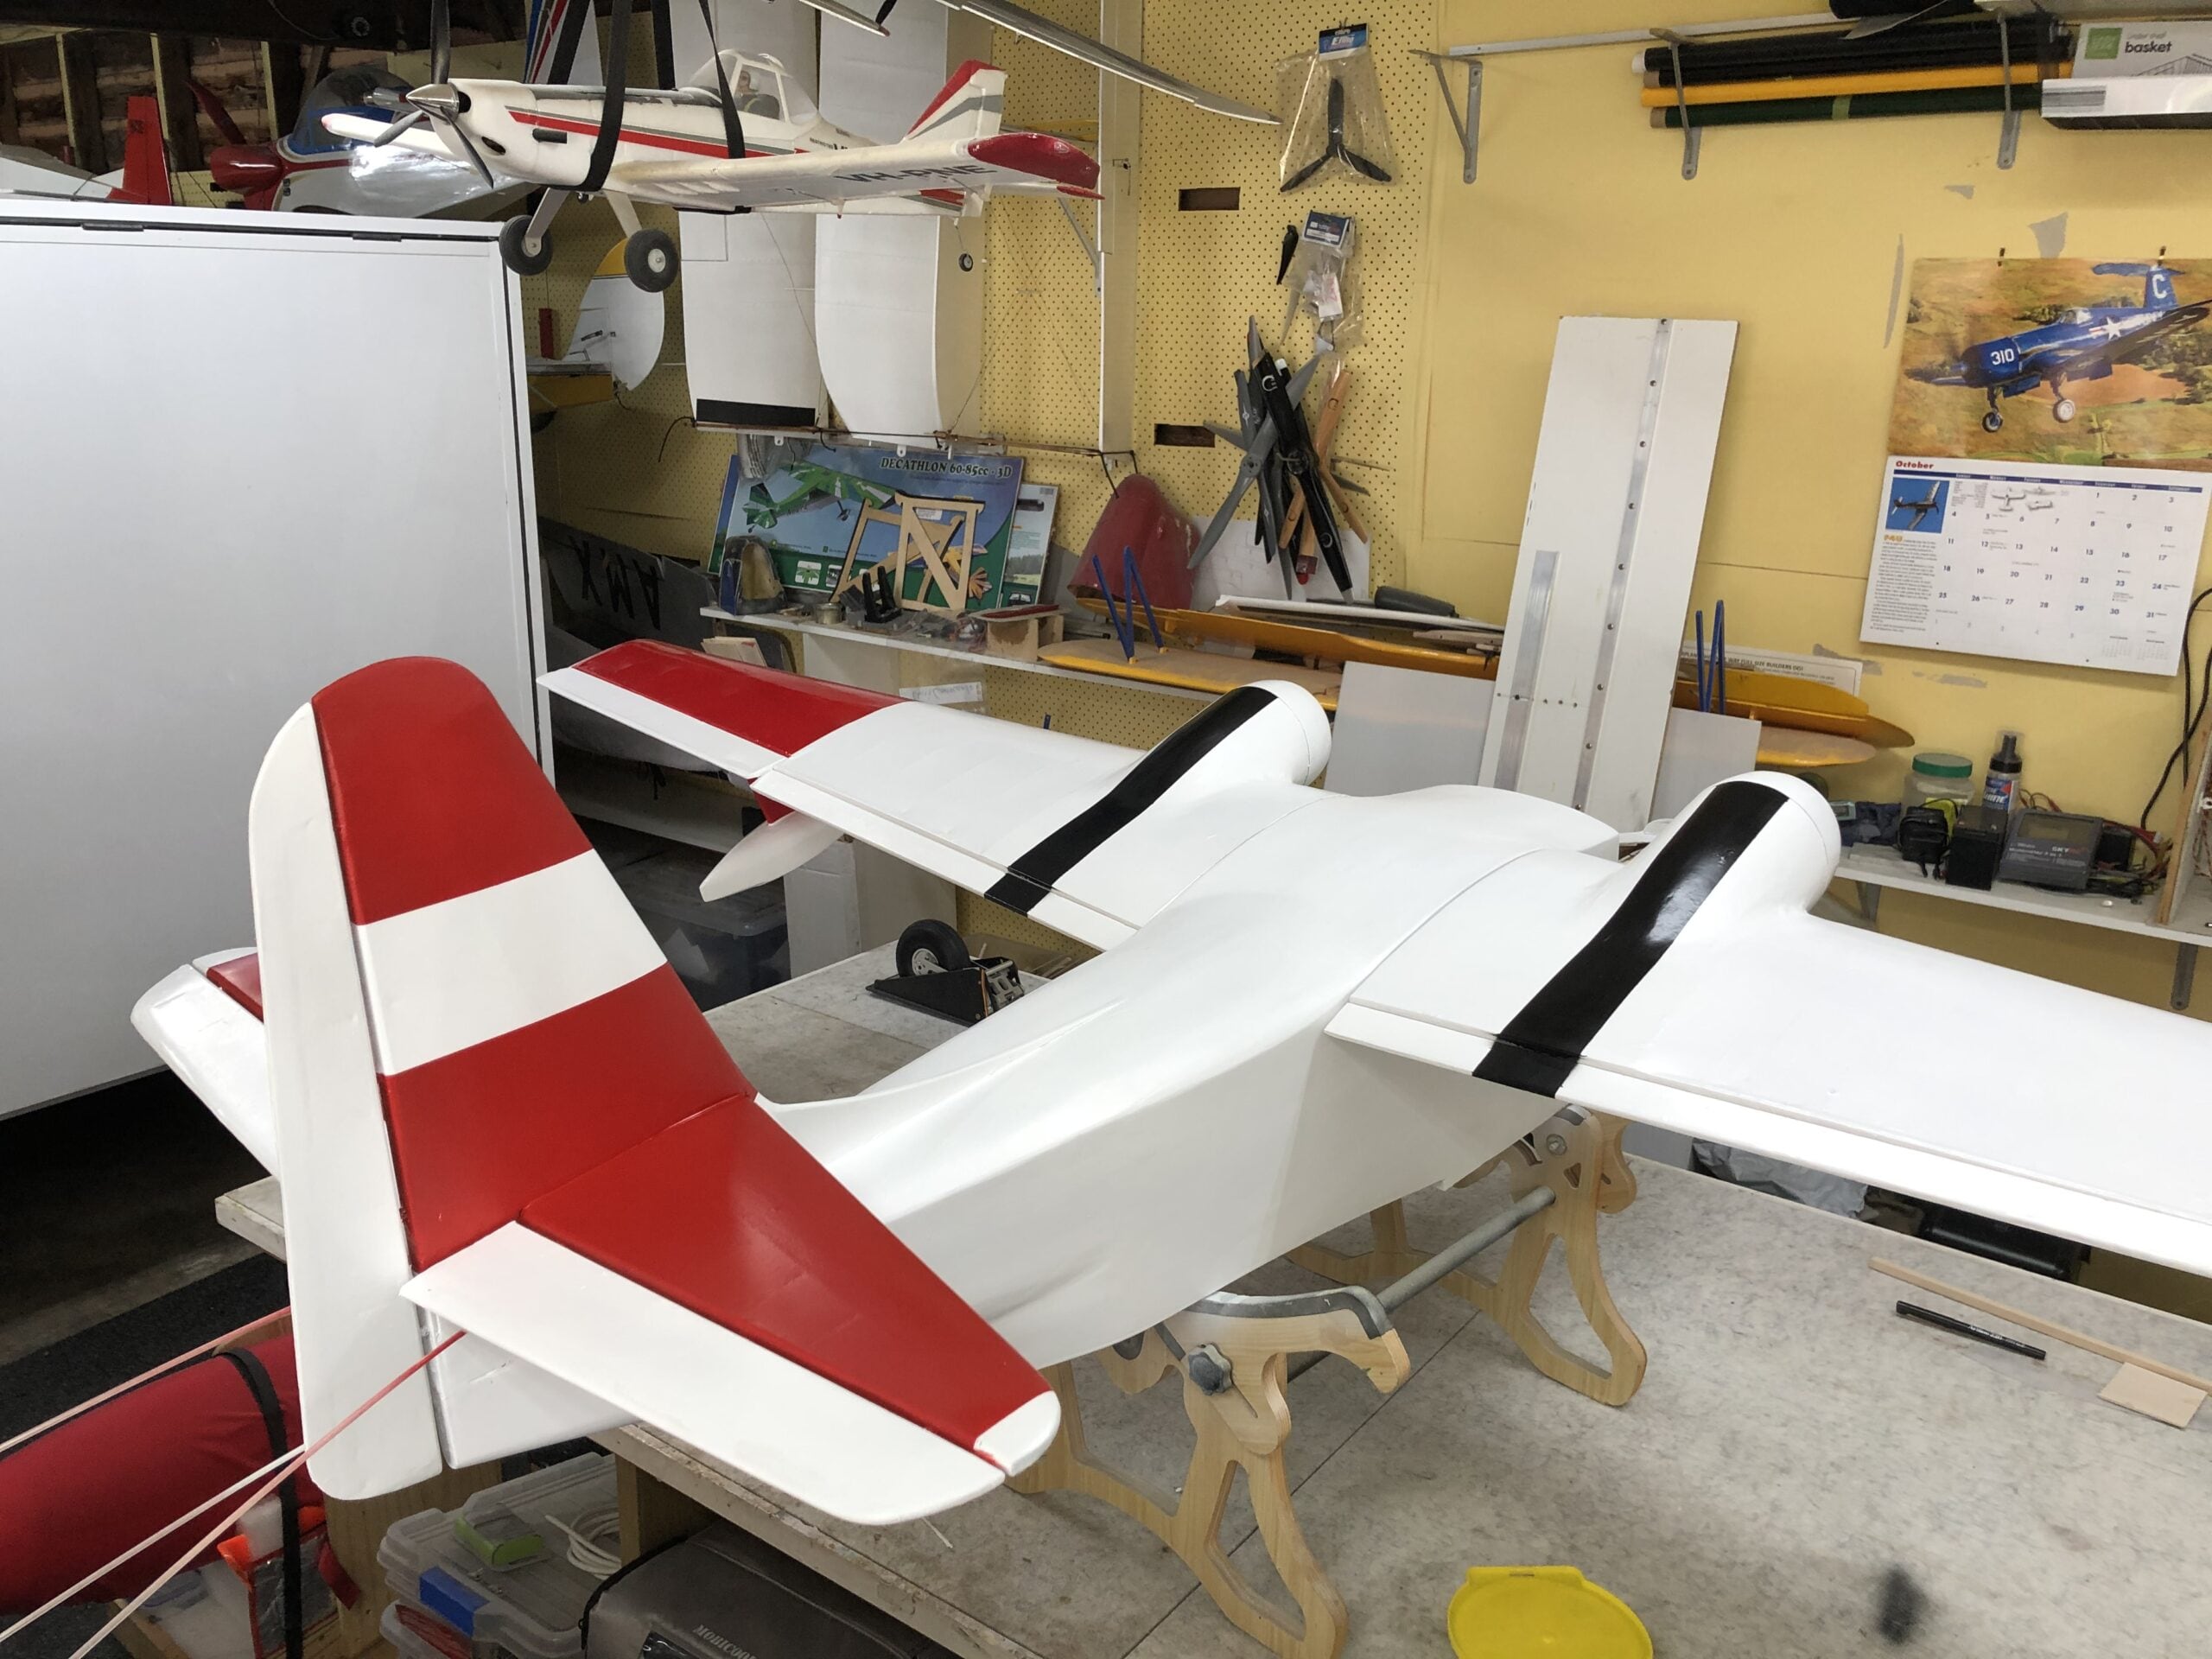
Well its been a while since my last report, but as you can see below, I have finished the covering and started the painting. It is a little rough but is coming up OK, and, let’s face it, no full size plane is flawless so neither should a scale version be.
I am still waiting on my decals from Callie Graphics in the US (only been waiting 6 weeks now) so hopefully they will arrive by the time I have finished the painting which leaves the final fit out of the radio gear, balance and fly.